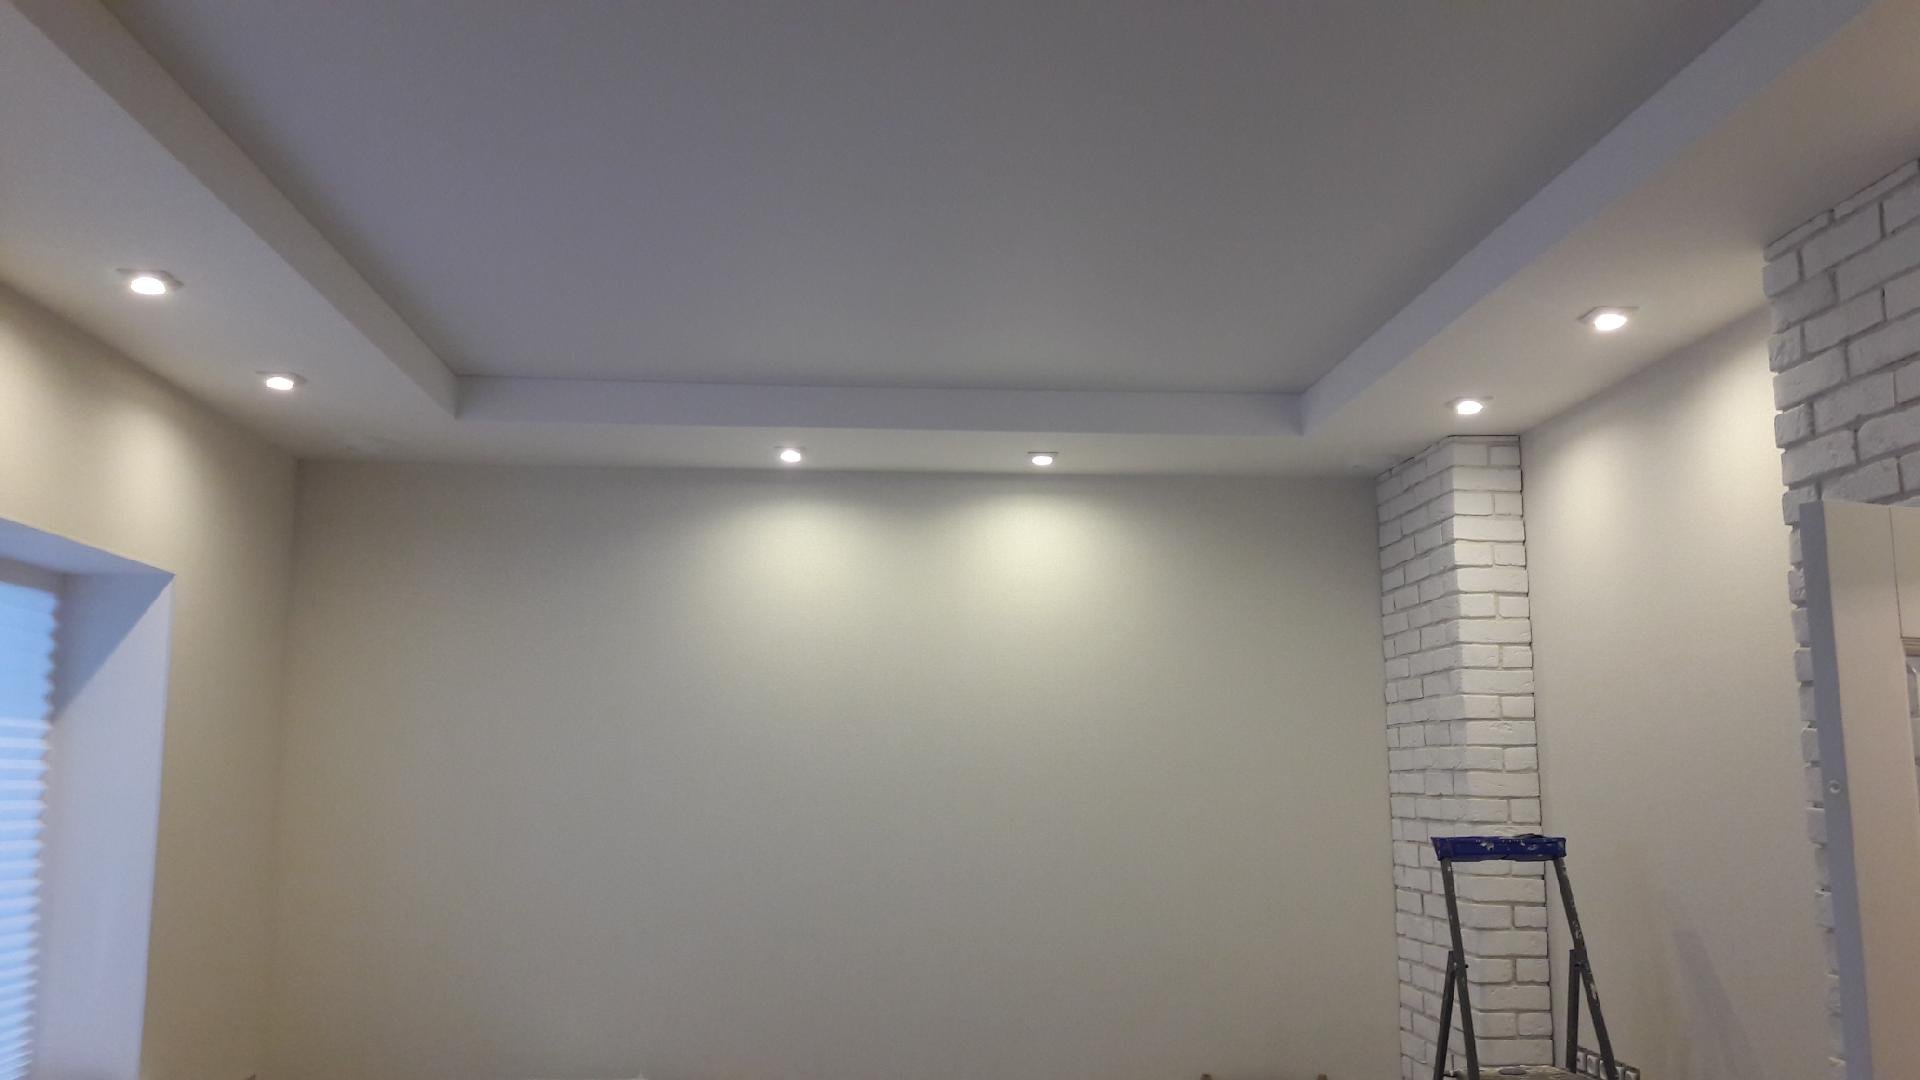
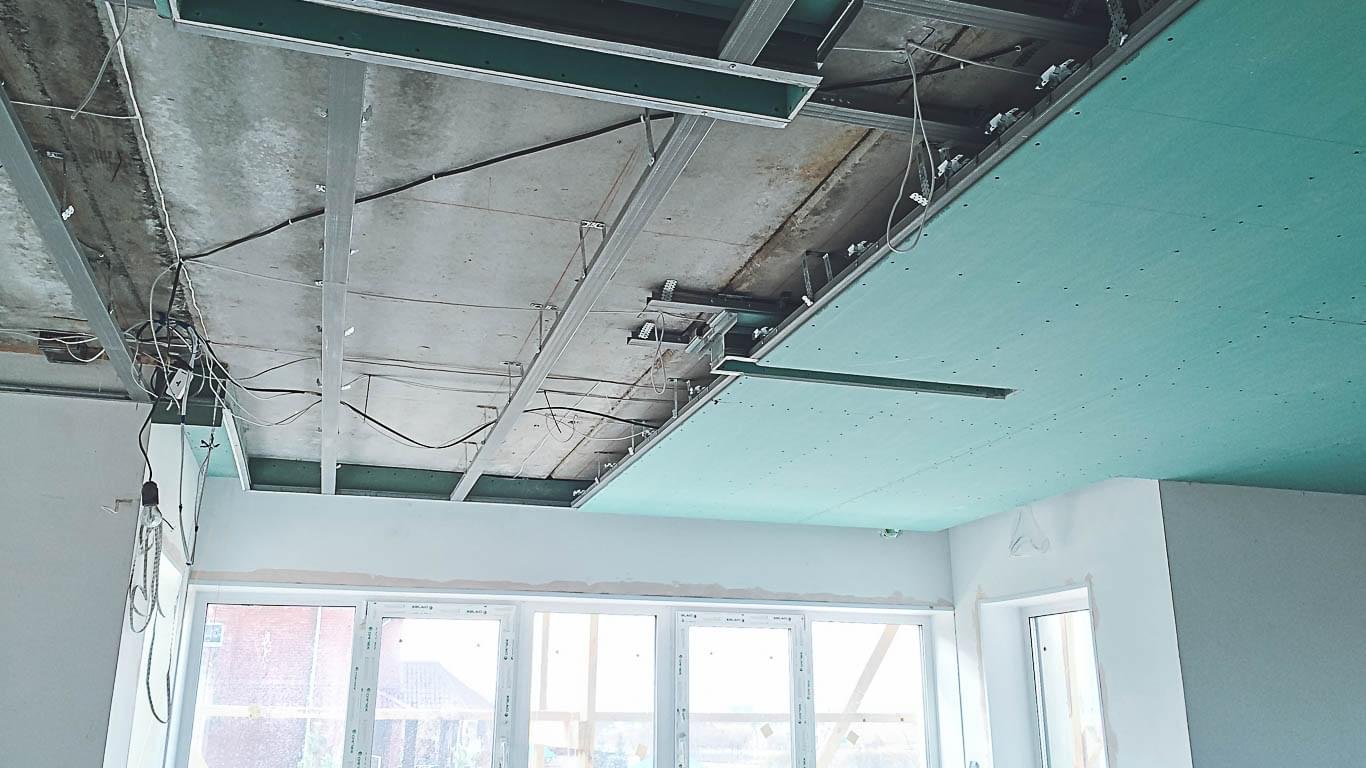
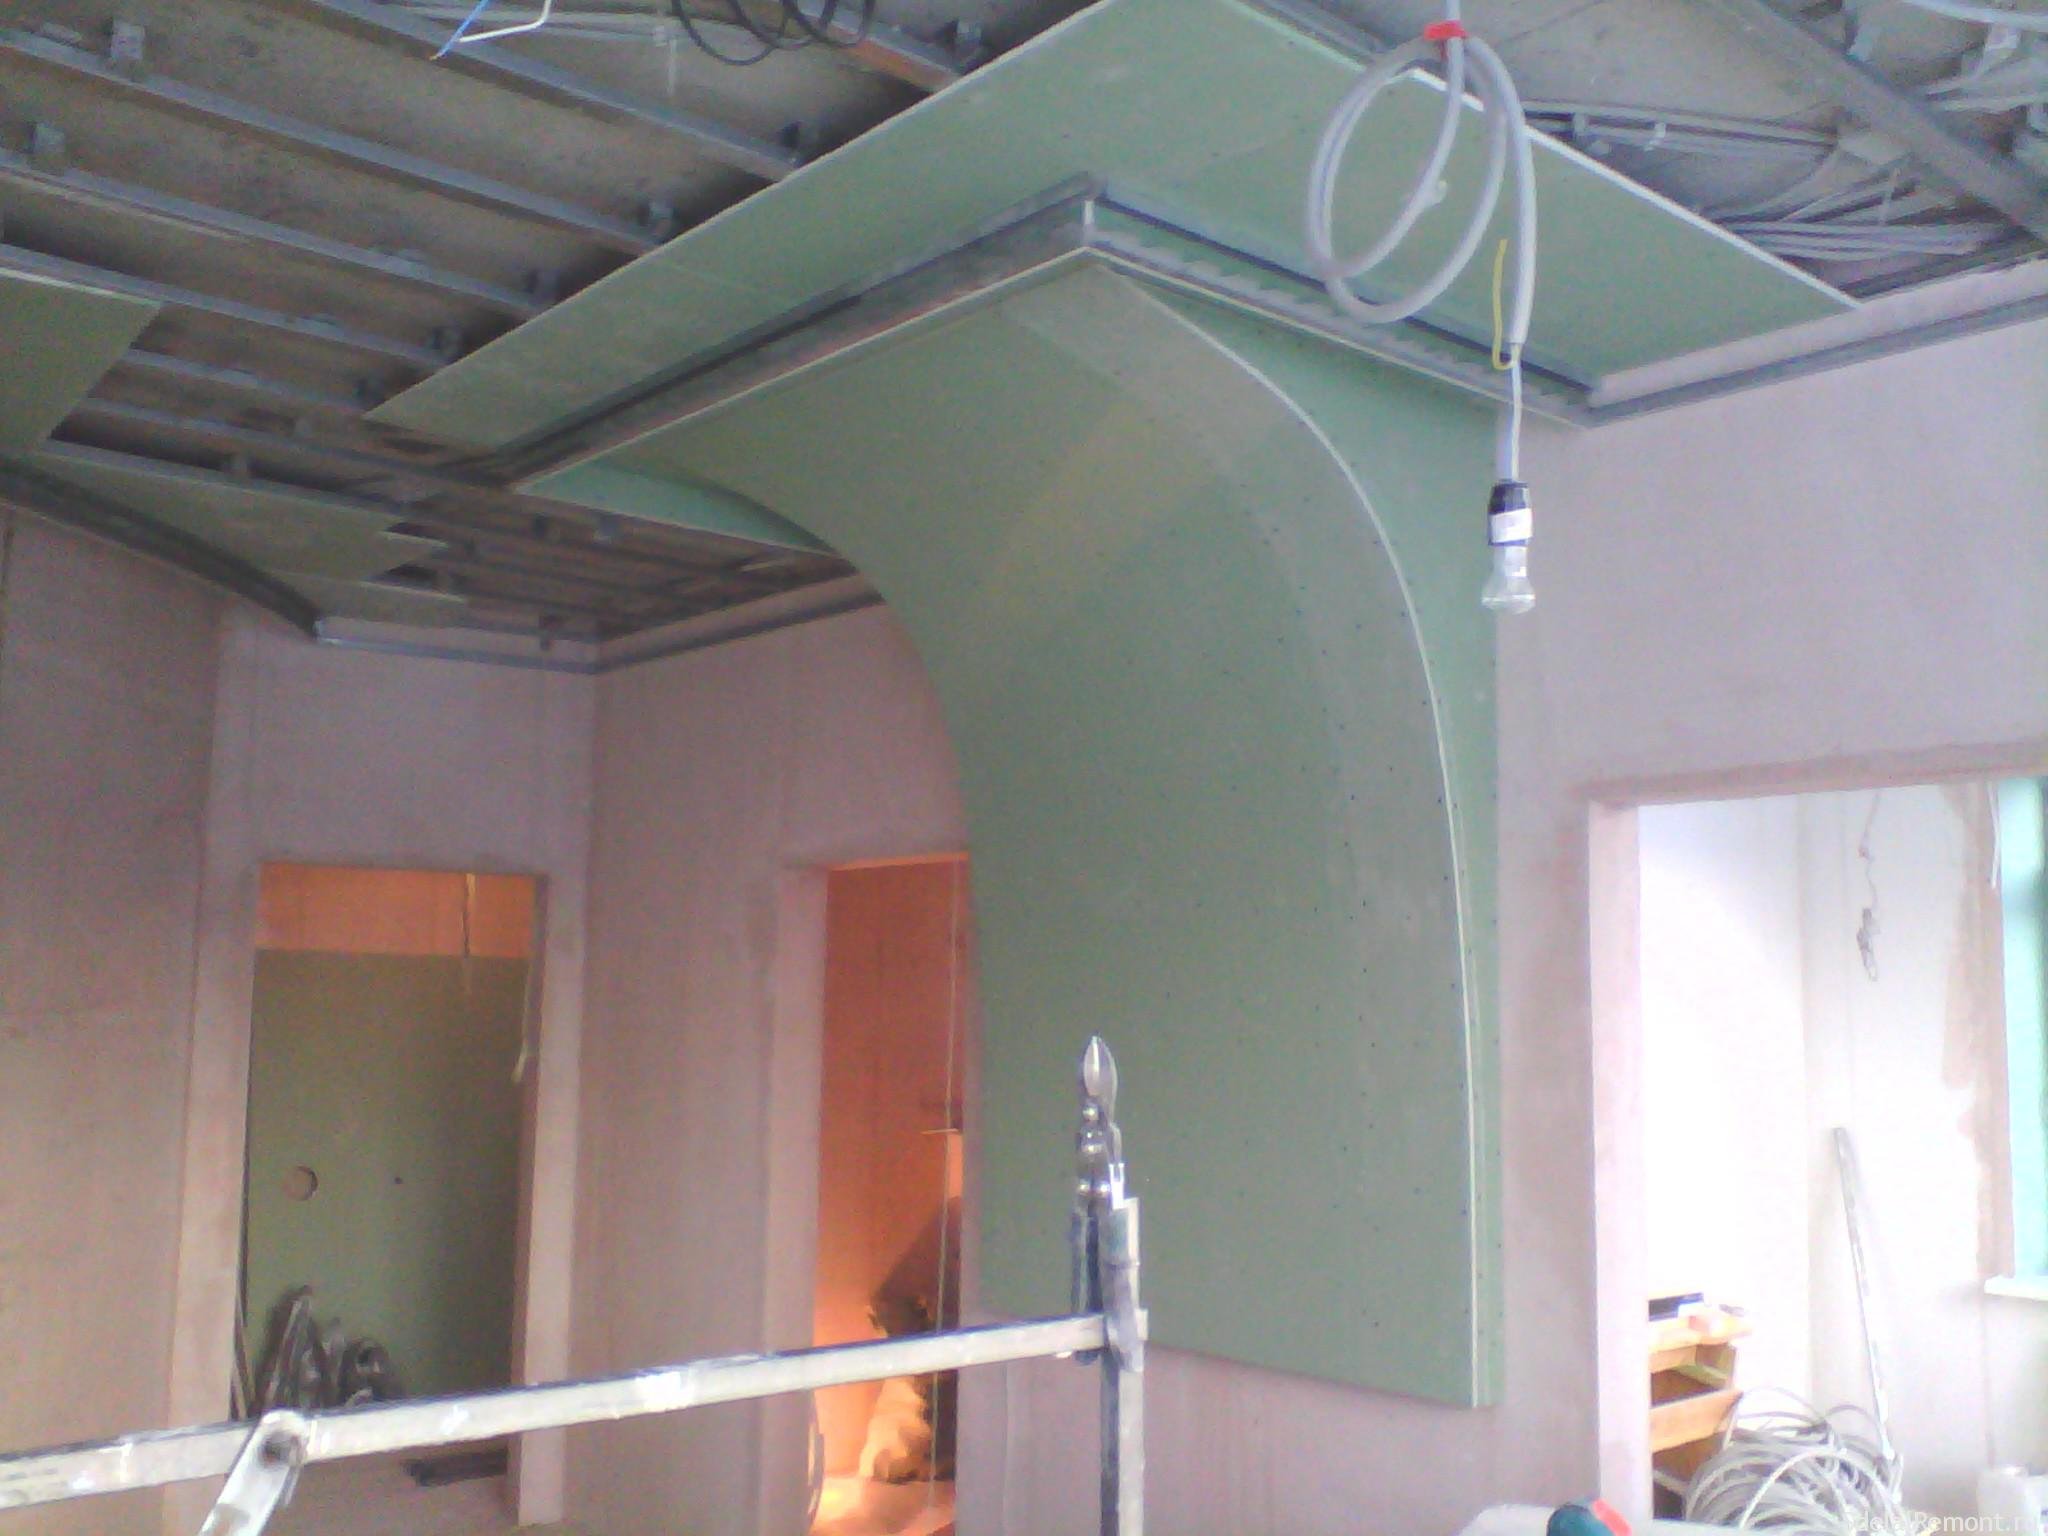
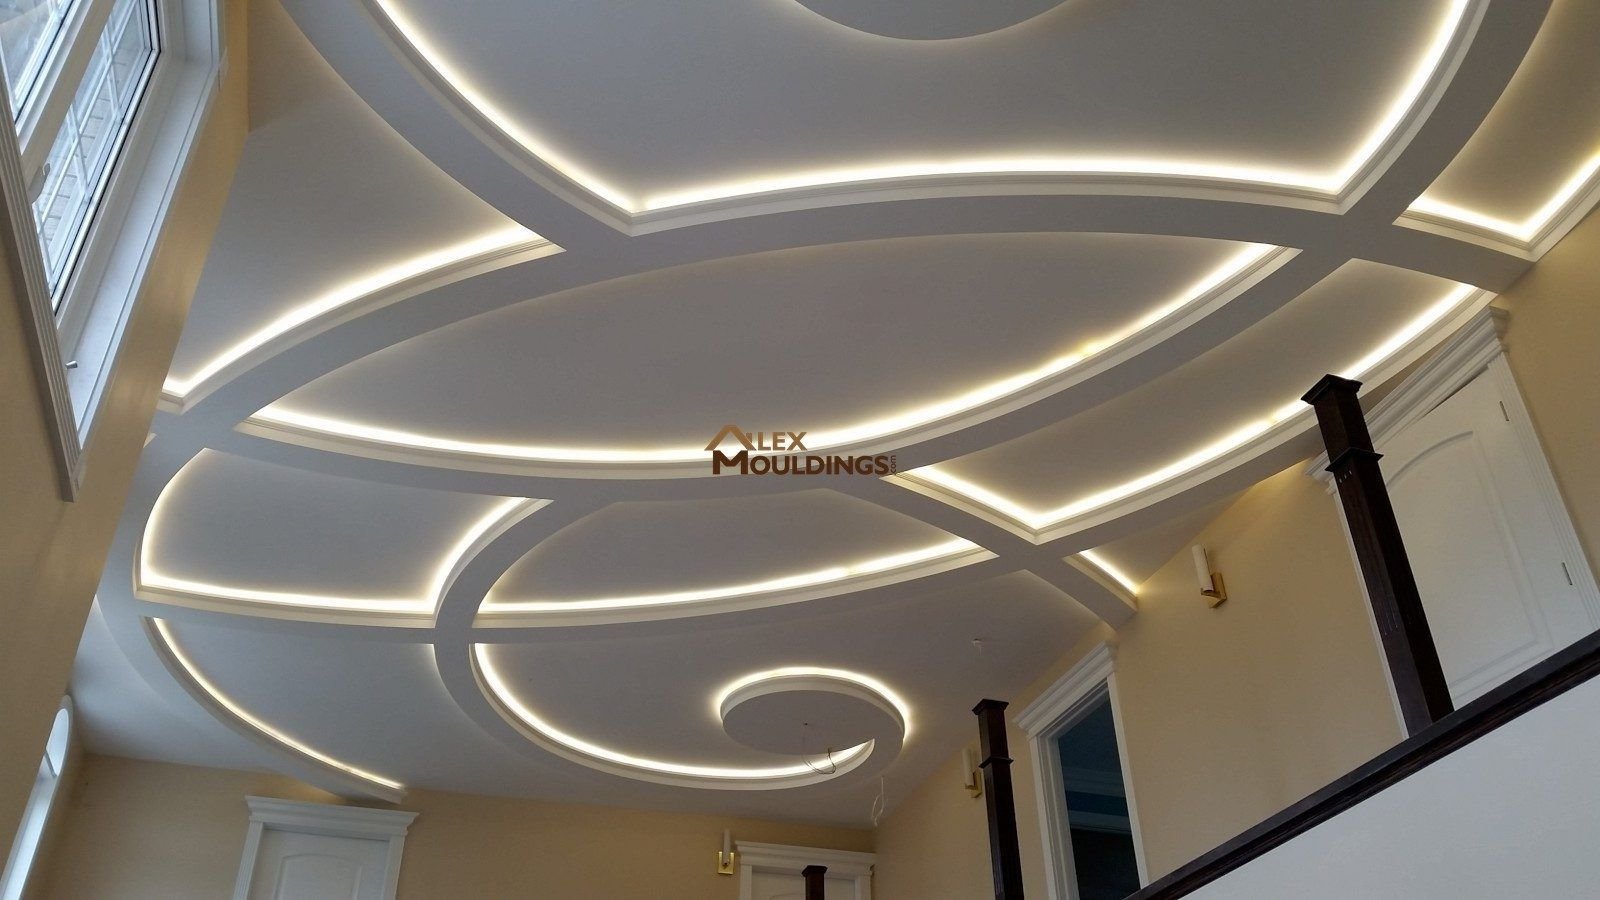
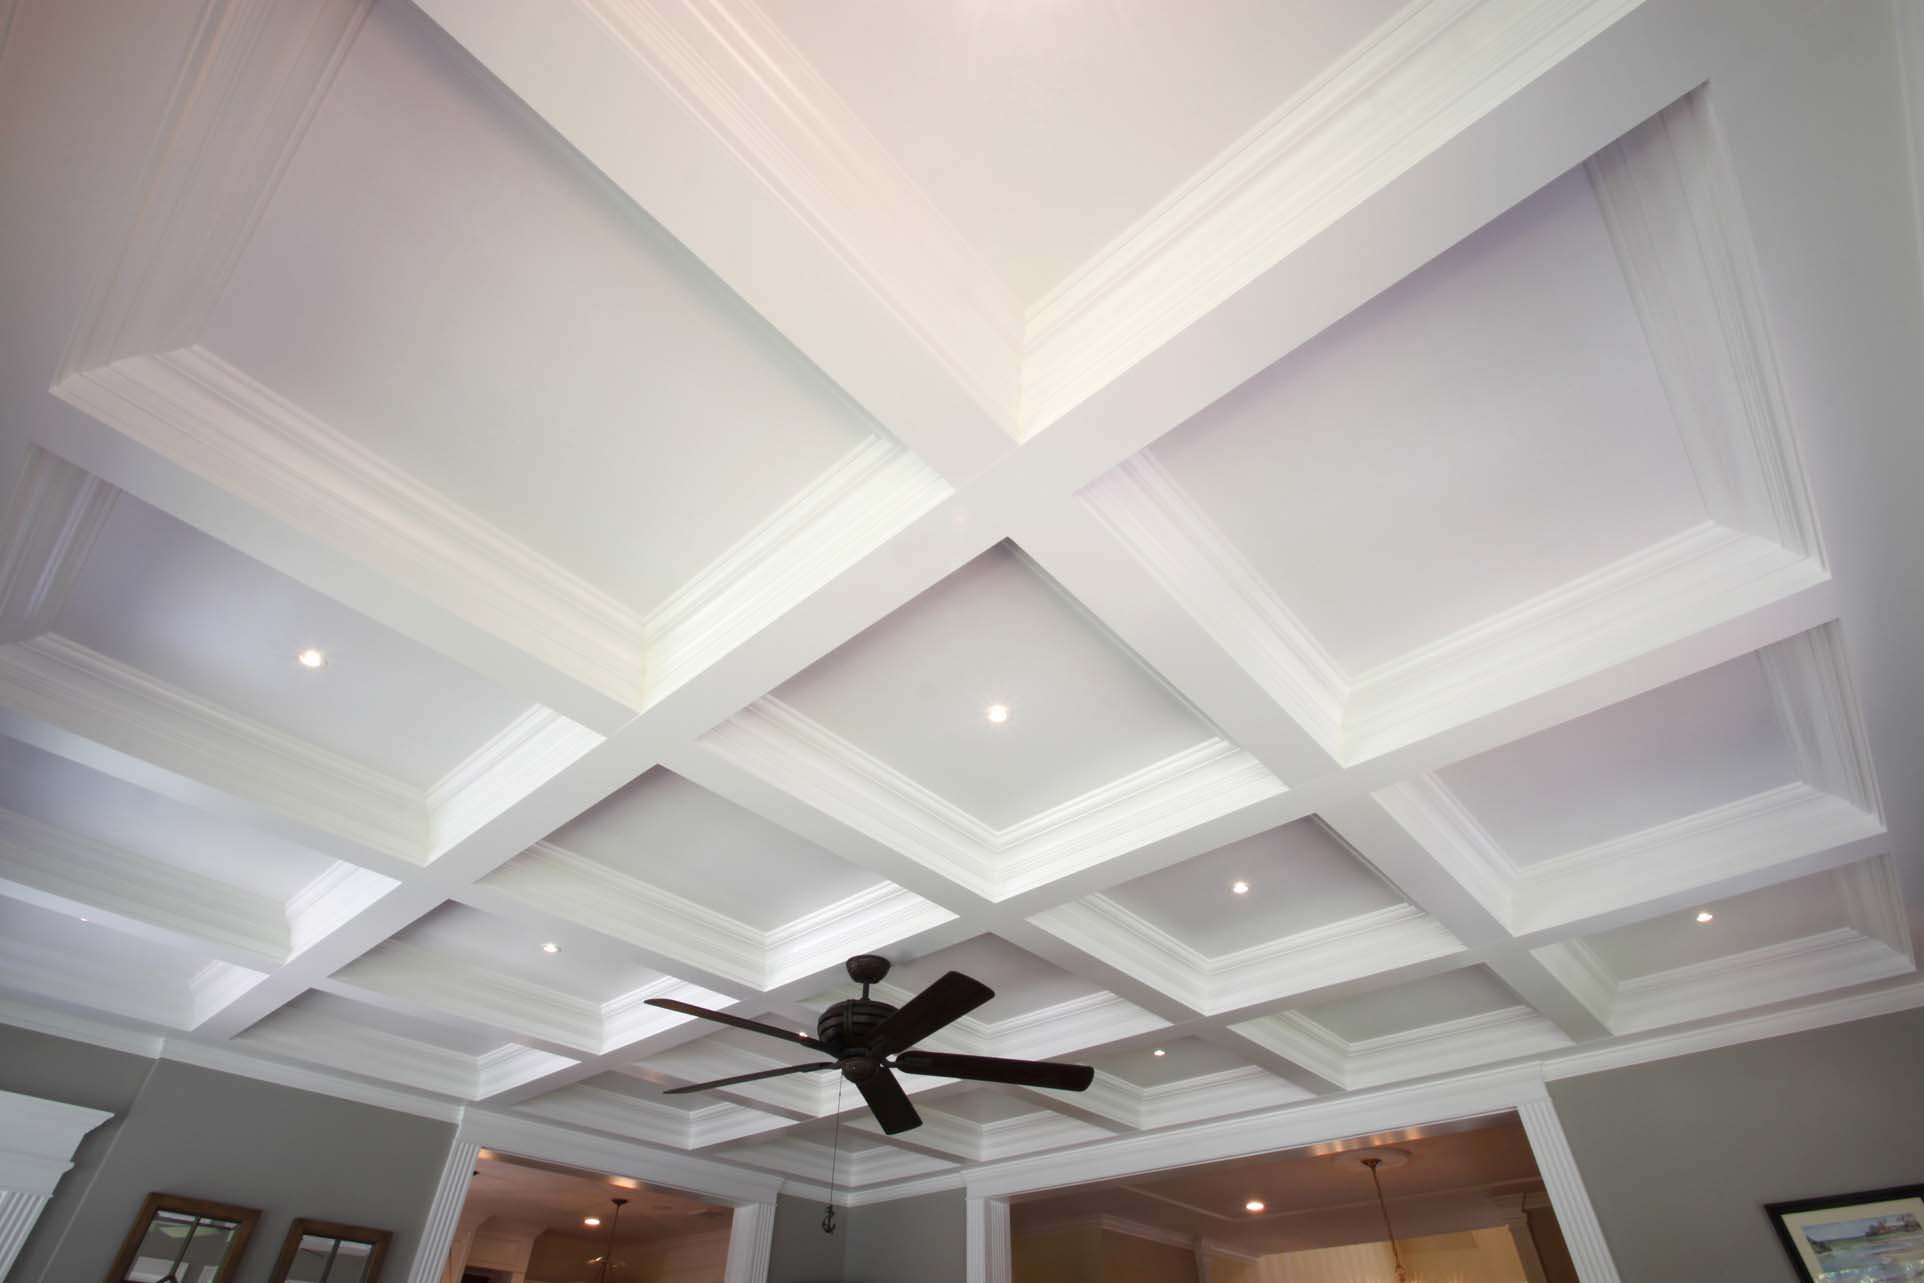
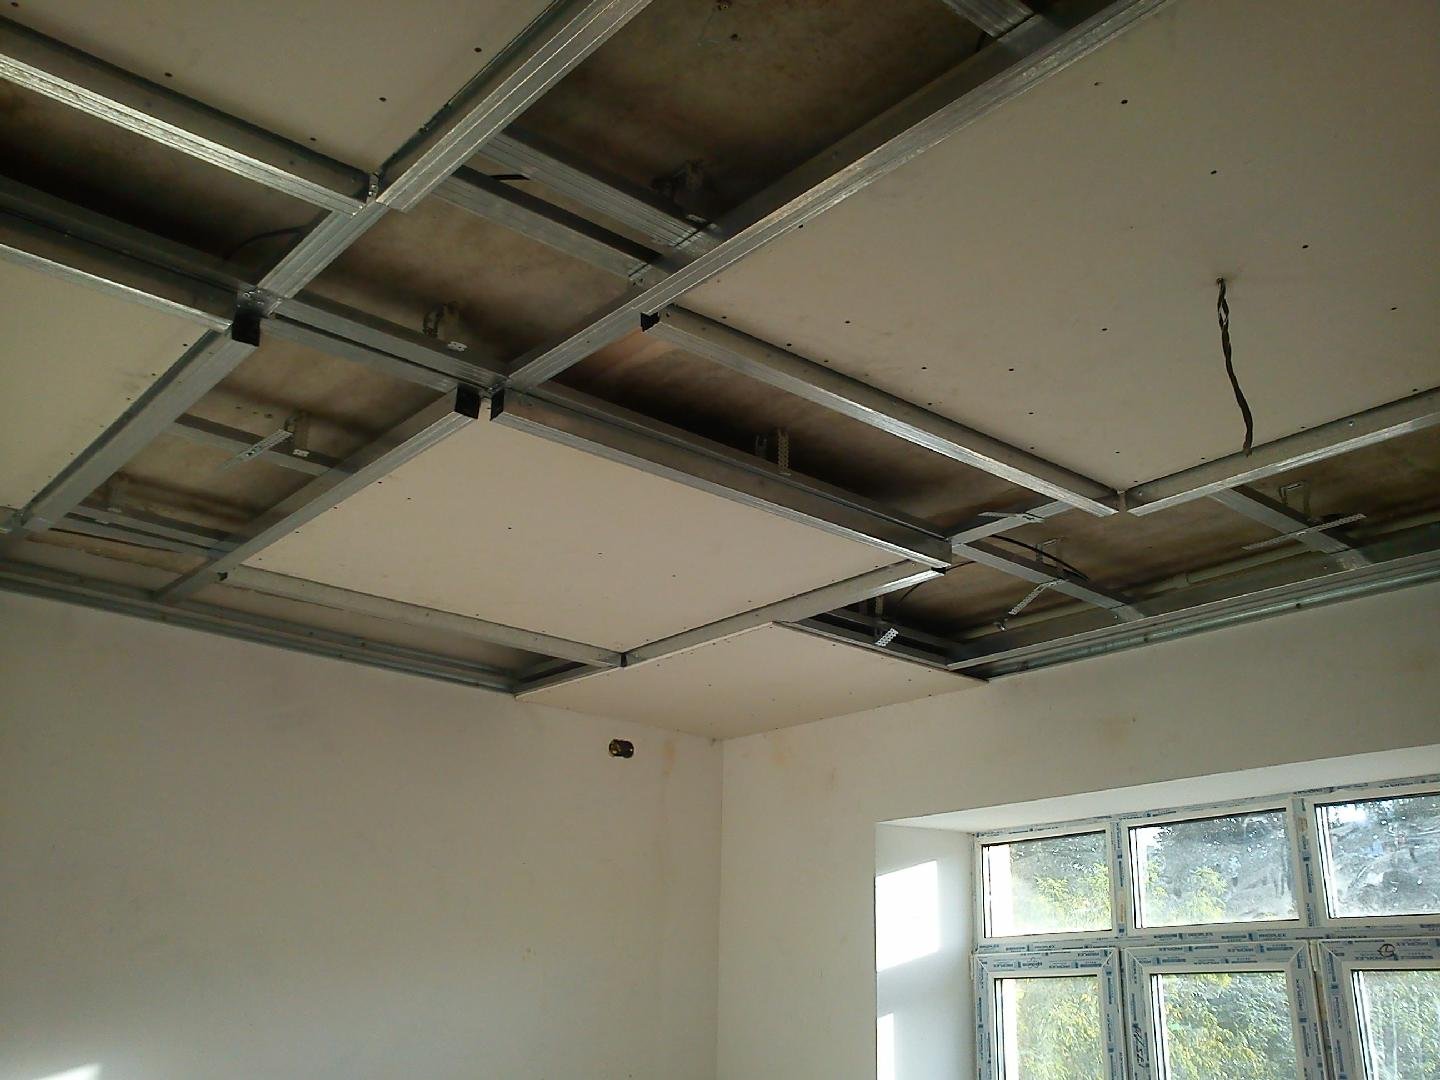
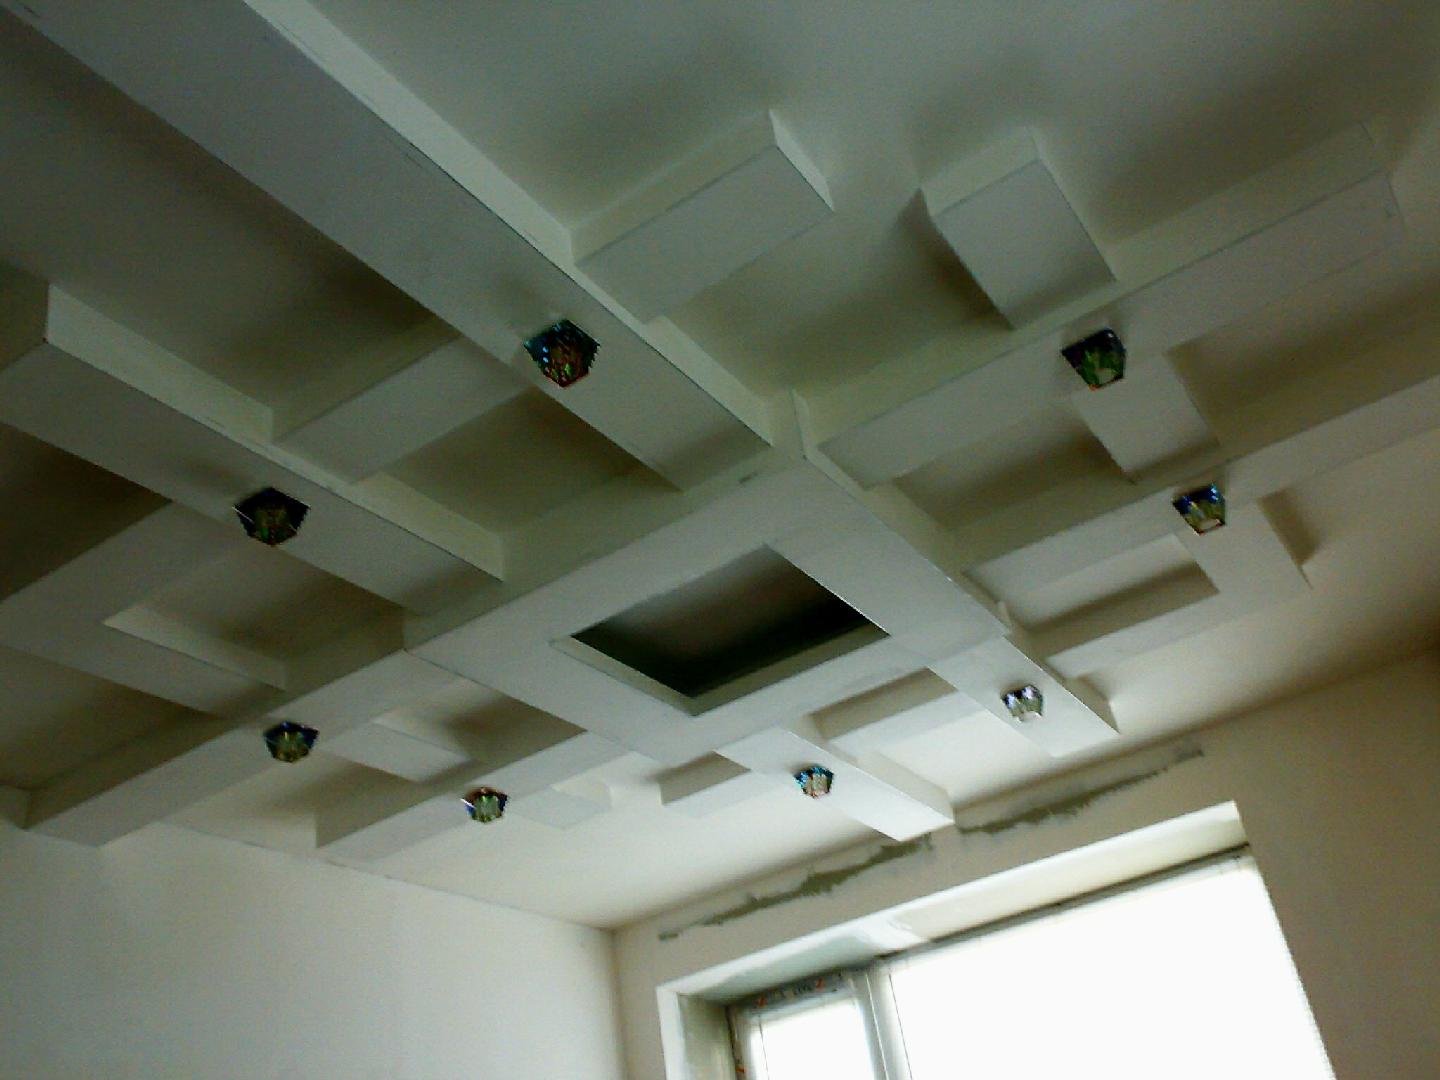
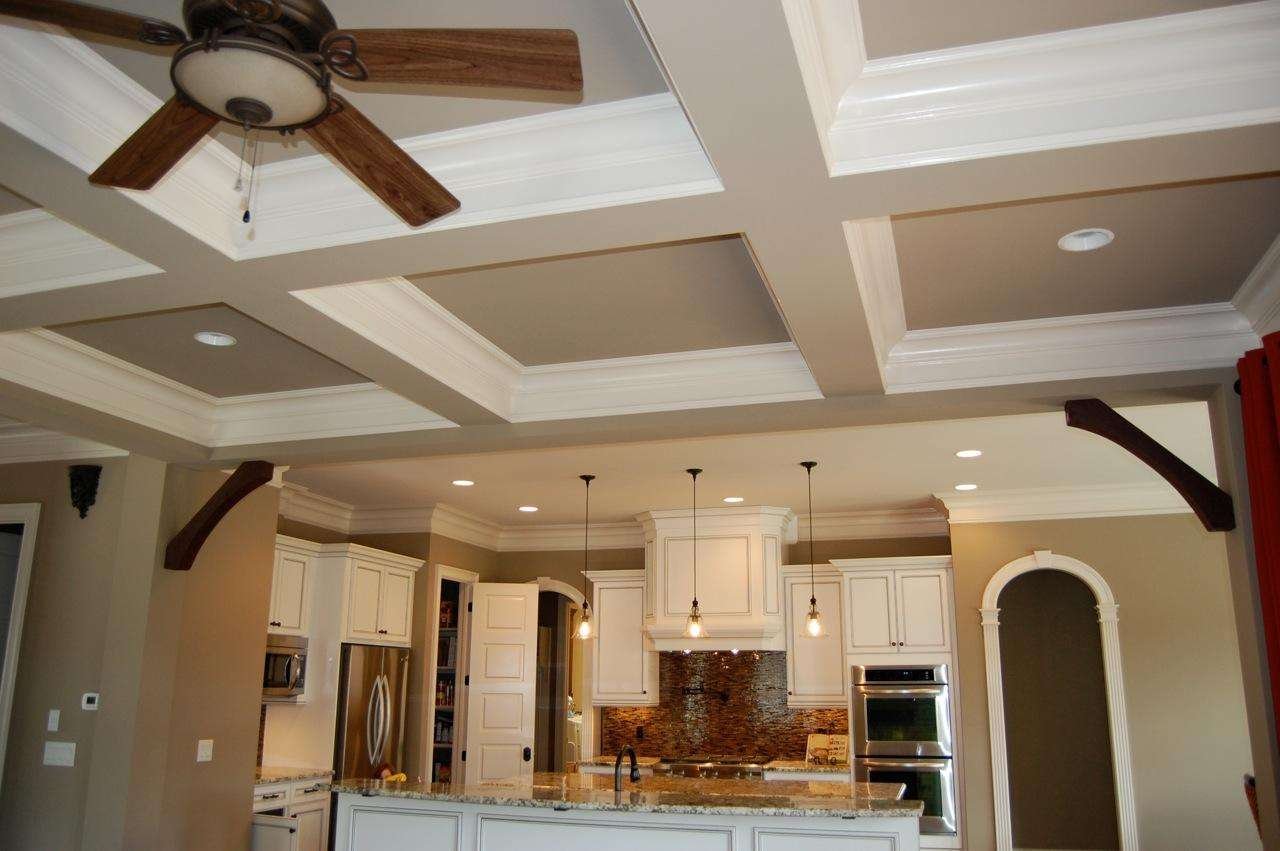
Installing drywall on the ceiling 54 photos
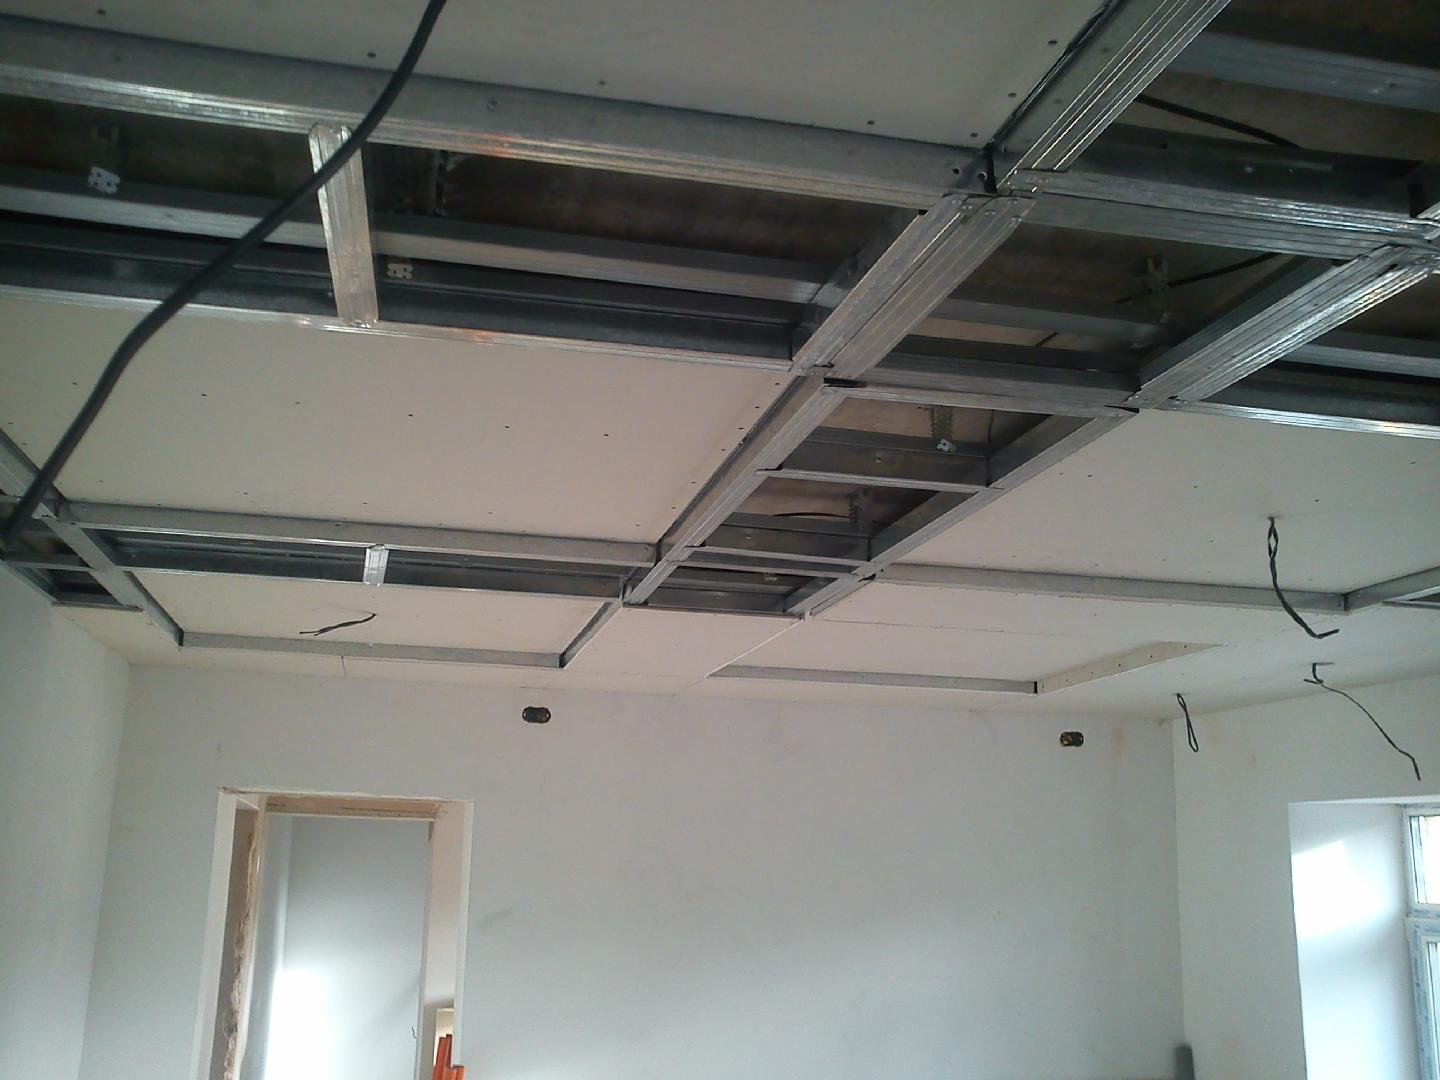
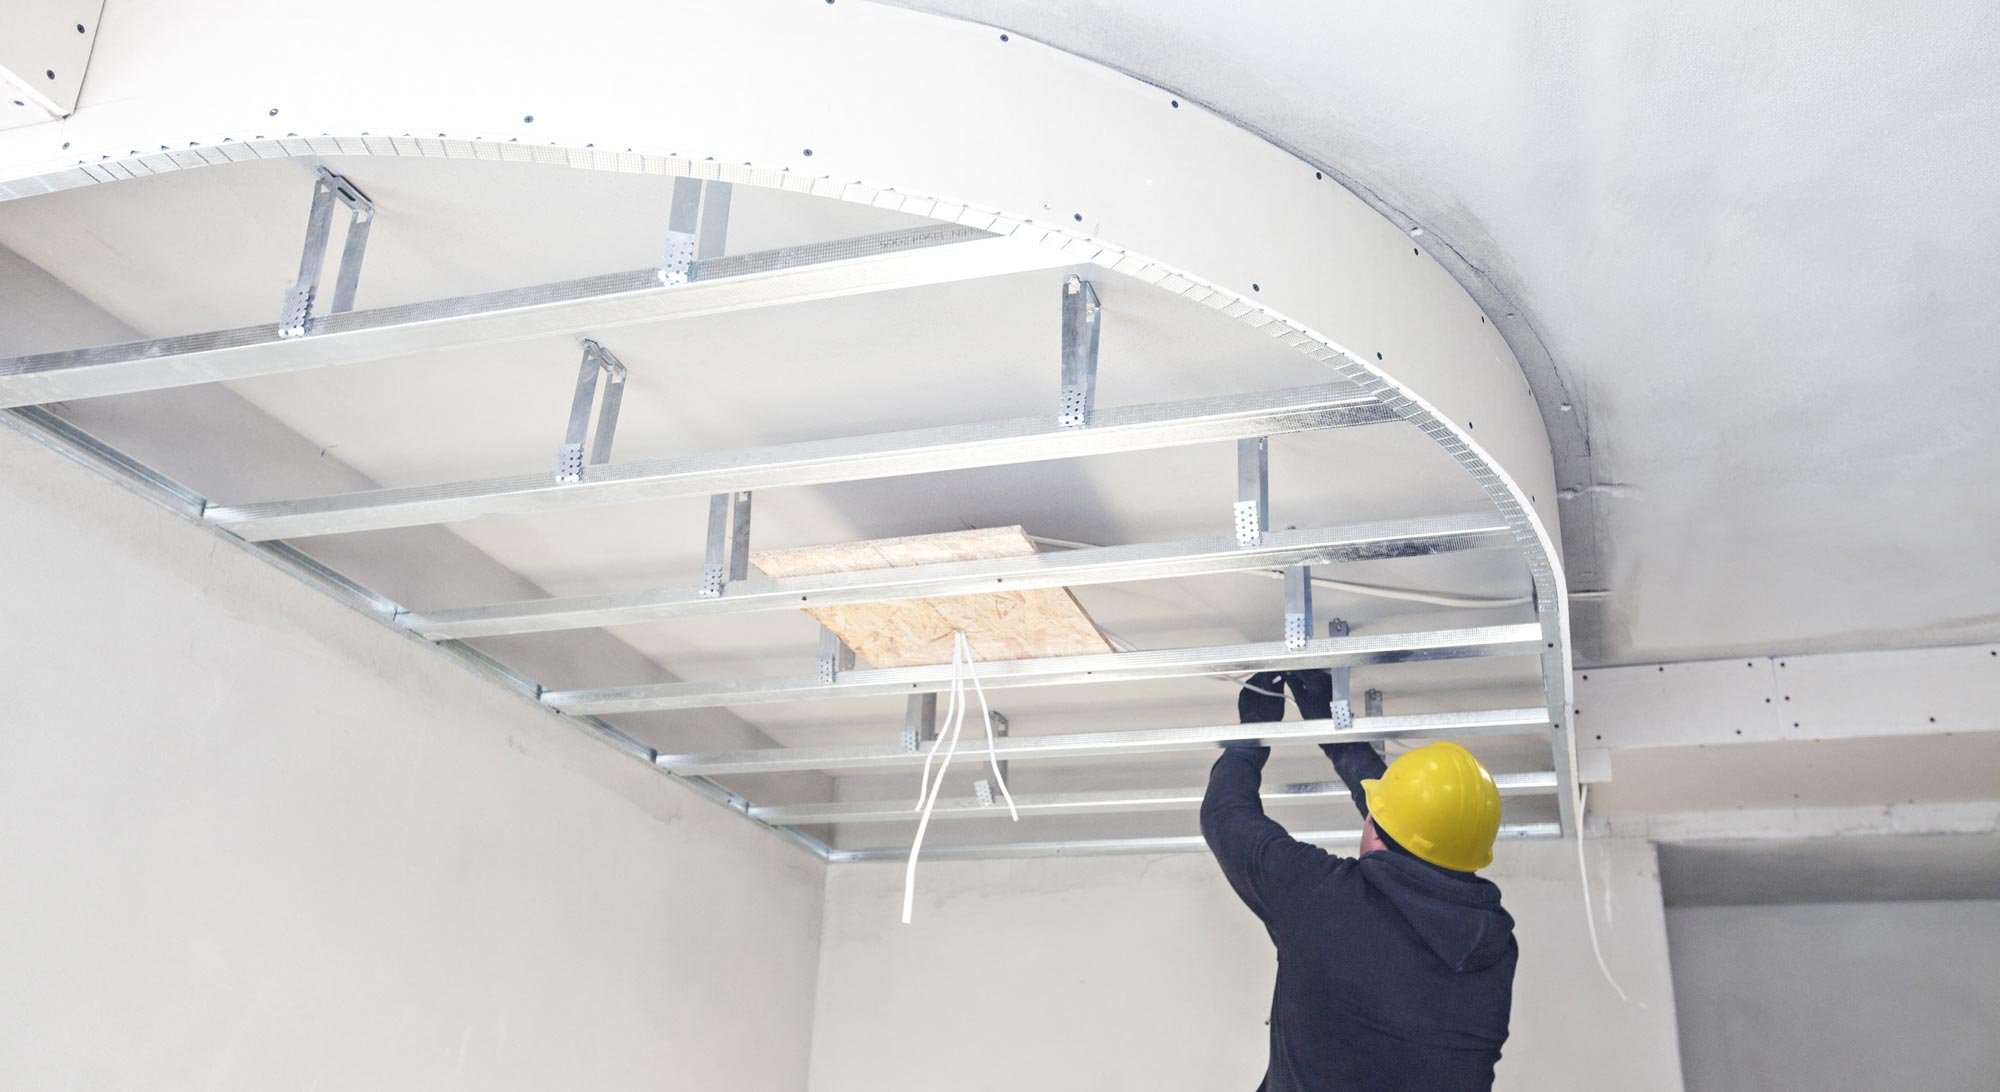
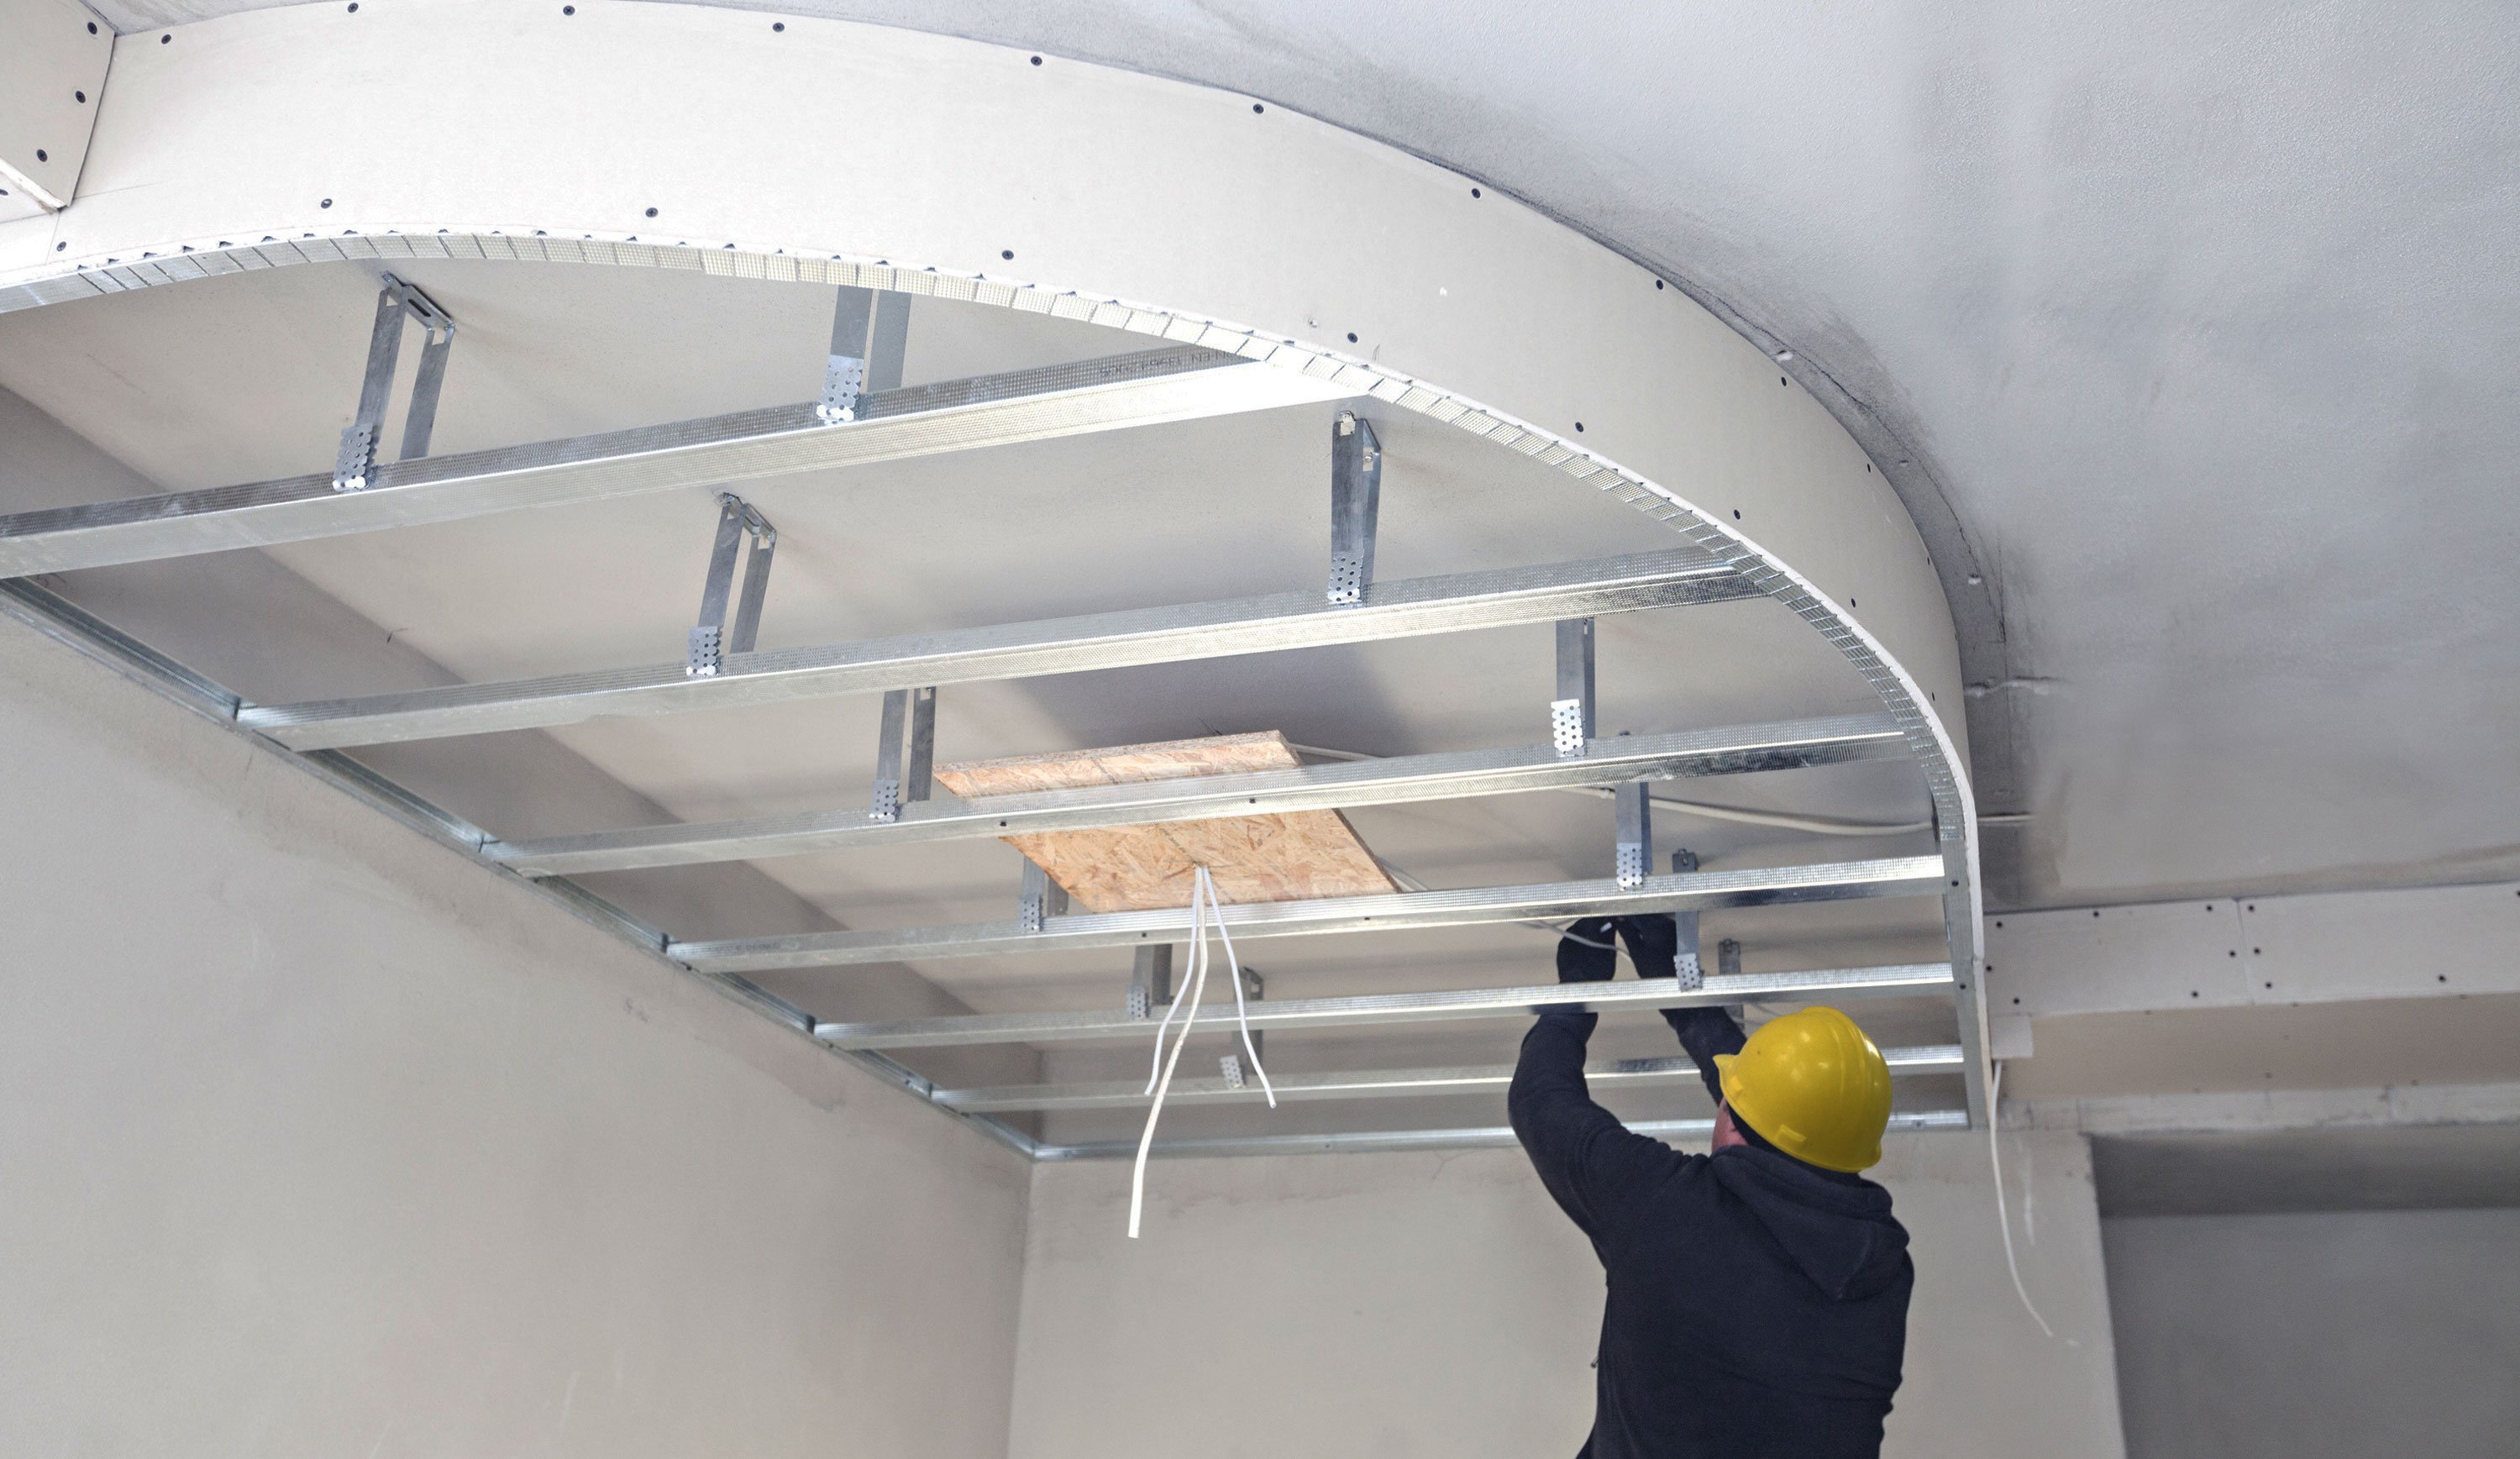
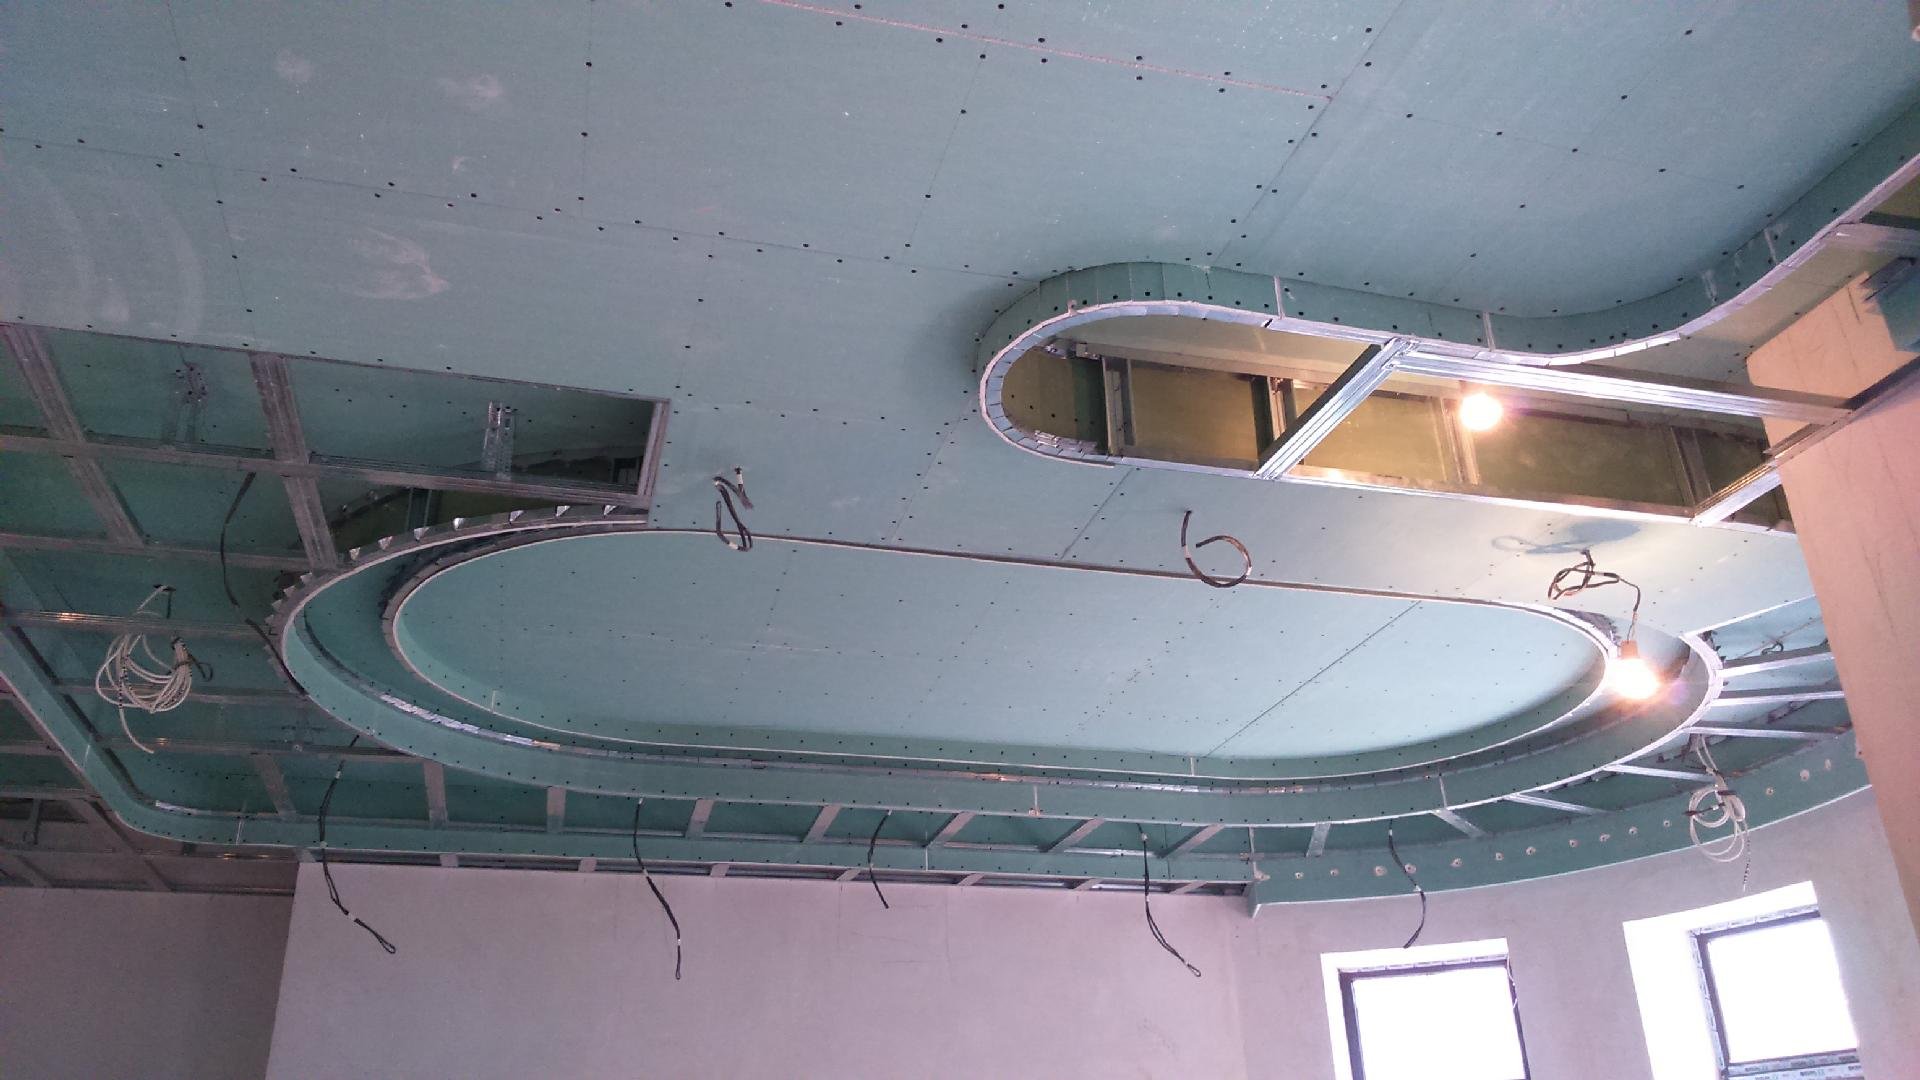
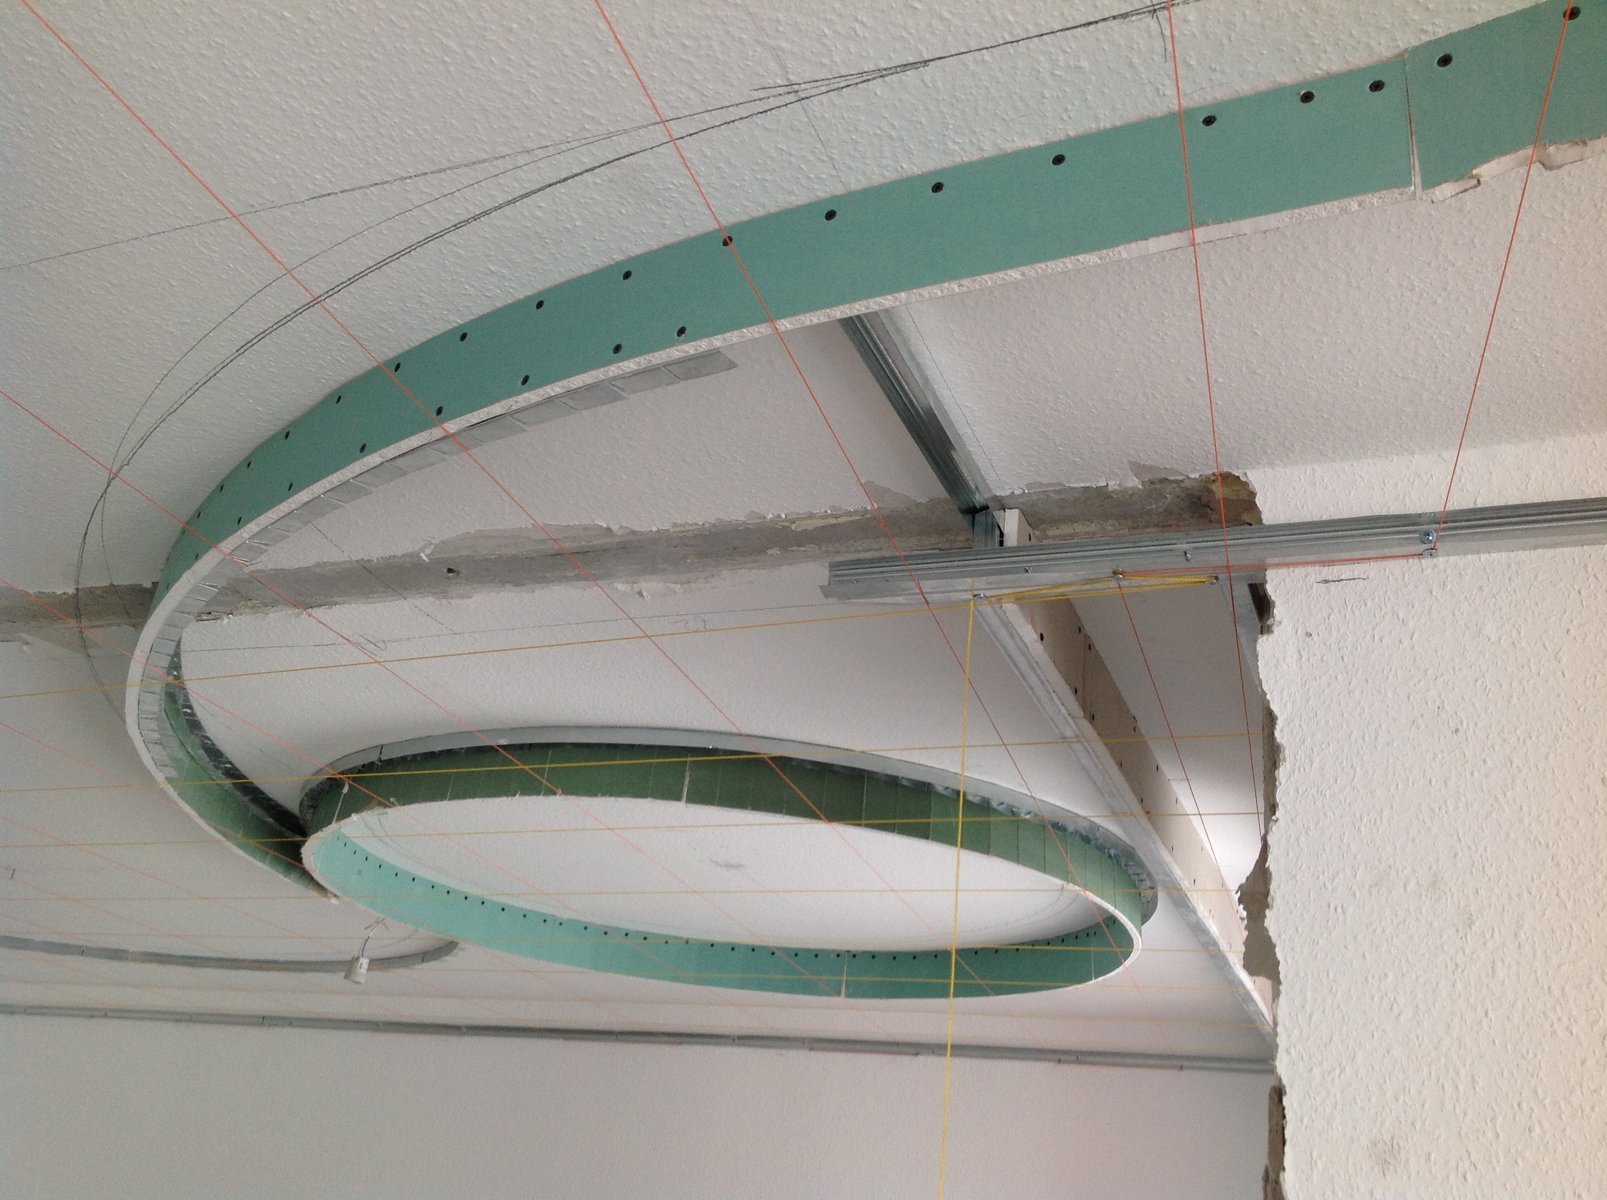
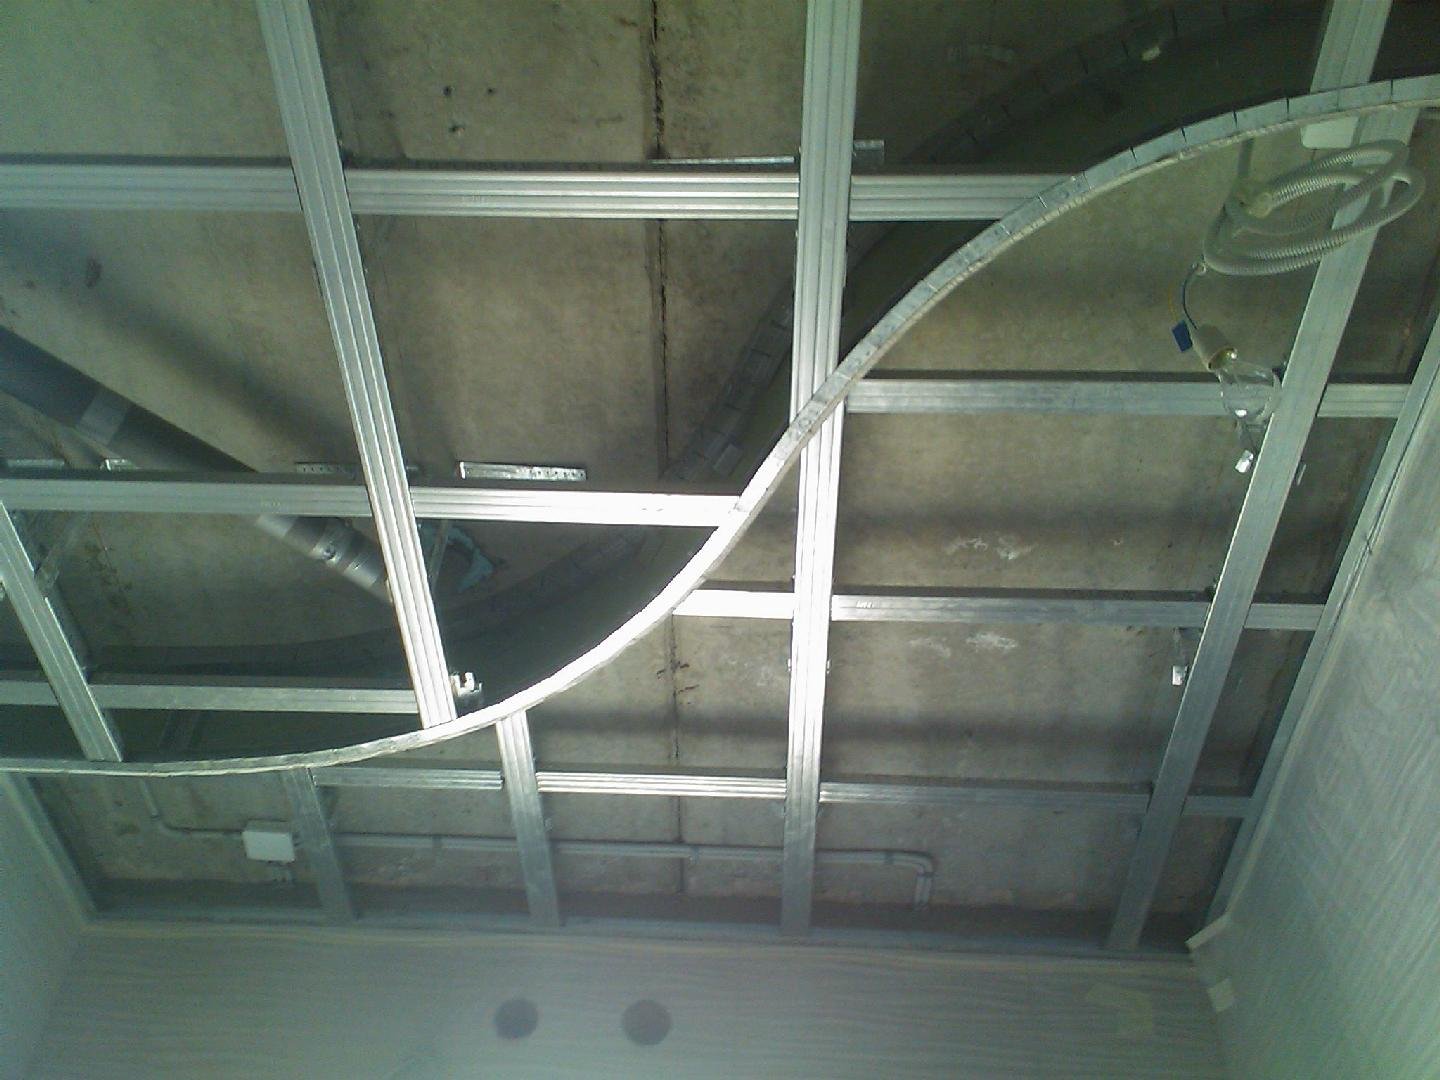
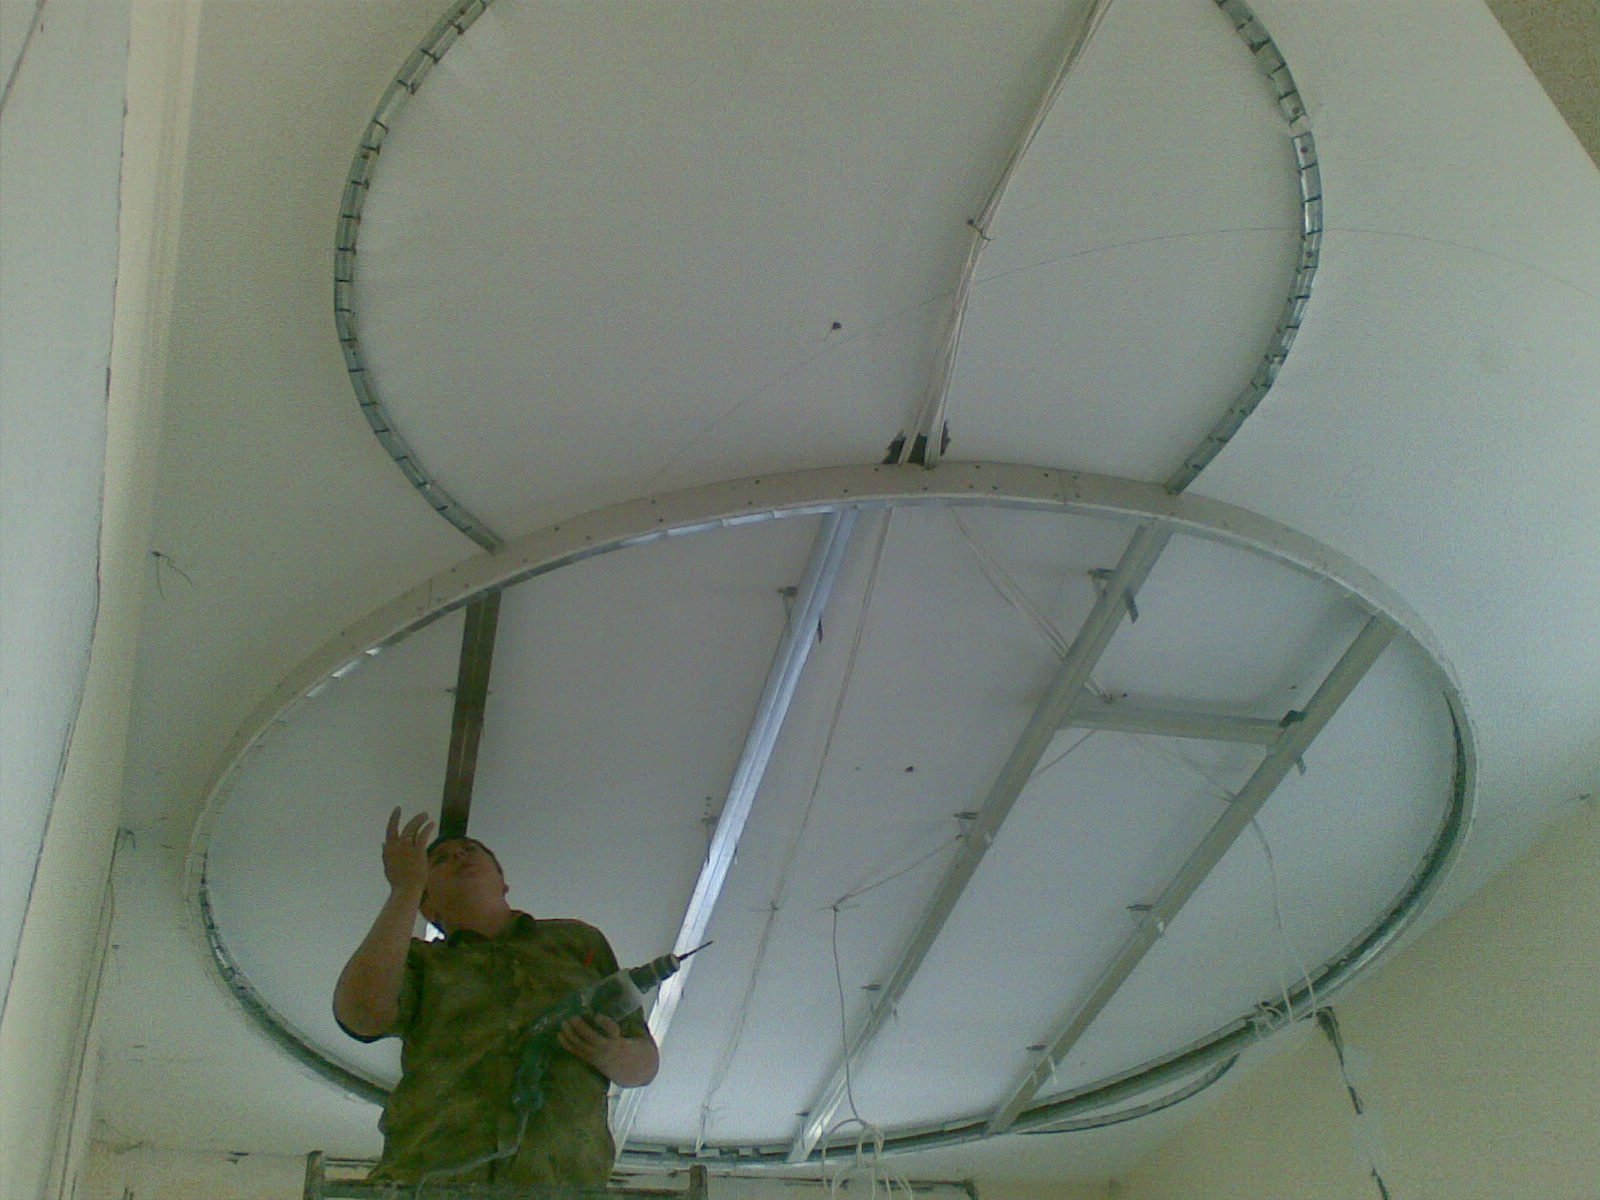
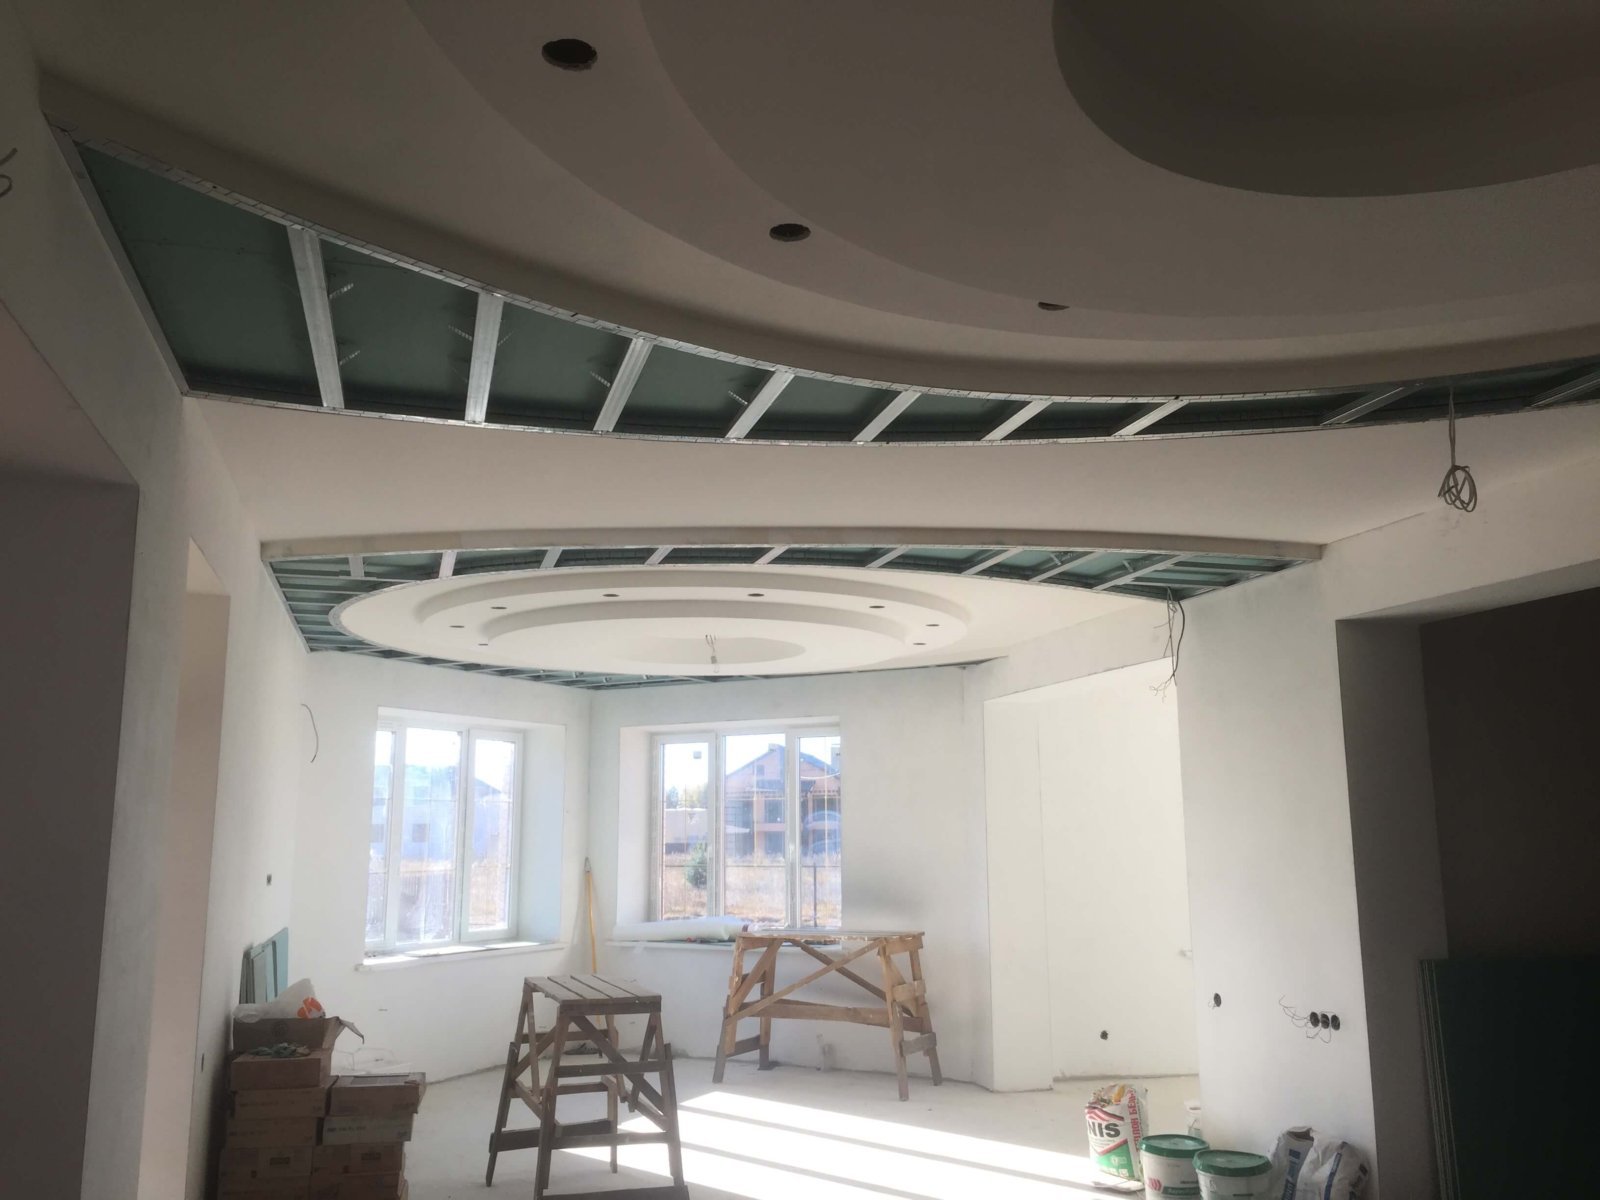
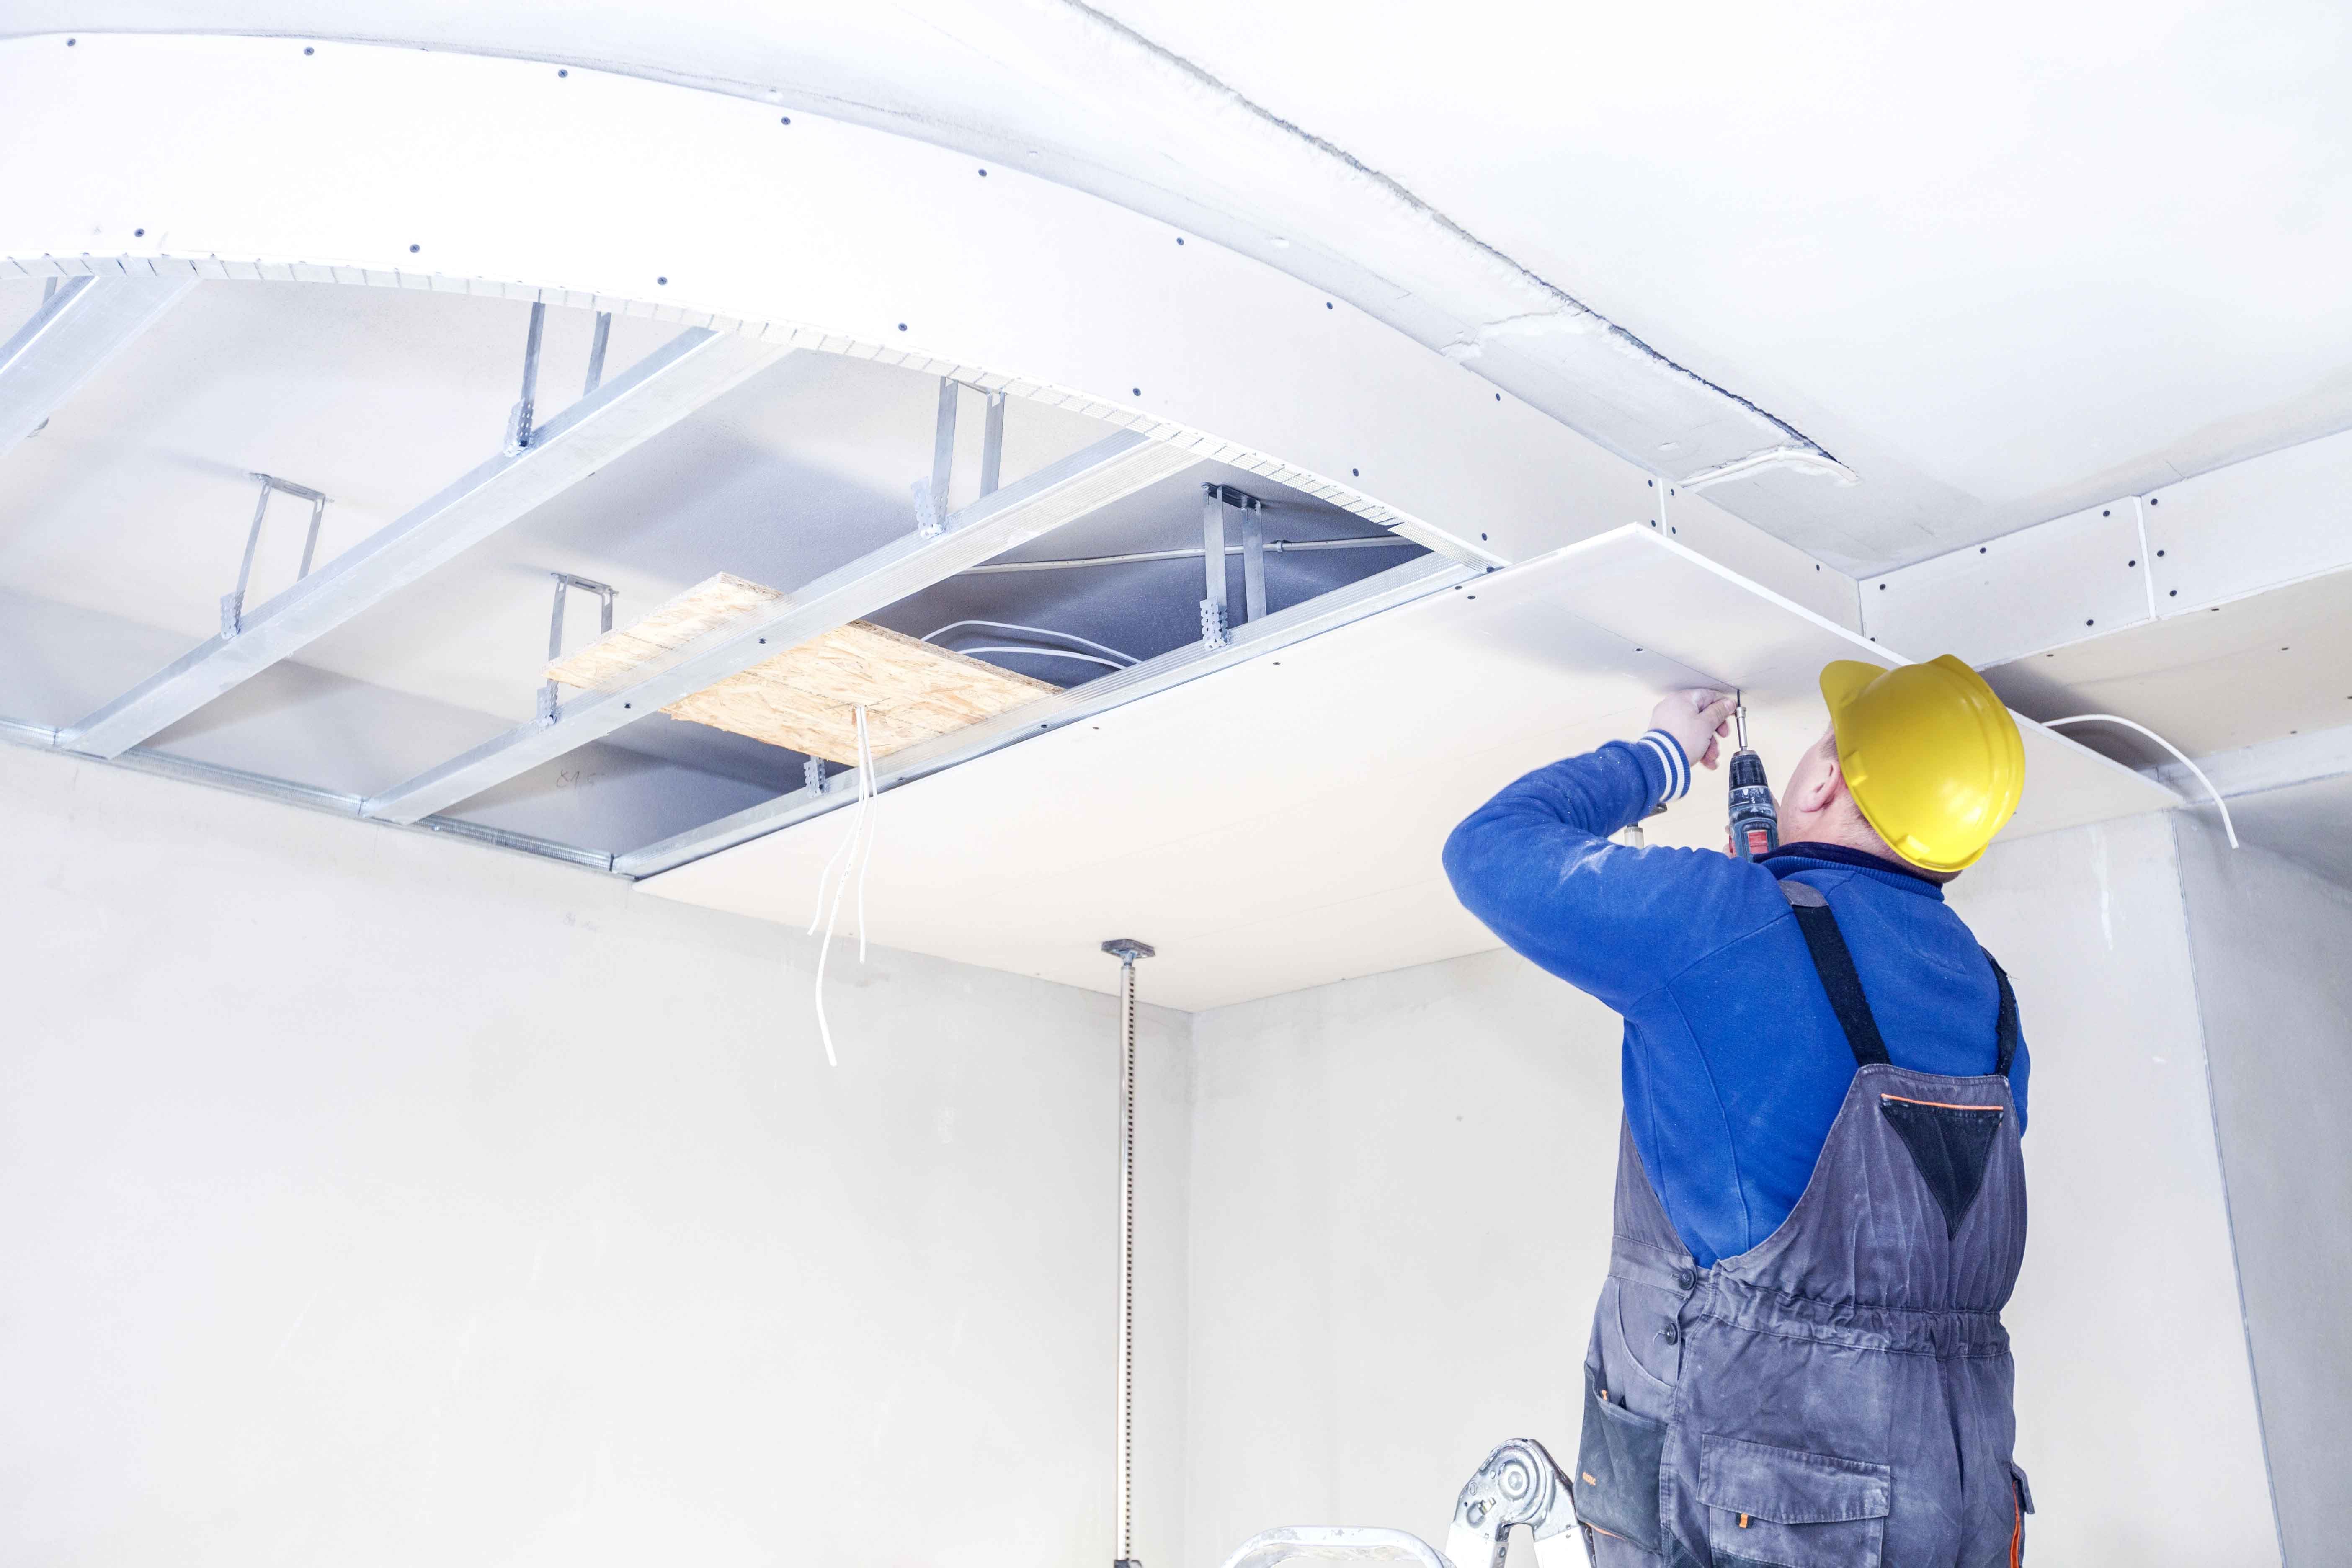
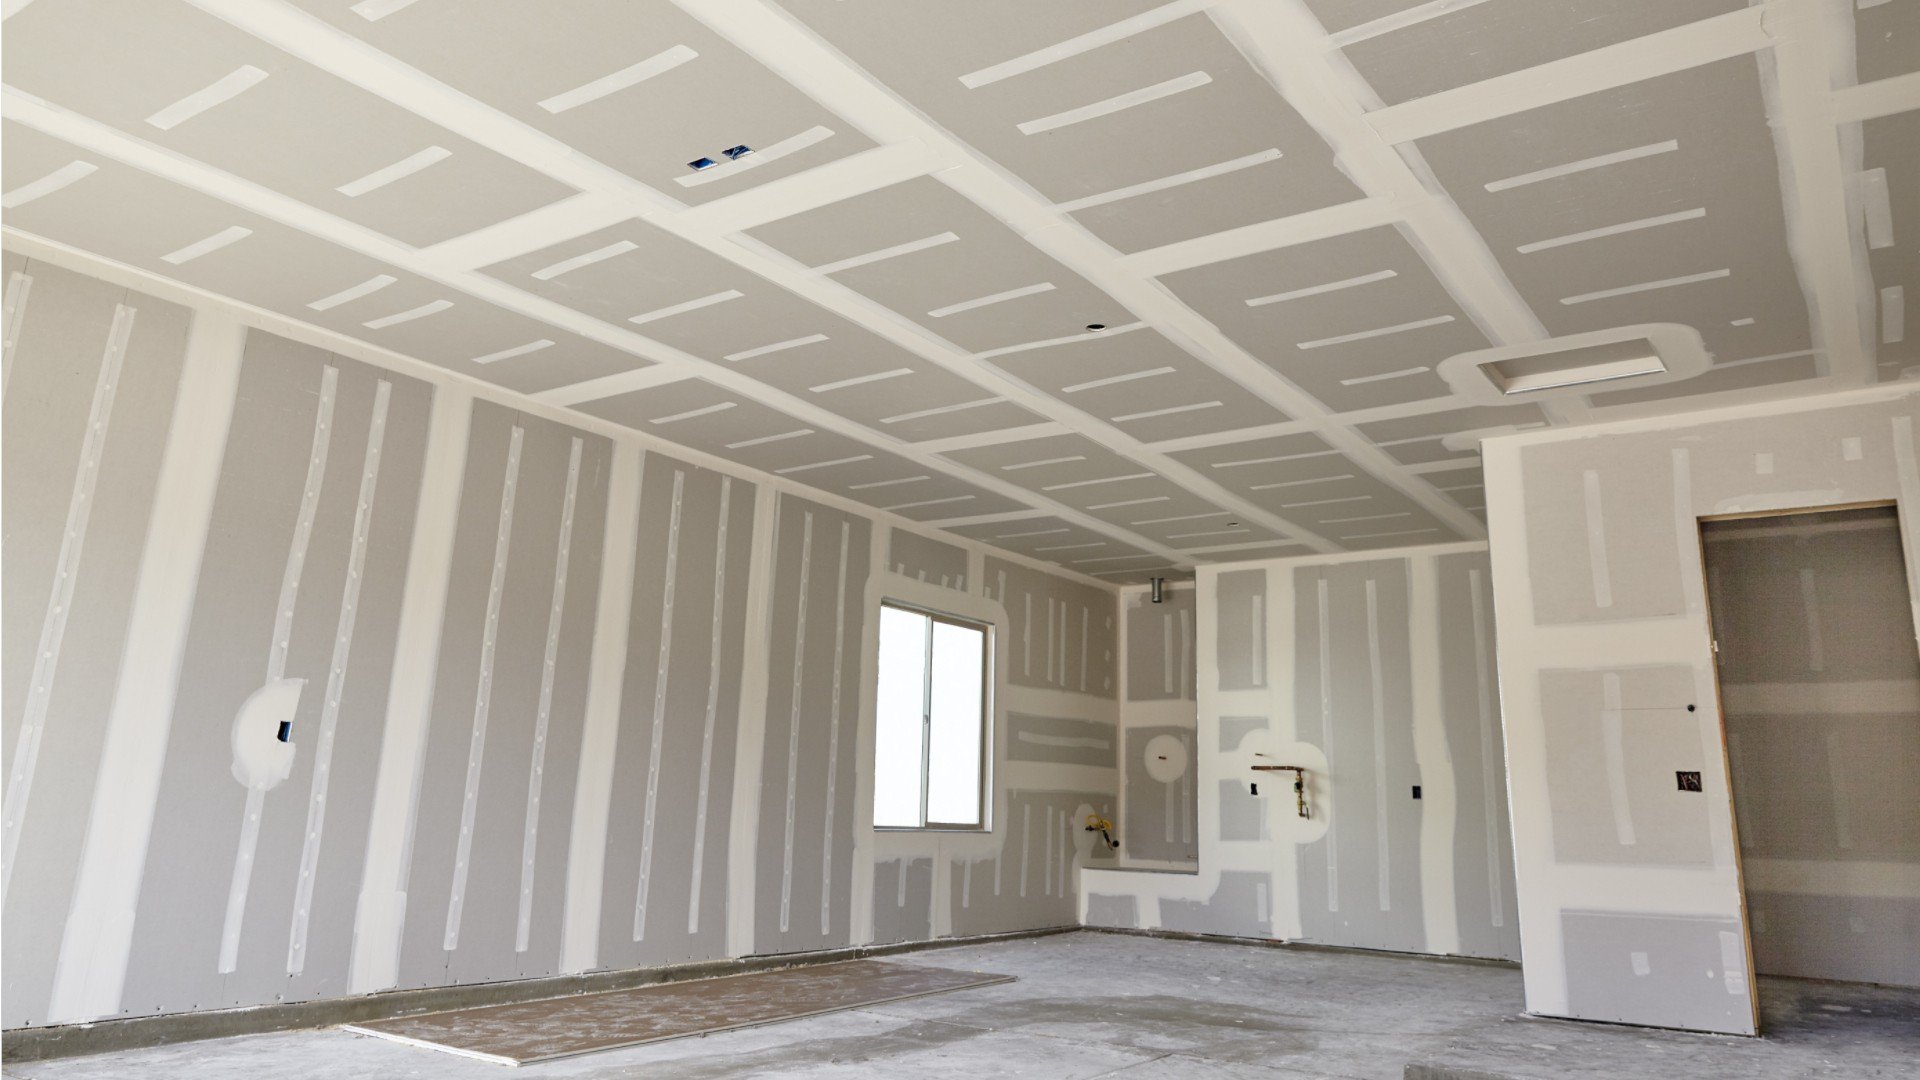
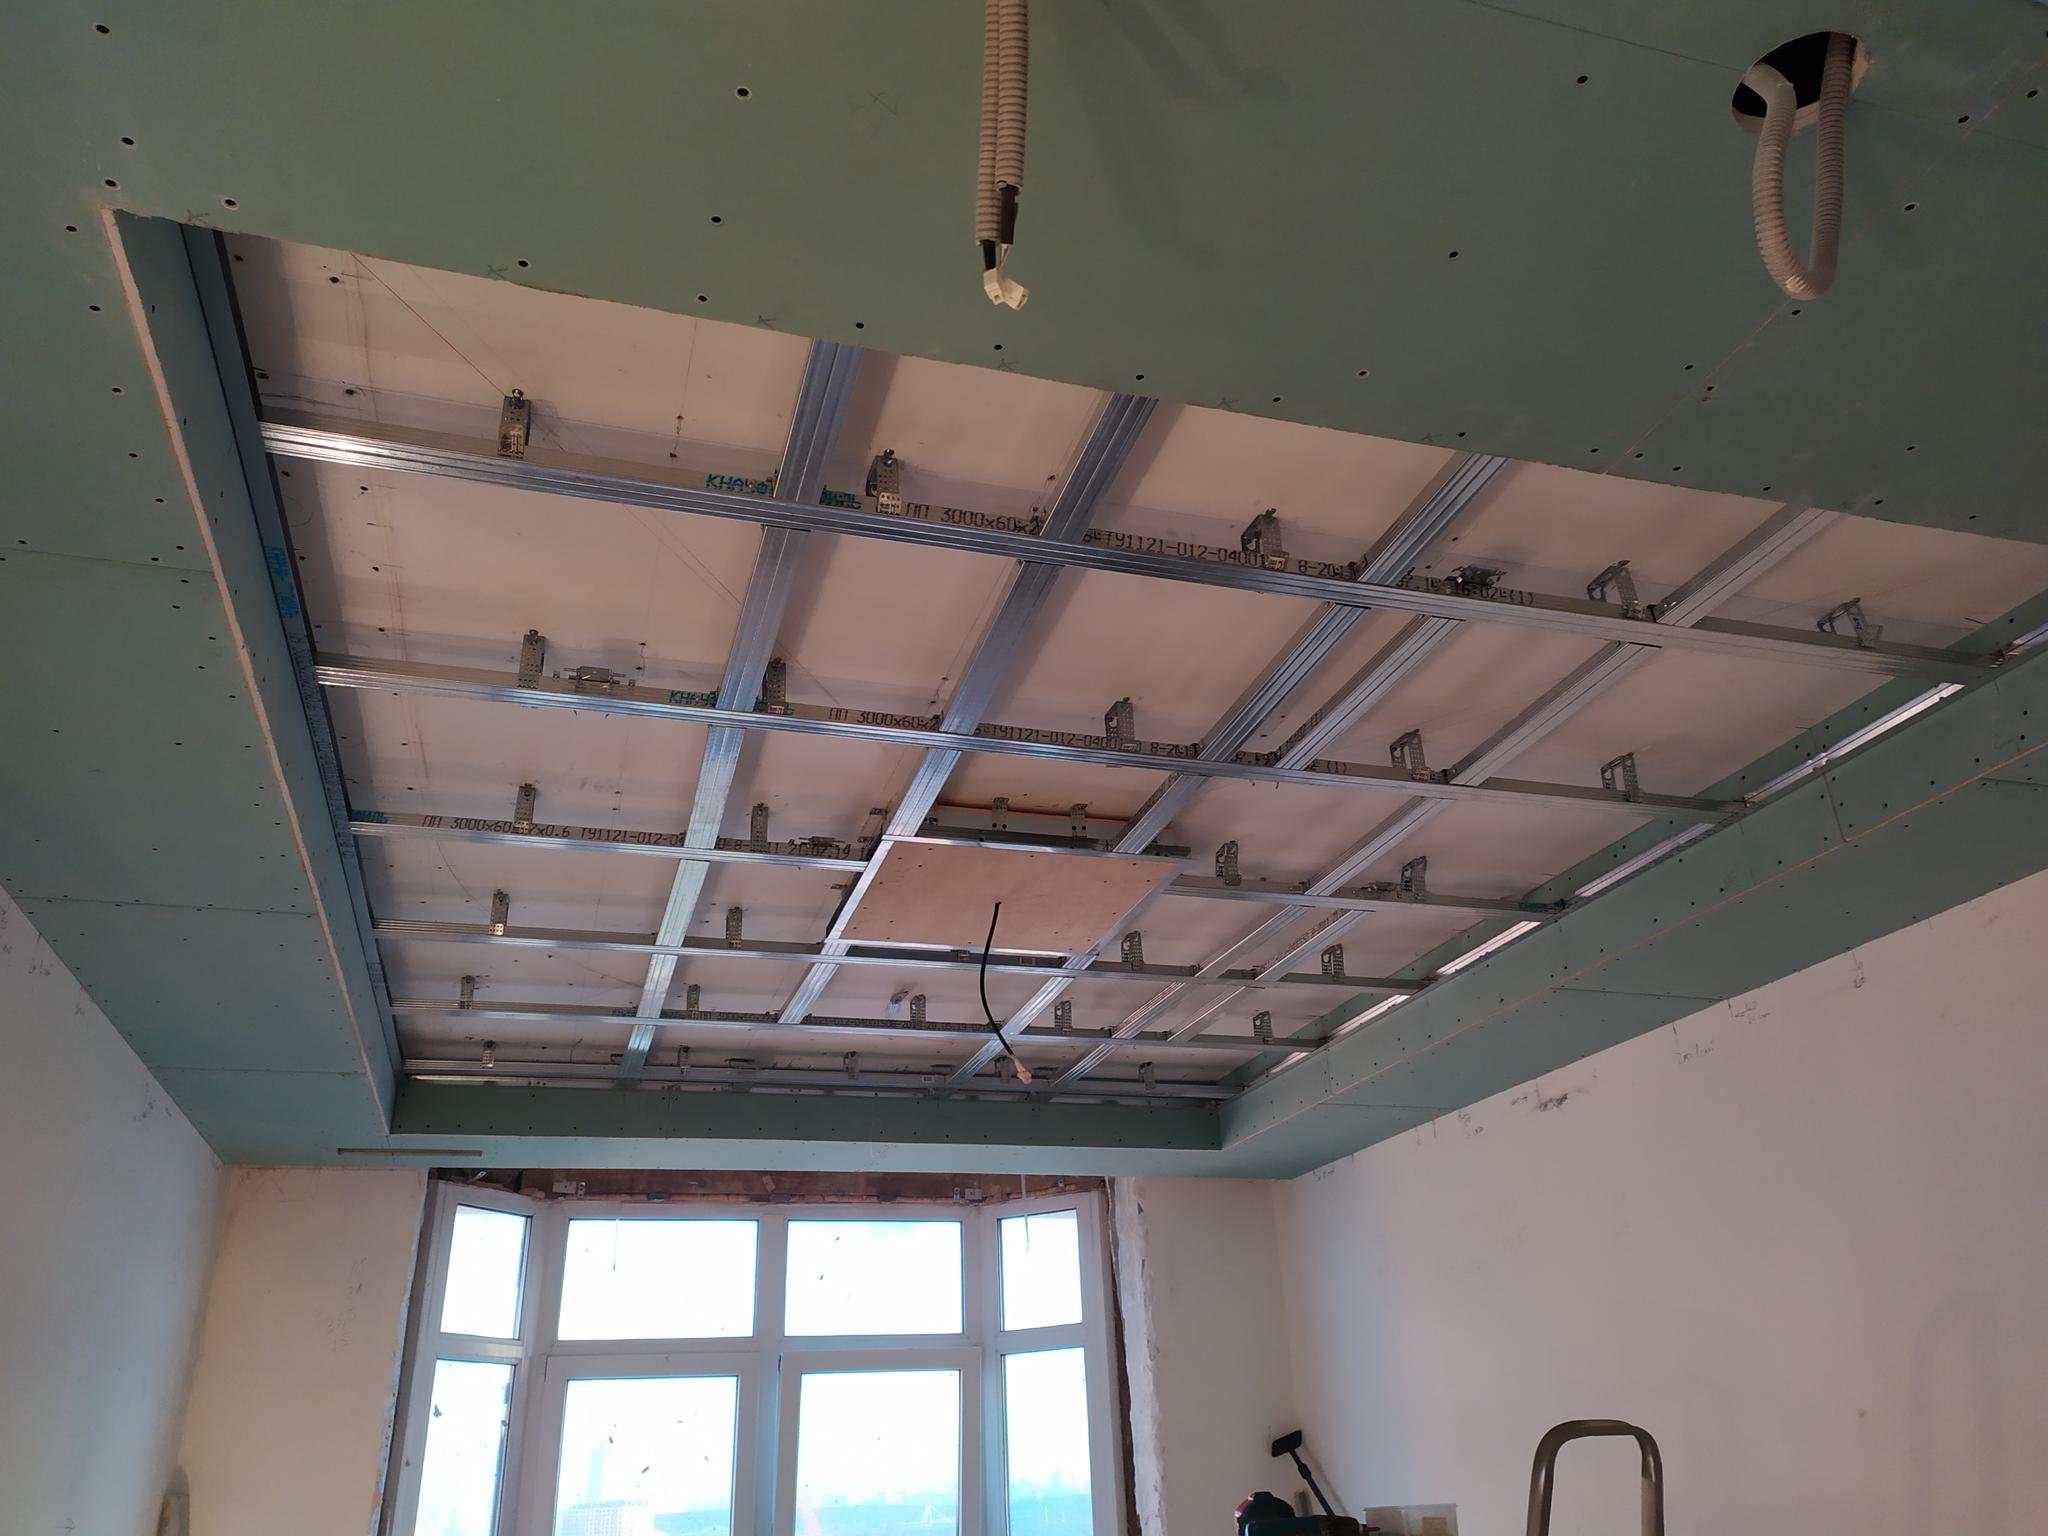
Installing drywall on the ceiling is a fundamental step in creating a smooth, elegant finish in any room. This process involves attaching large sheets of drywall to the ceiling structure, providing a uniform surface that can be finished with paint or other decorative treatments. Before beginning, it's crucial to ensure all necessary materials and tools are on hand, including drywall panels, screws, a drill, and a drywall lift or a pair of helping hands for lifting. Preparation is key; start by measuring the ceiling space accurately, marking joist locations, and cutting the drywall to fit snugly against the walls. It's important to stagger the panels, much like laying bricks, to enhance stability and minimize visible seams. Attaching the drywall requires precision; screws should be driven into the joists, ensuring the heads are slightly recessed without breaking the paper surface. Once installed, seams and screw holes are covered with joint tape and compound, creating a seamless appearance after sanding. This step demands patience and care, as a well-finished drywall ceiling can significantly impact the room's acoustics and insulation, as well as provide a pristine backdrop for further design elements. Whether renovating or constructing anew, a properly installed drywall ceiling is a testament to the craftsmanship and attention to detail inherent in quality interior design.
