- Interiors
- Finishing work
- Finishing a loggia with clapboard by yourself
Finishing a loggia with clapboard by yourself 29 photos
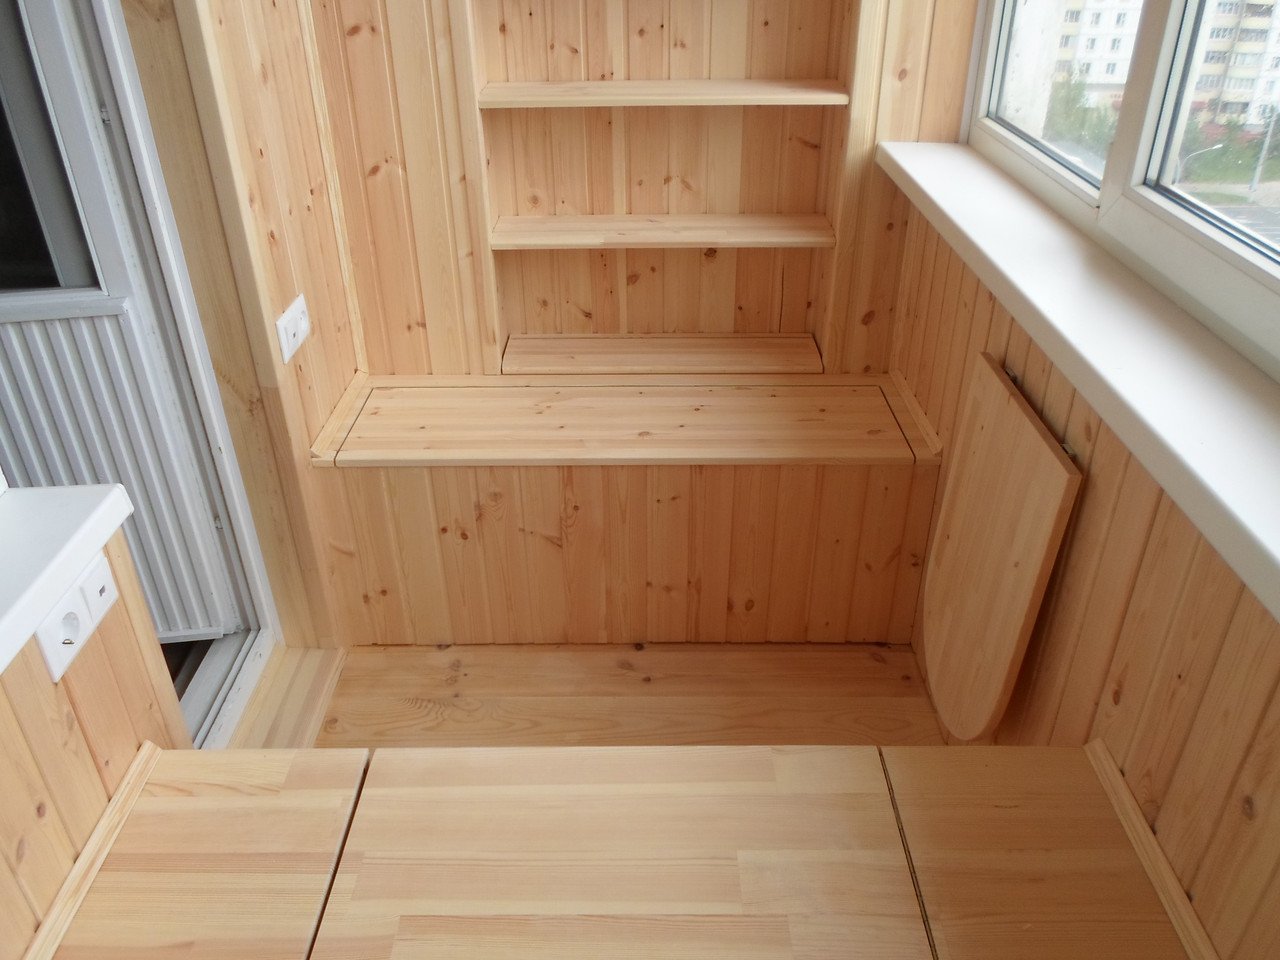
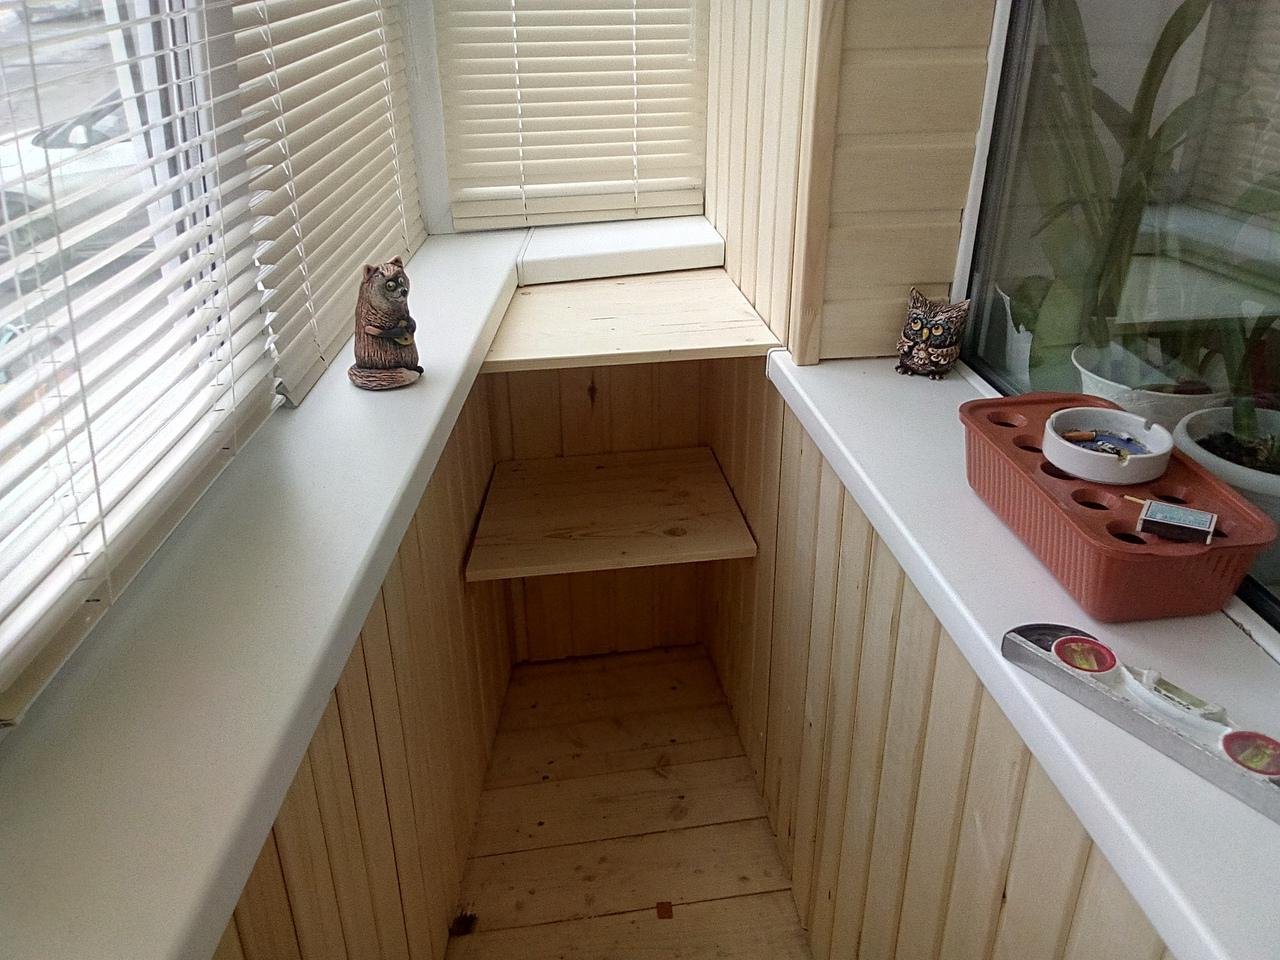
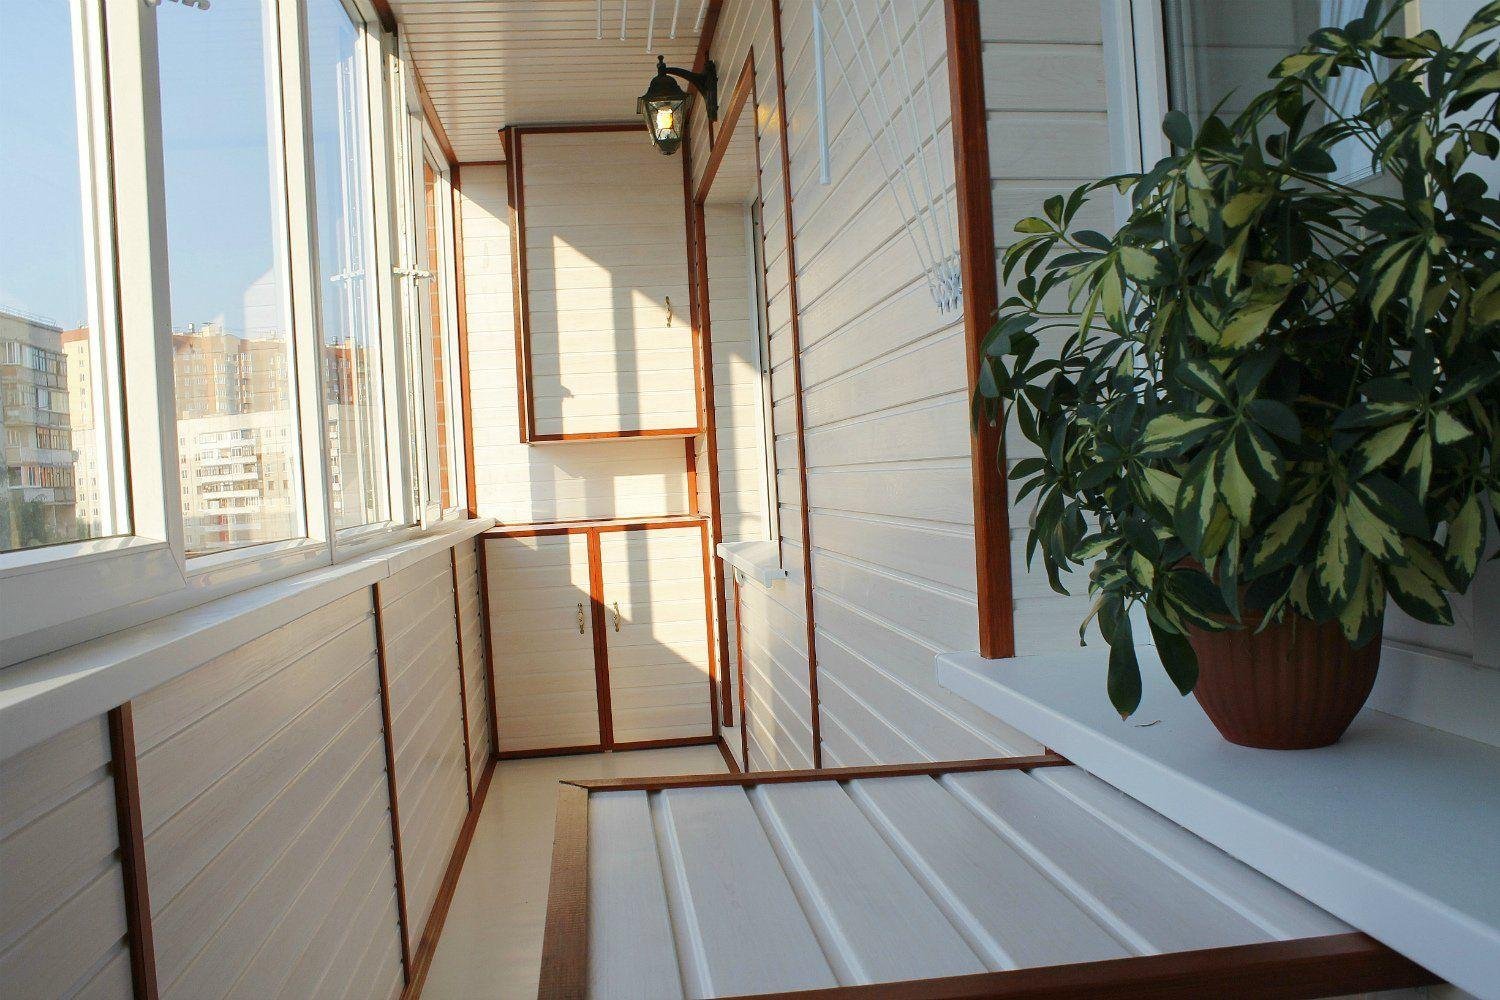
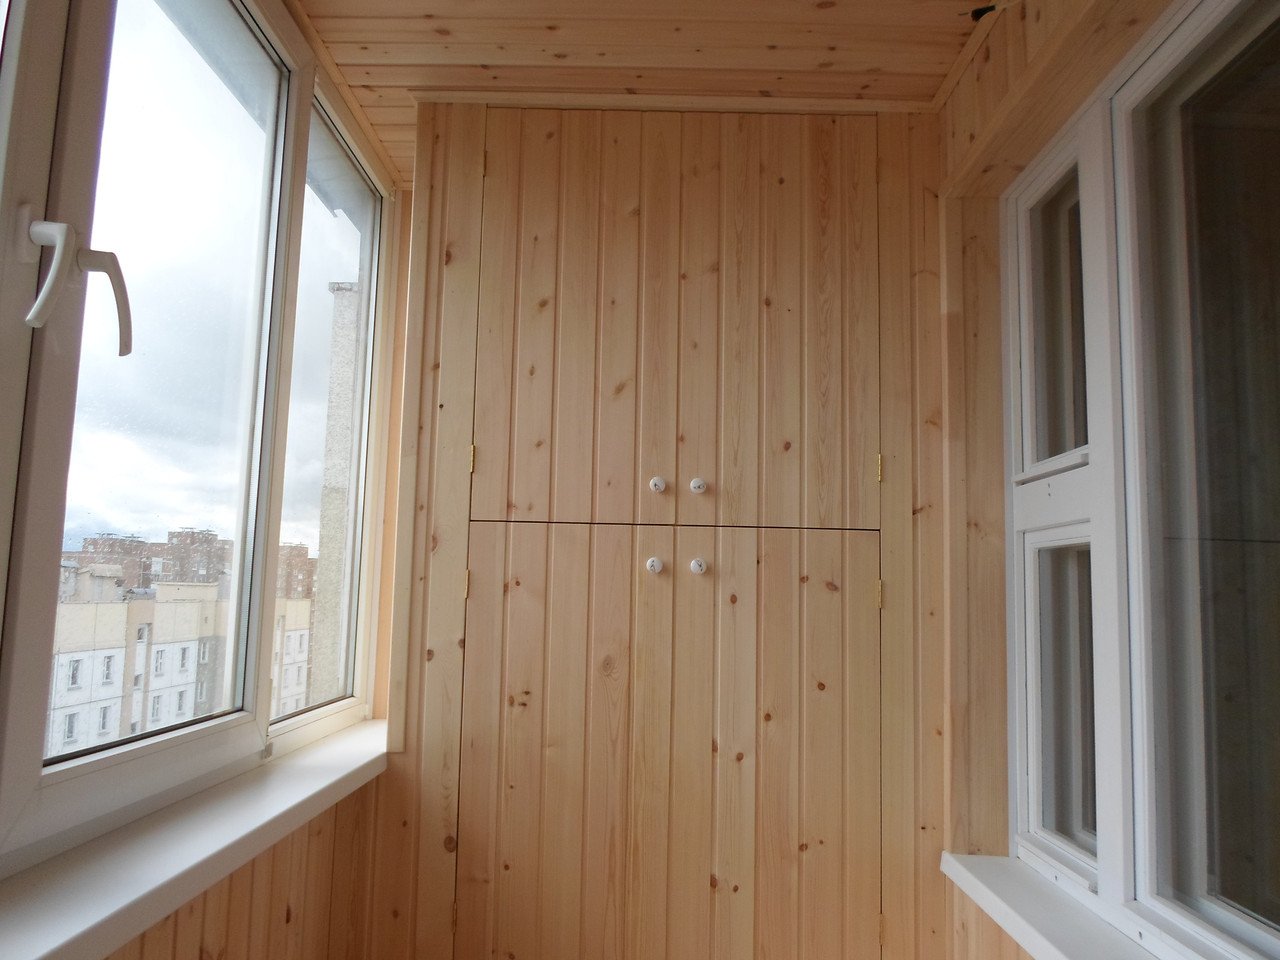
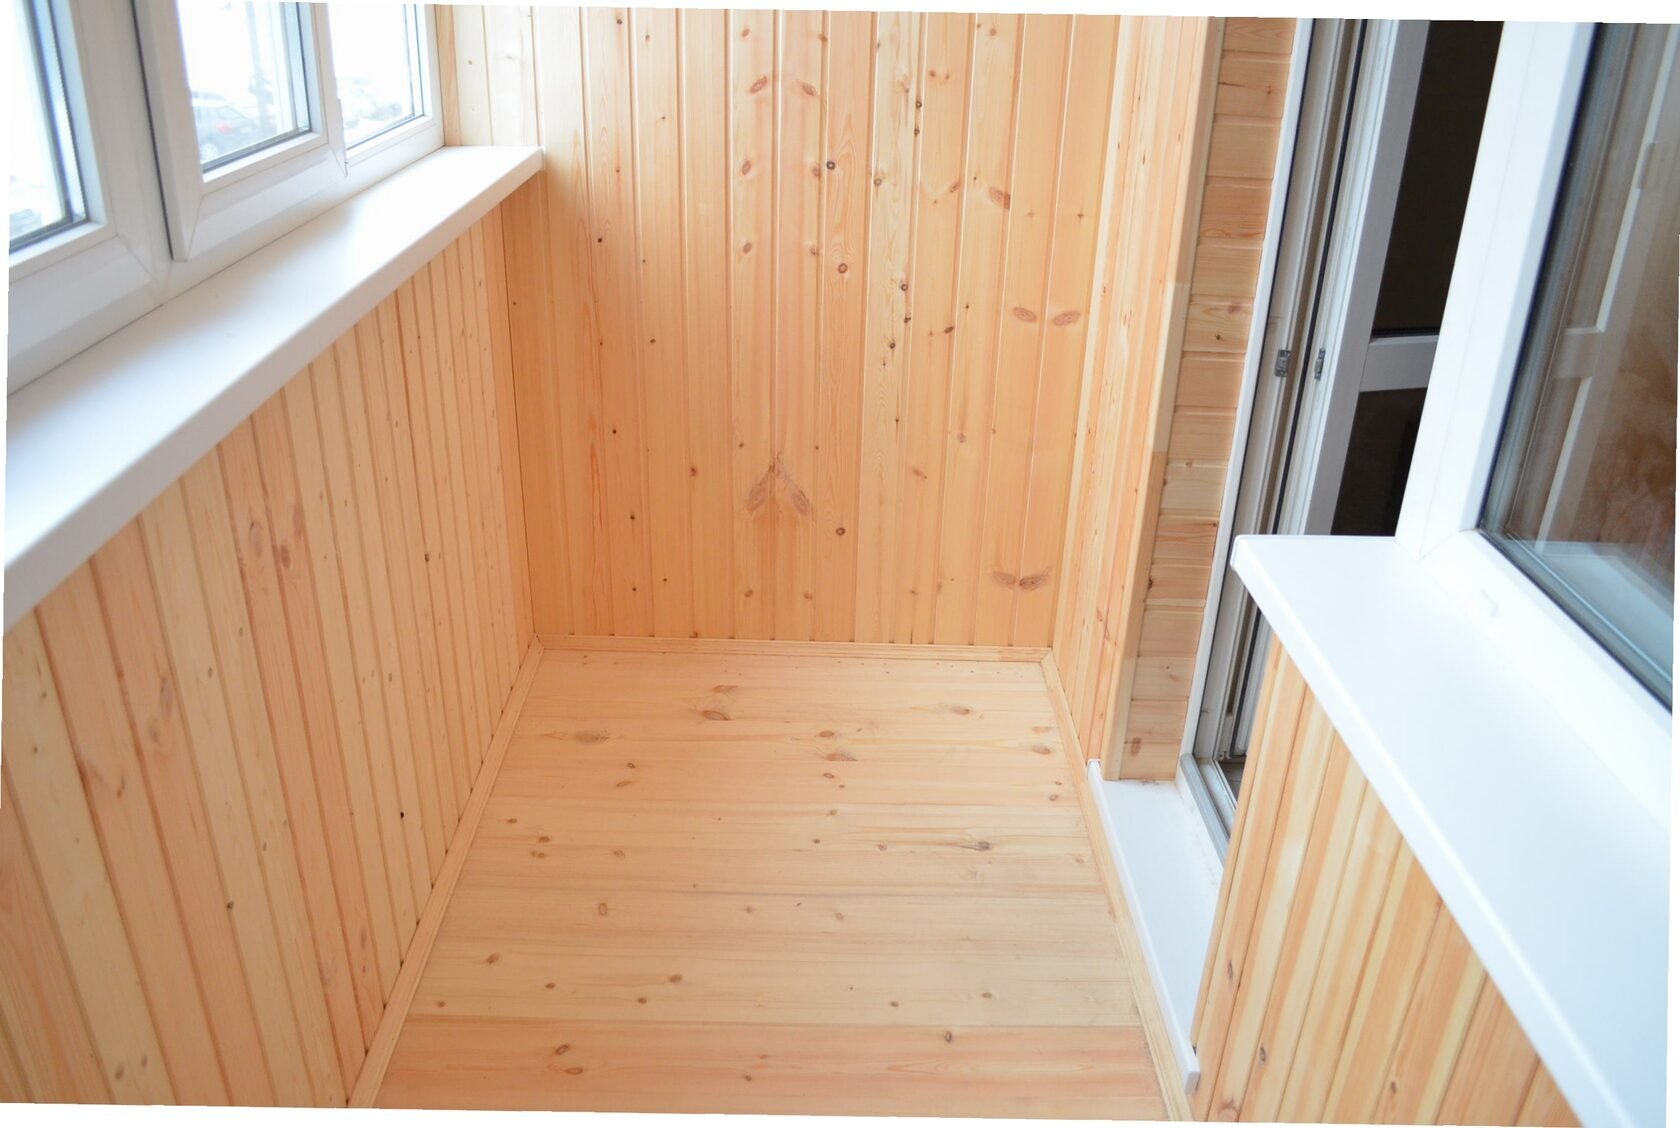
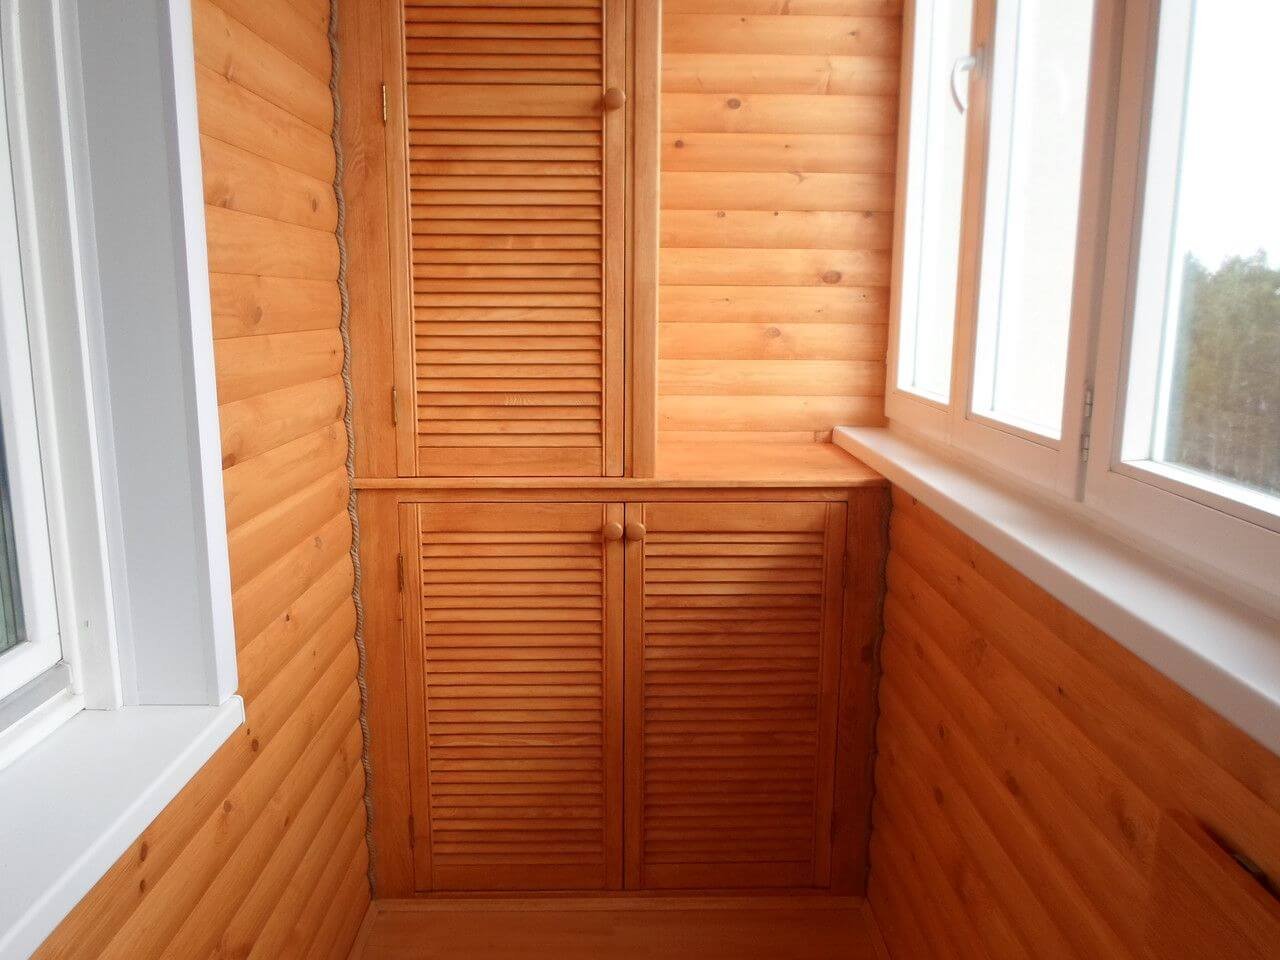
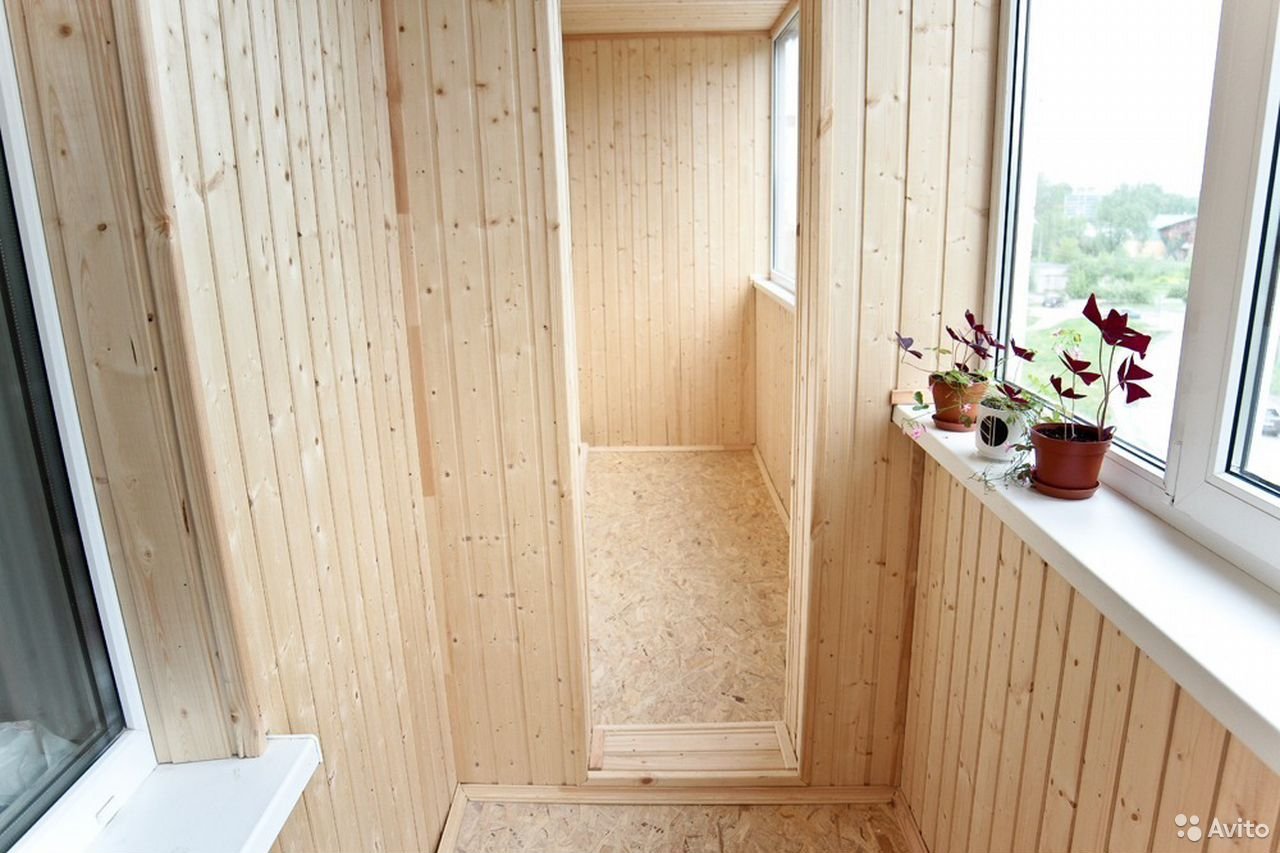
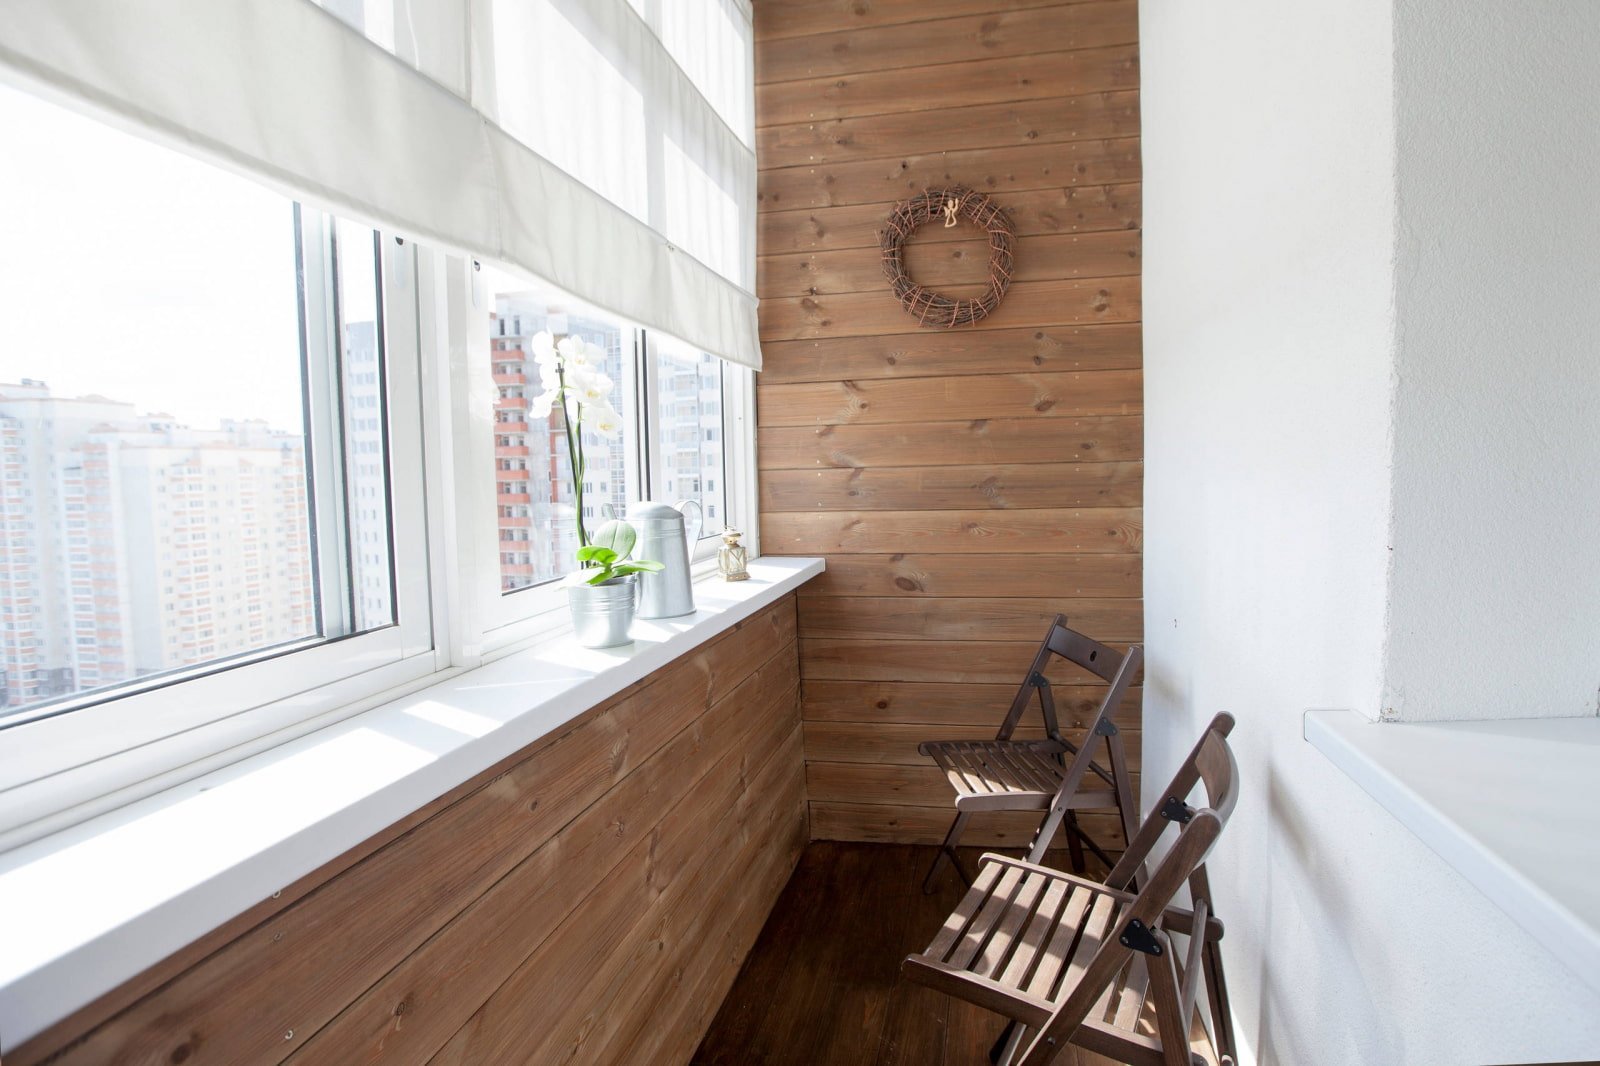
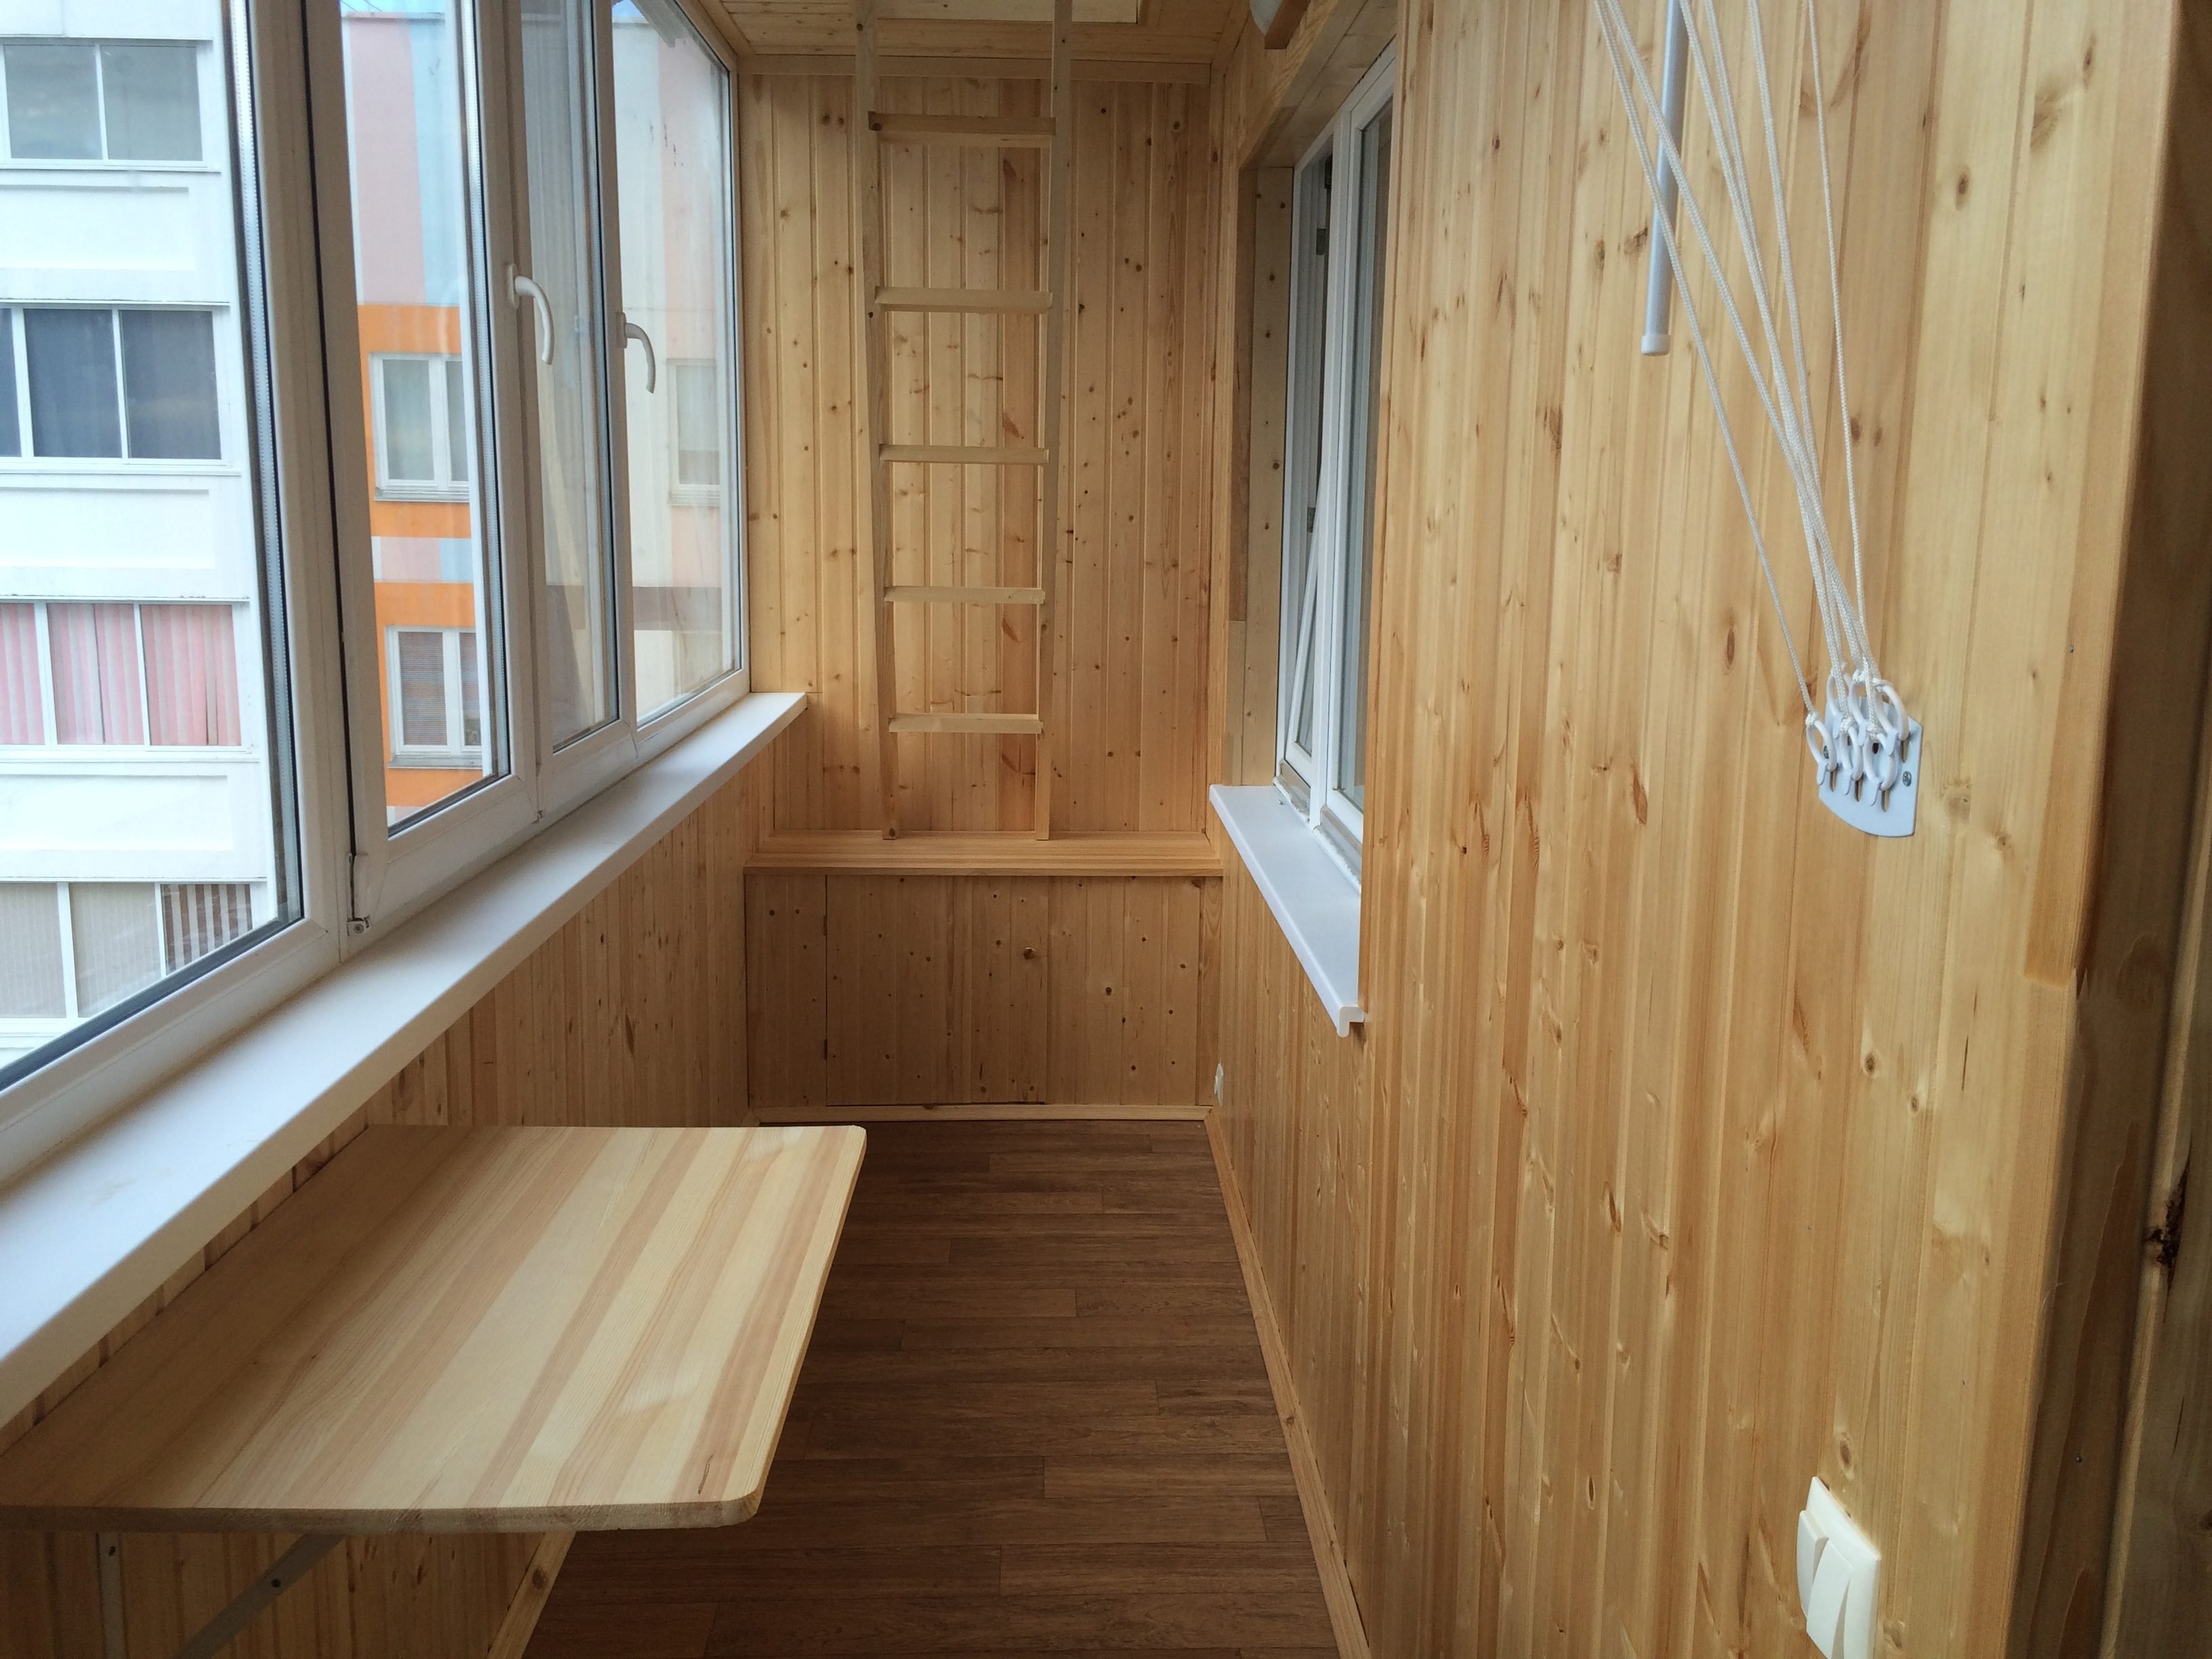
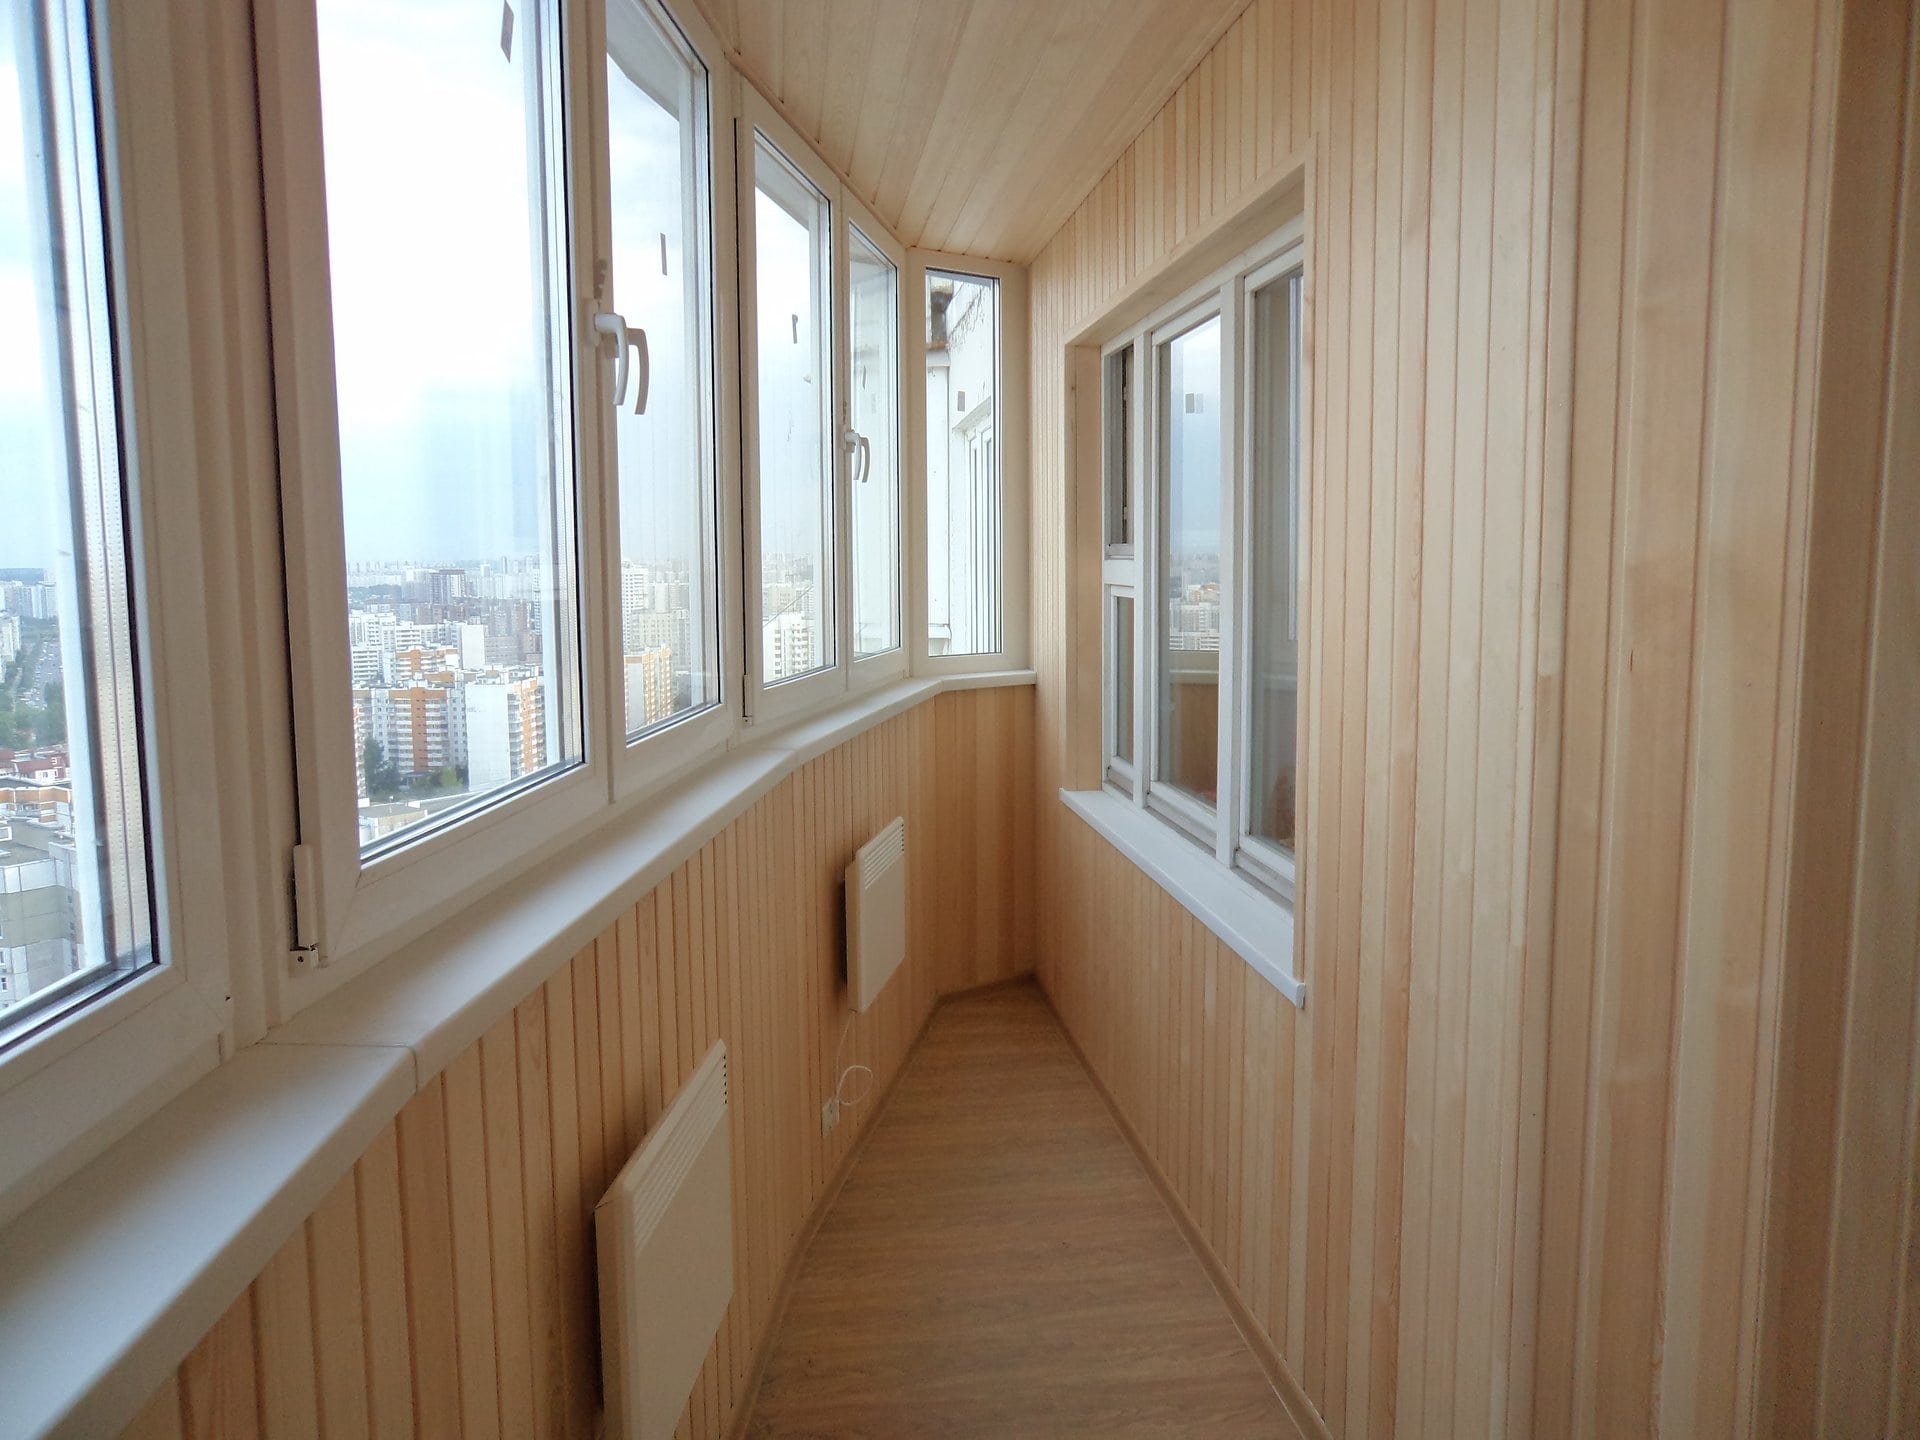
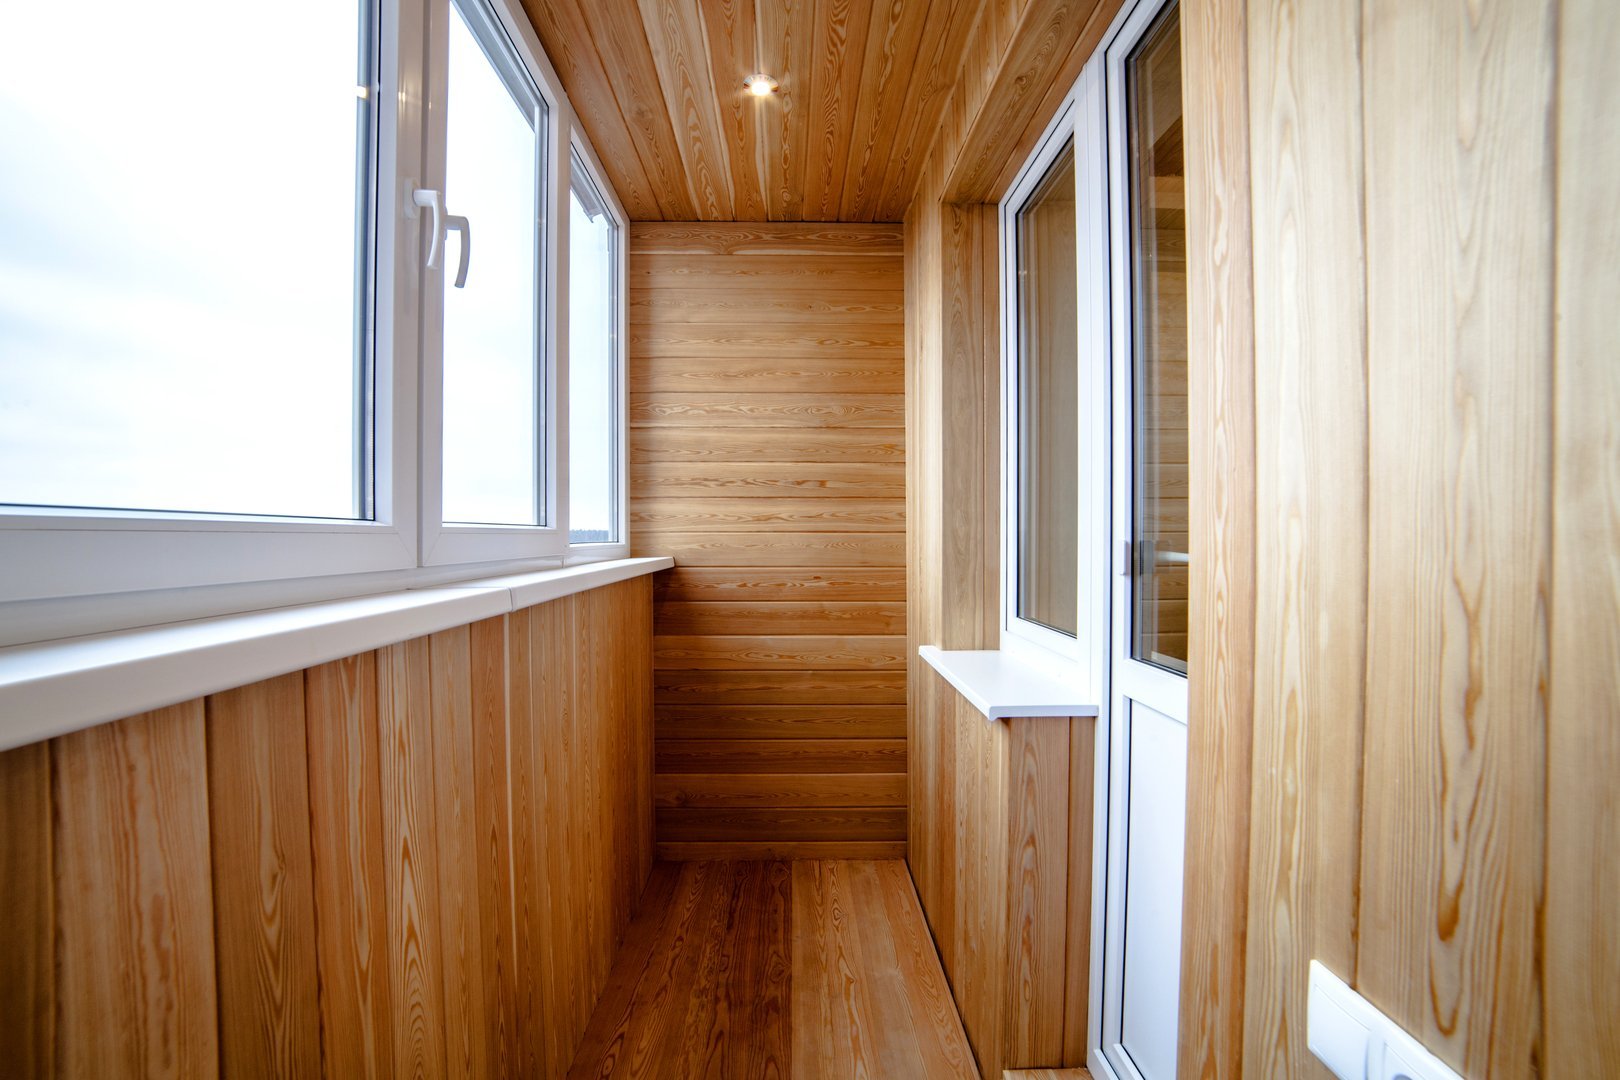
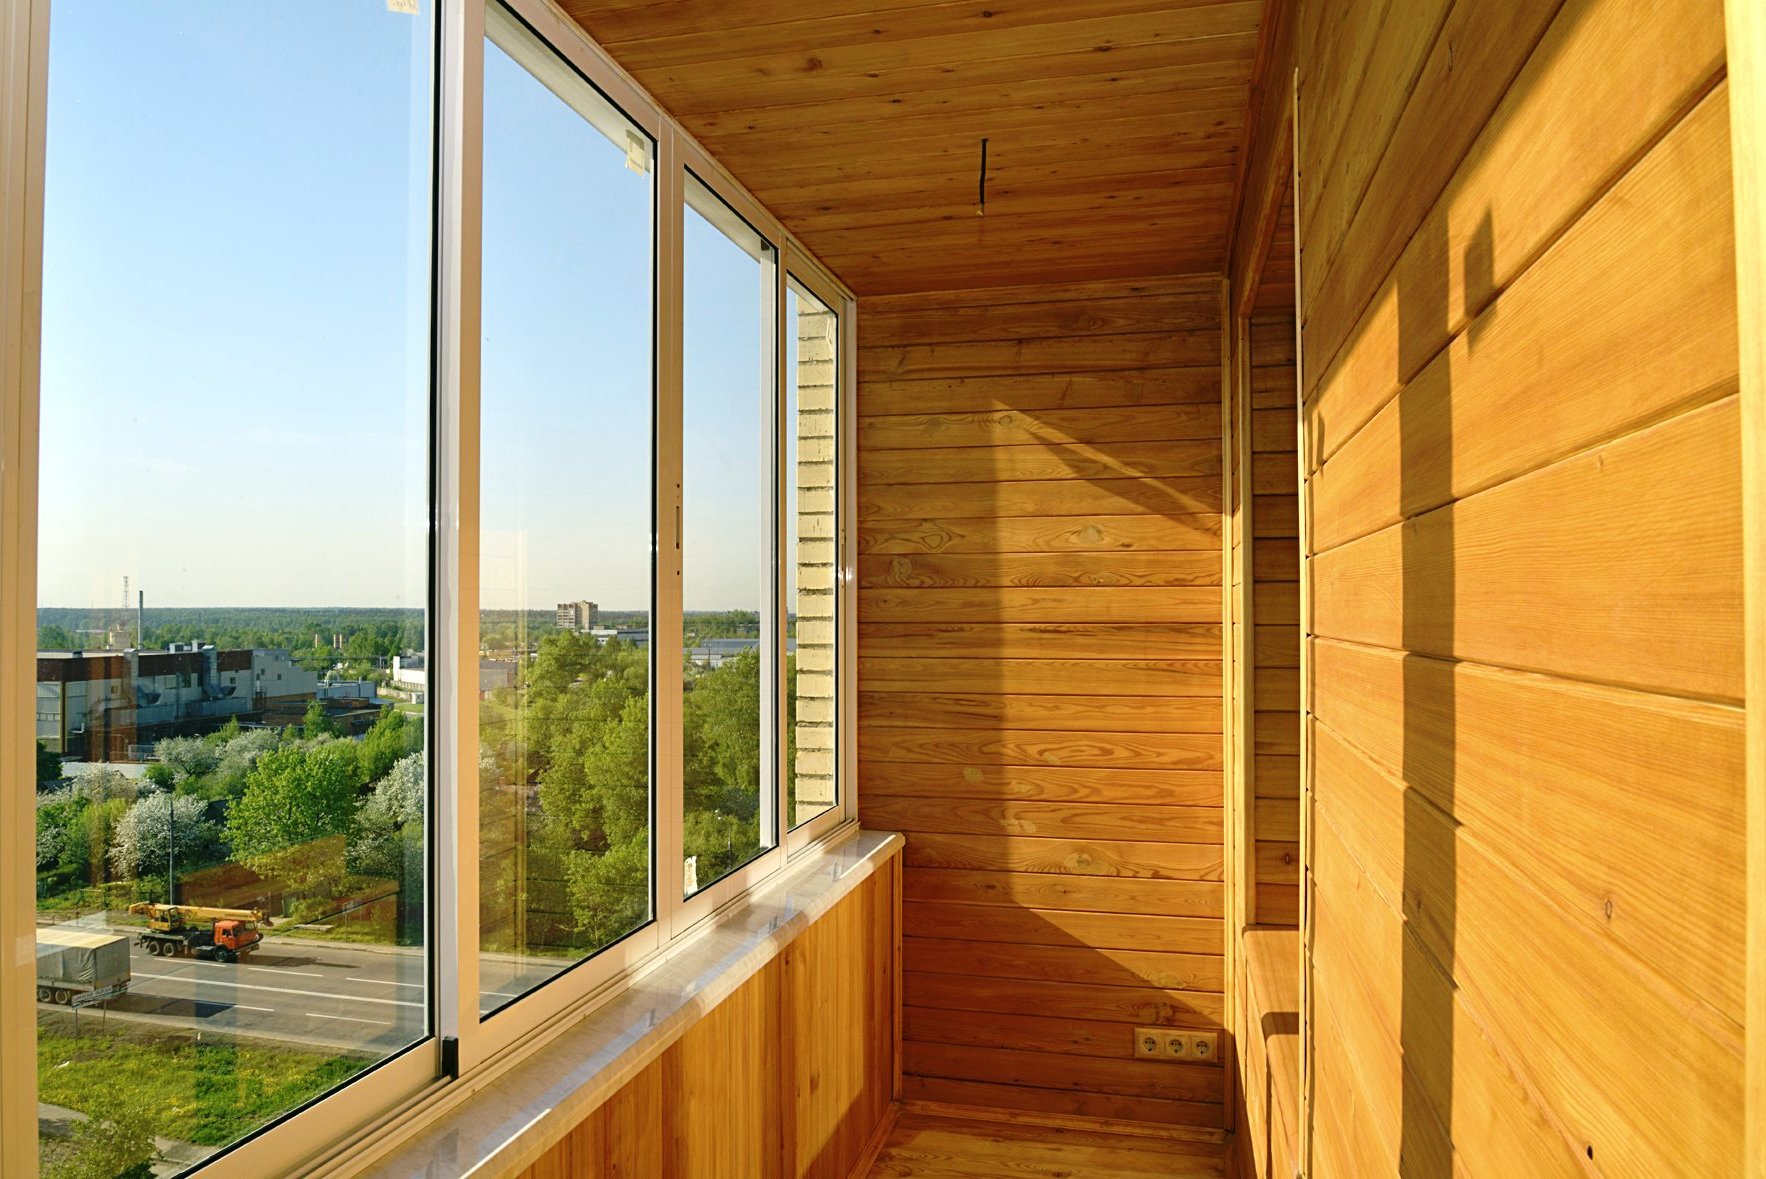
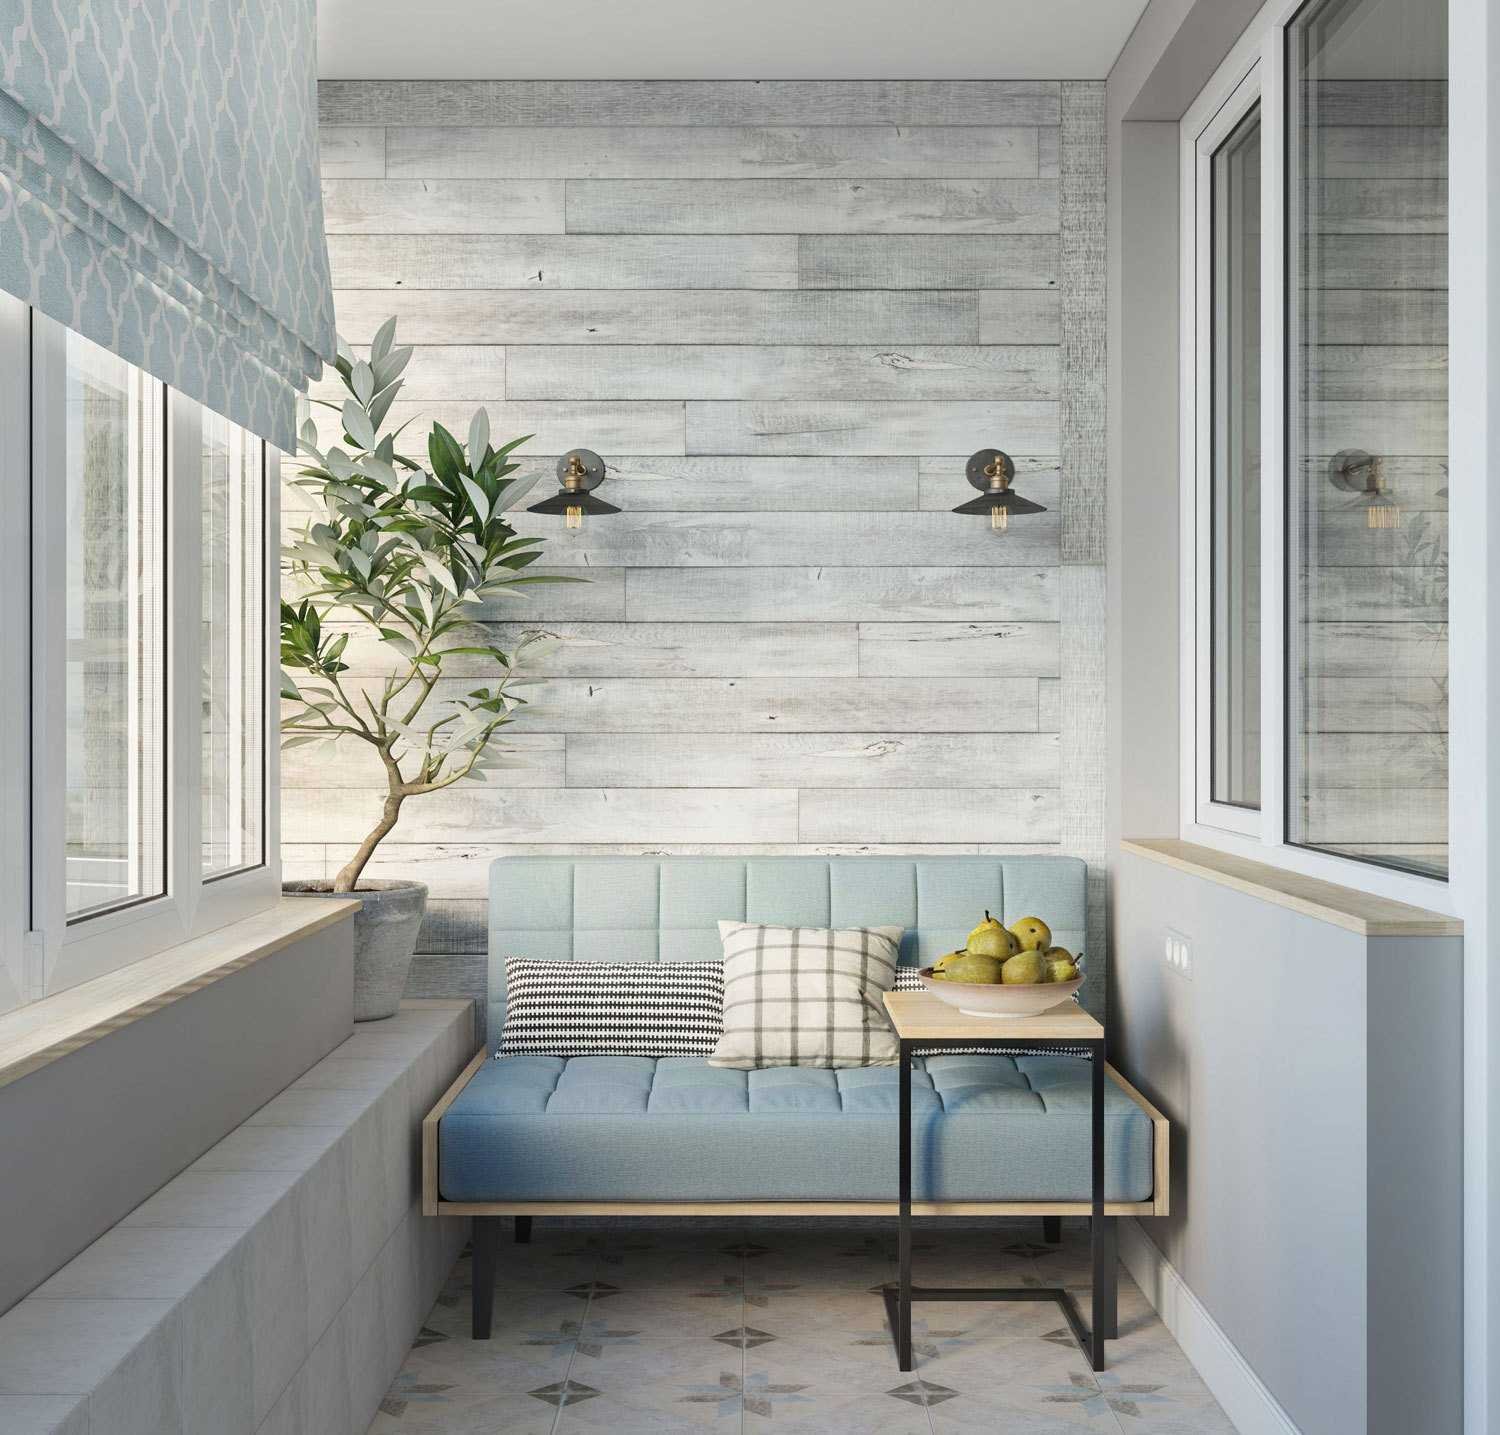
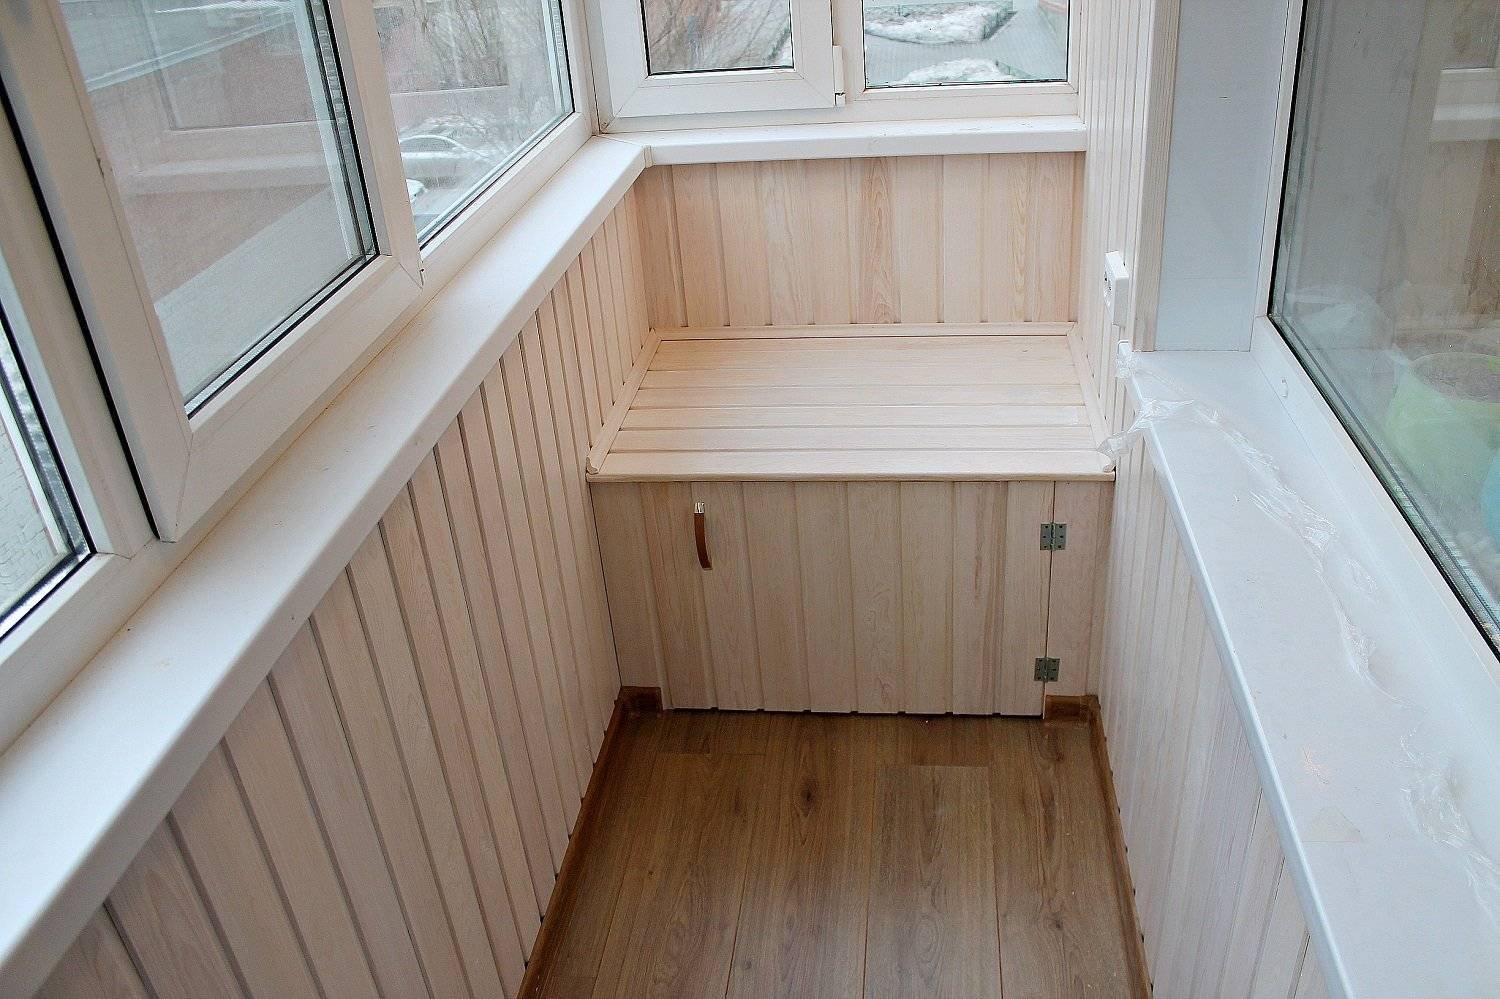
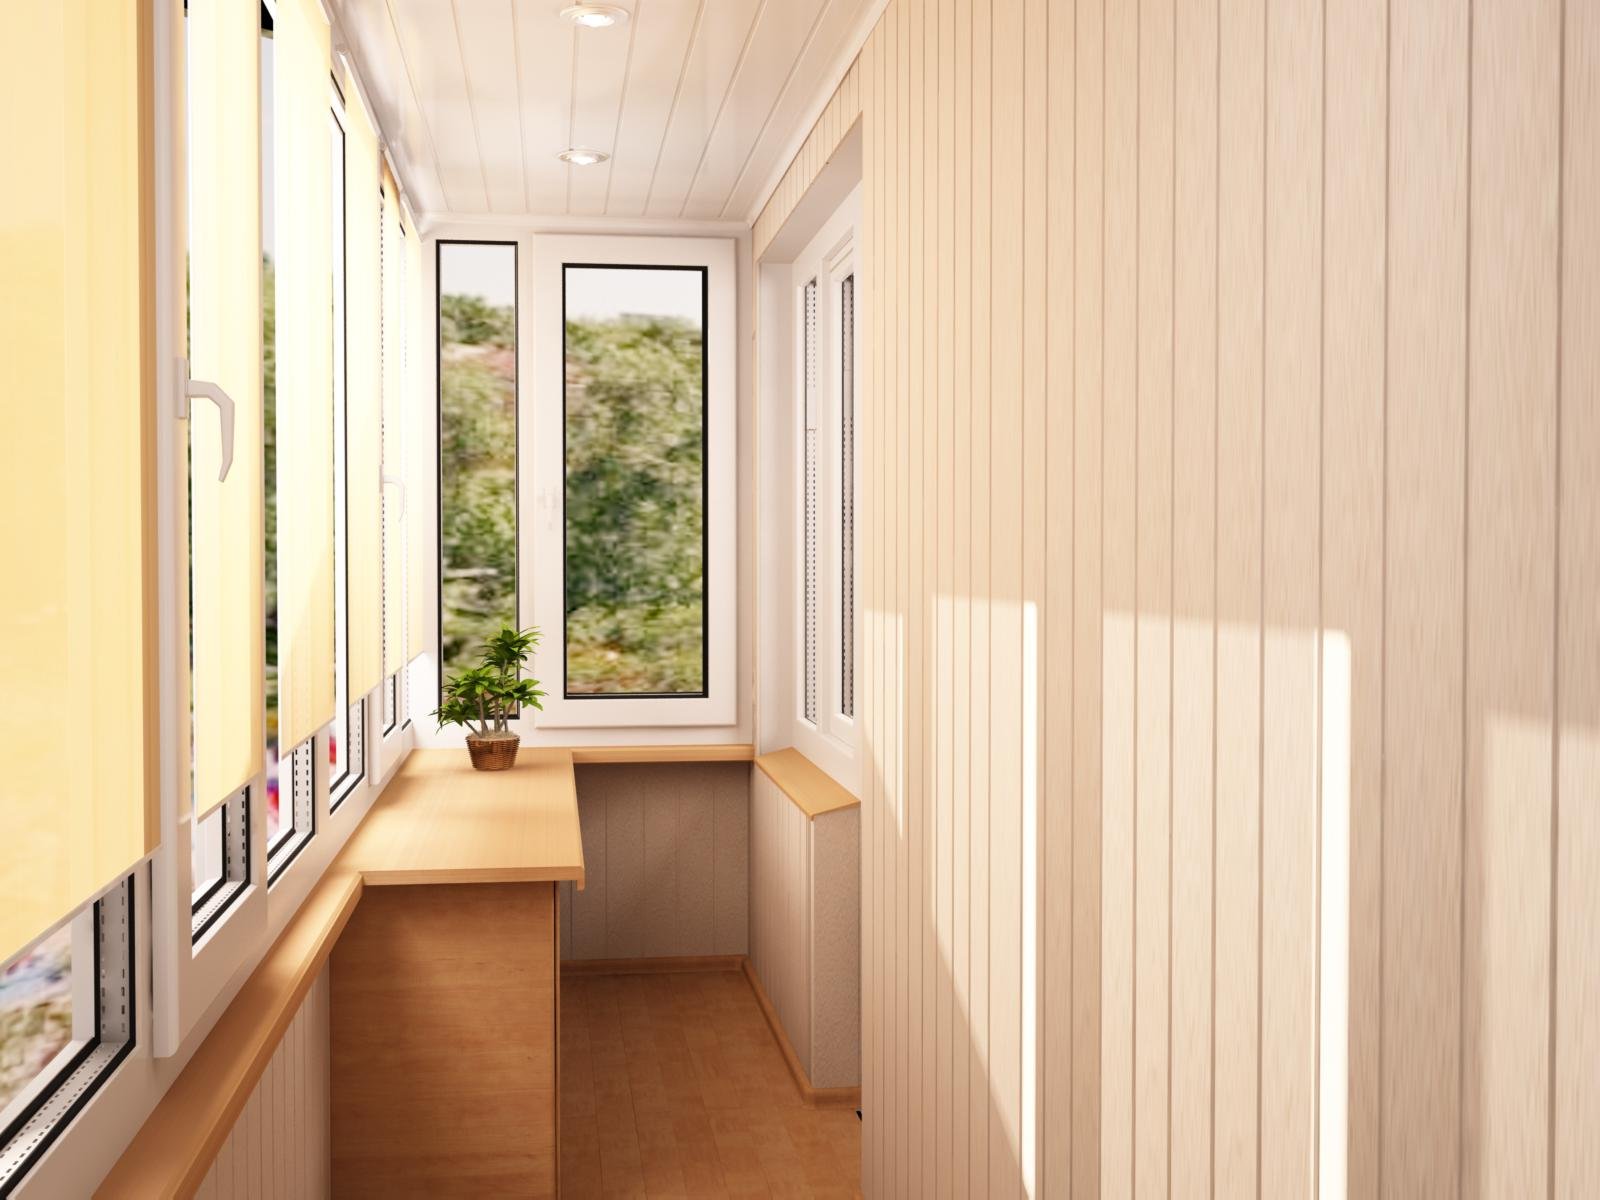
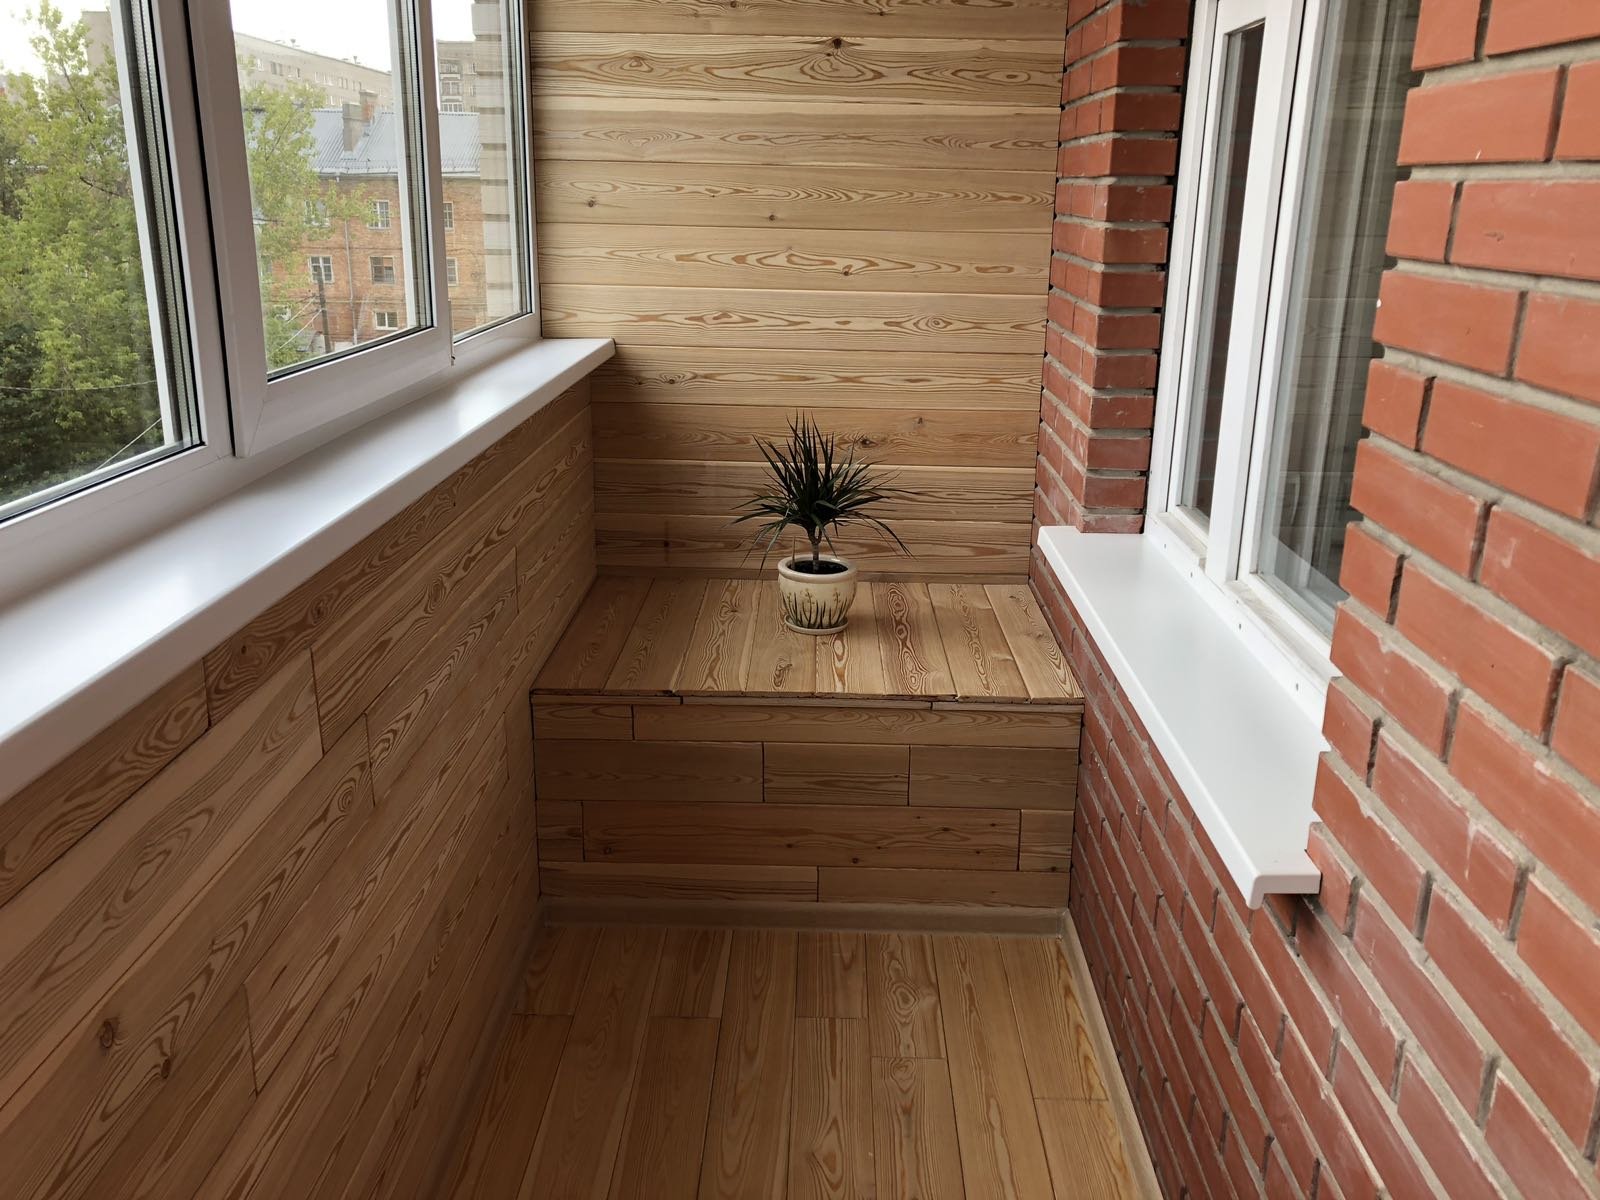
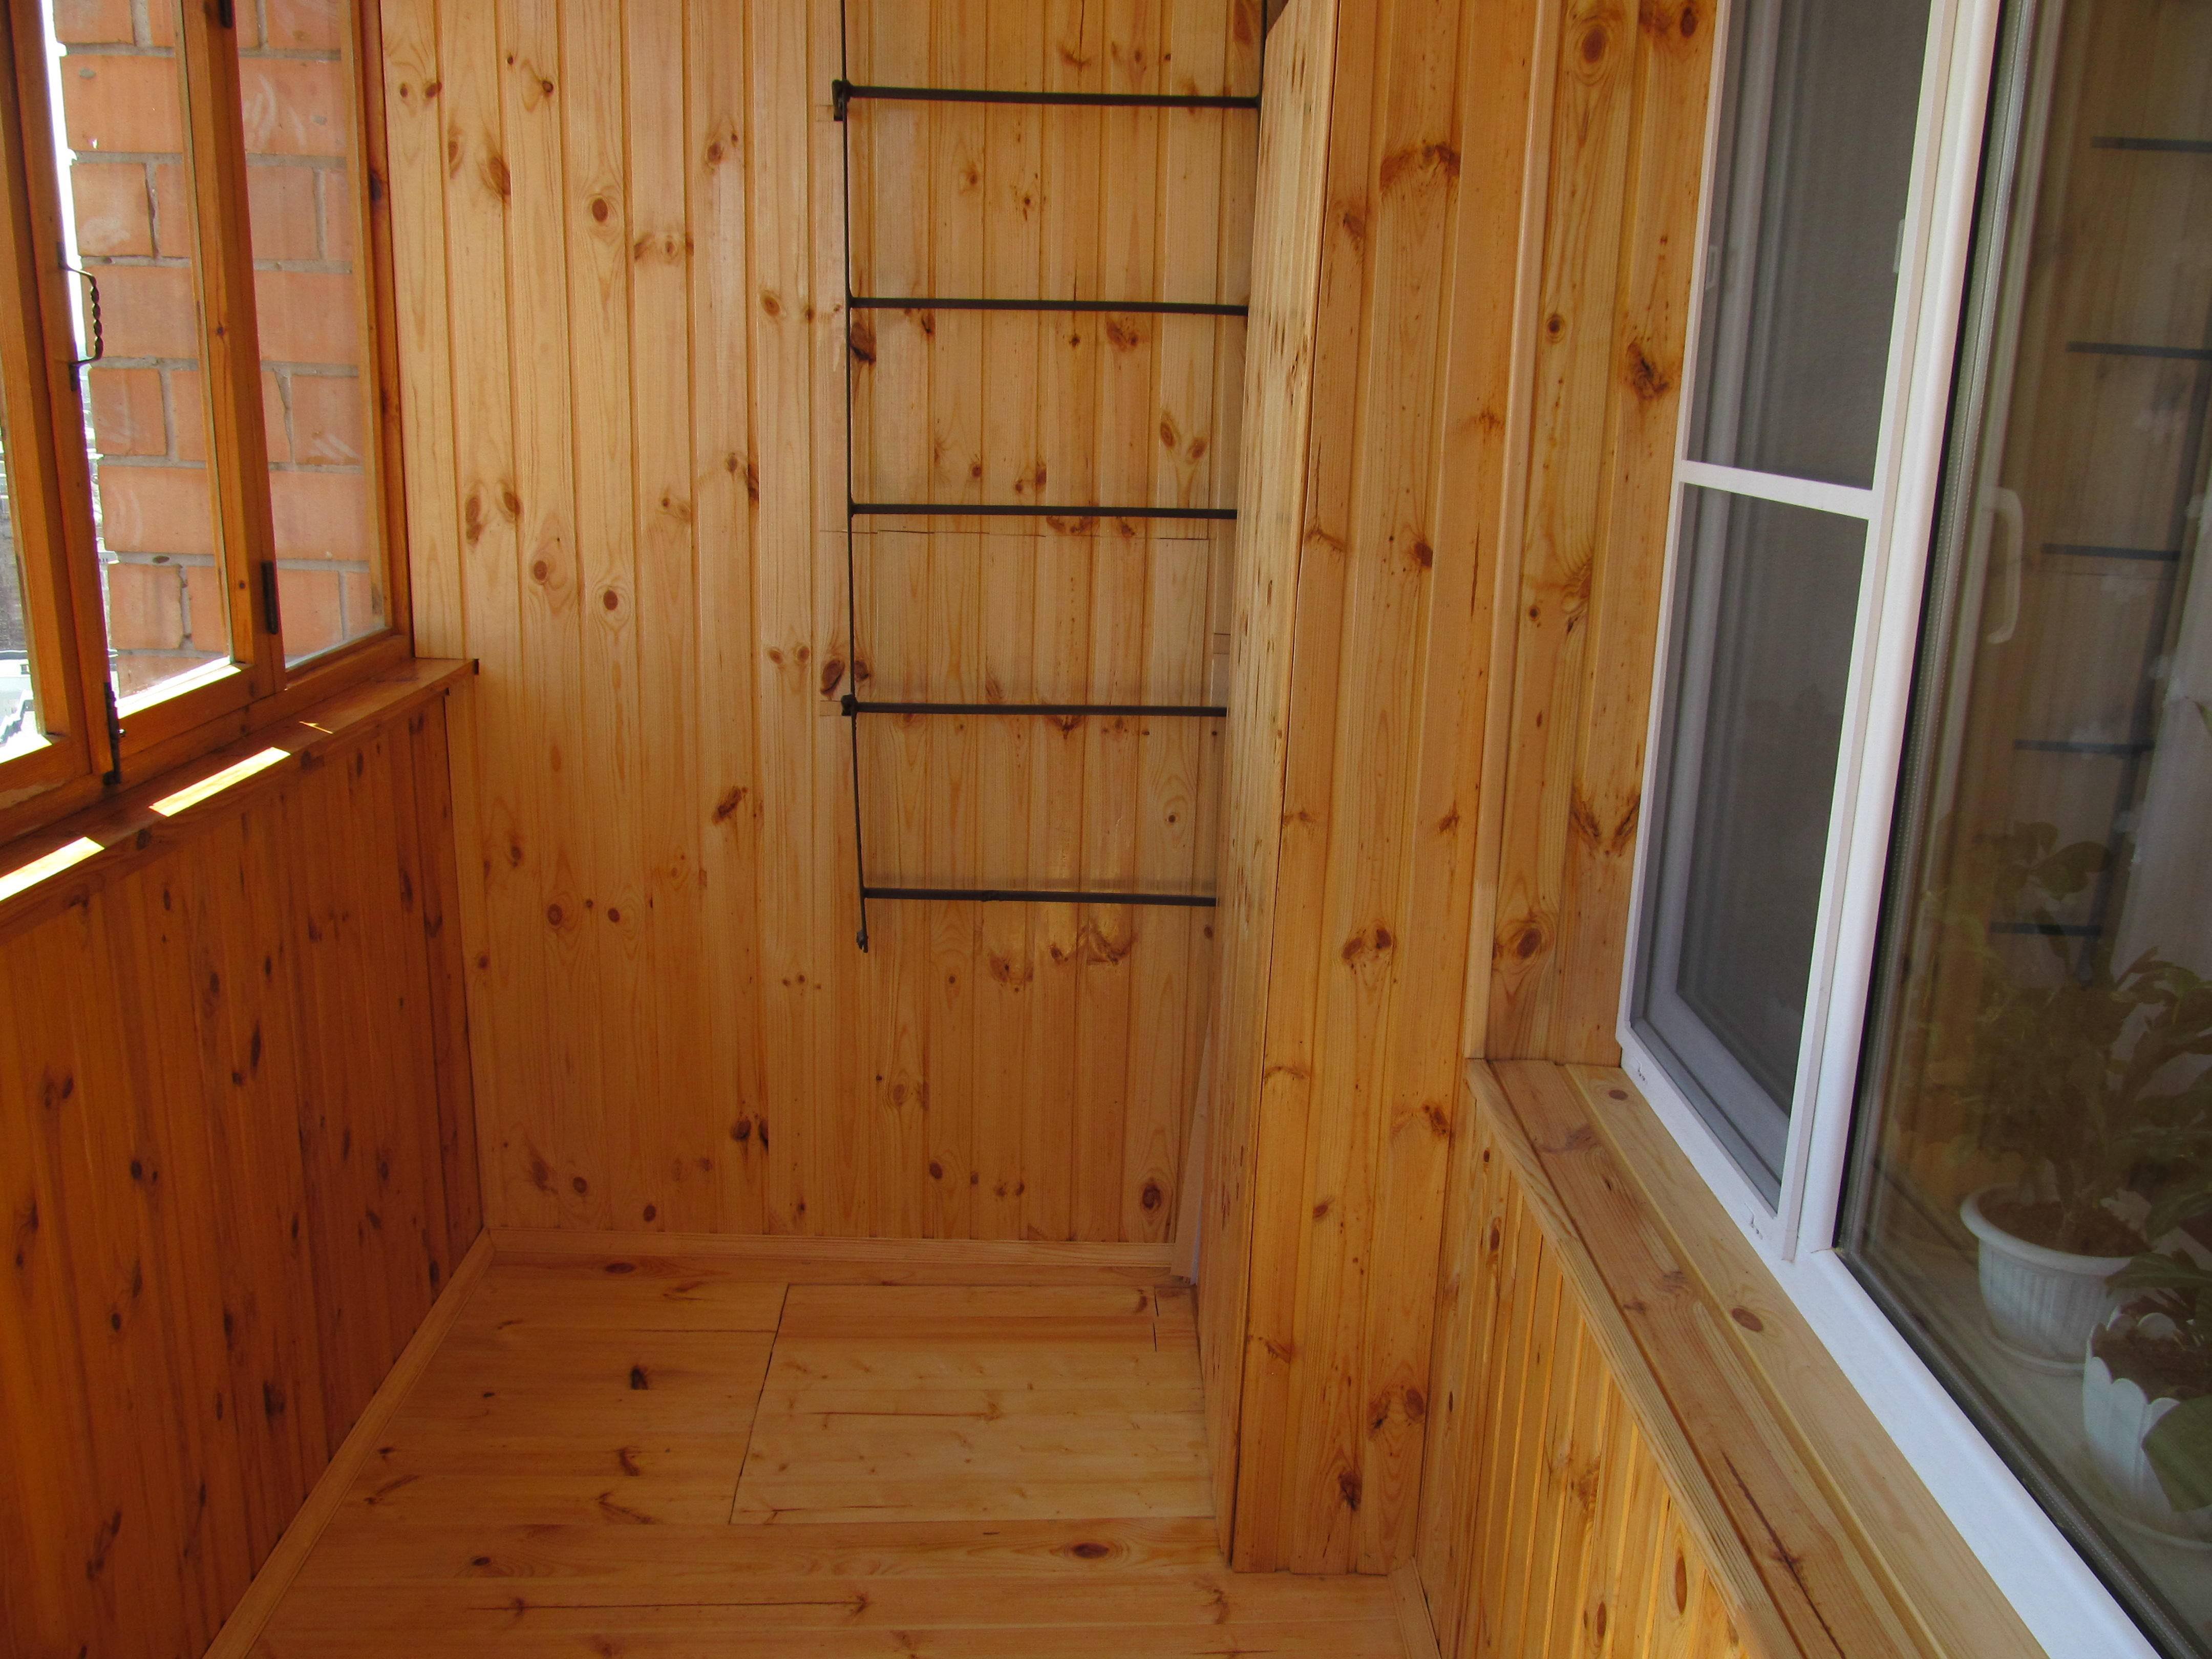
Transforming your loggia into a cozy, functional space can be a rewarding DIY project, and using clapboard for finishing is an ideal choice for those seeking a warm, natural aesthetic. Clapboard, known for its durability and timeless appeal, is a versatile material that can enhance the ambiance of your loggia. Before beginning, ensure your loggia is properly insulated and weatherproofed to maintain comfort throughout the seasons. Start by selecting the right type of wood, considering factors like color, grain, and treatment to match your desired style. Pine and cedar are popular choices due to their resilience and attractive finishes. Measure your space meticulously to calculate the amount of material needed, accounting for any cuts or adjustments. Installing clapboard involves fixing the panels horizontally or vertically, depending on your design preference. It’s essential to leave a small gap between each board to allow for natural expansion and contraction. Use quality fasteners and ensure each board is level as you work up the wall. Finishing touches such as staining or sealing will protect the wood and enhance its natural beauty, extending the life of your handiwork. This project not only adds aesthetic value to your home but also provides a sense of accomplishment in crafting a personalized retreat.


