Finishing the balcony with clapboard with your own hands 30 photos
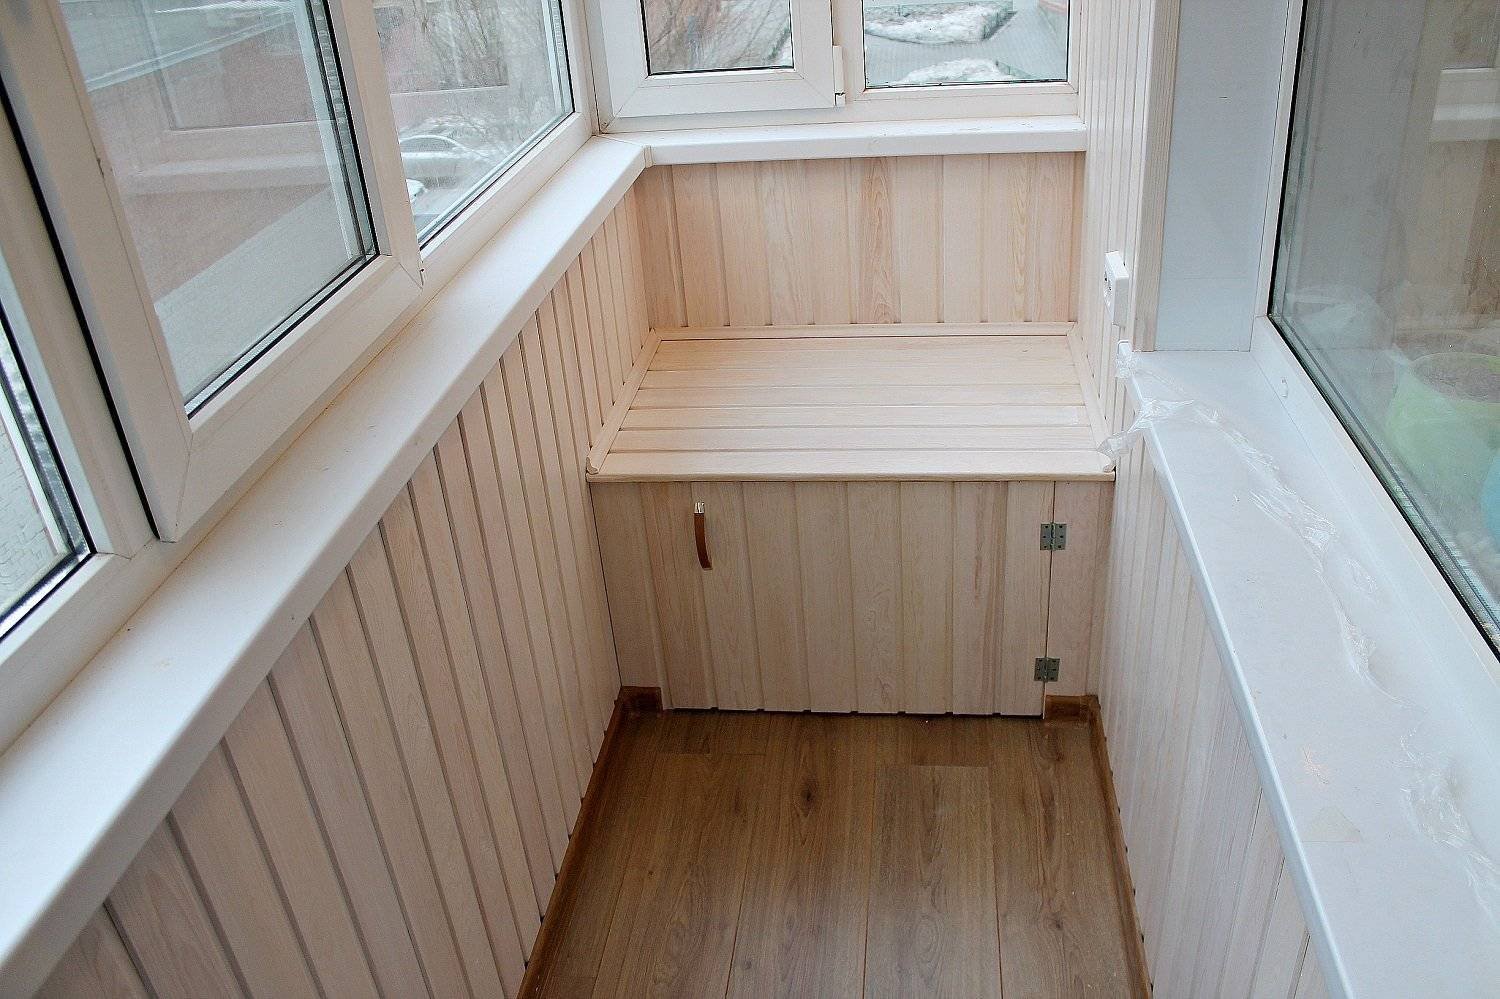
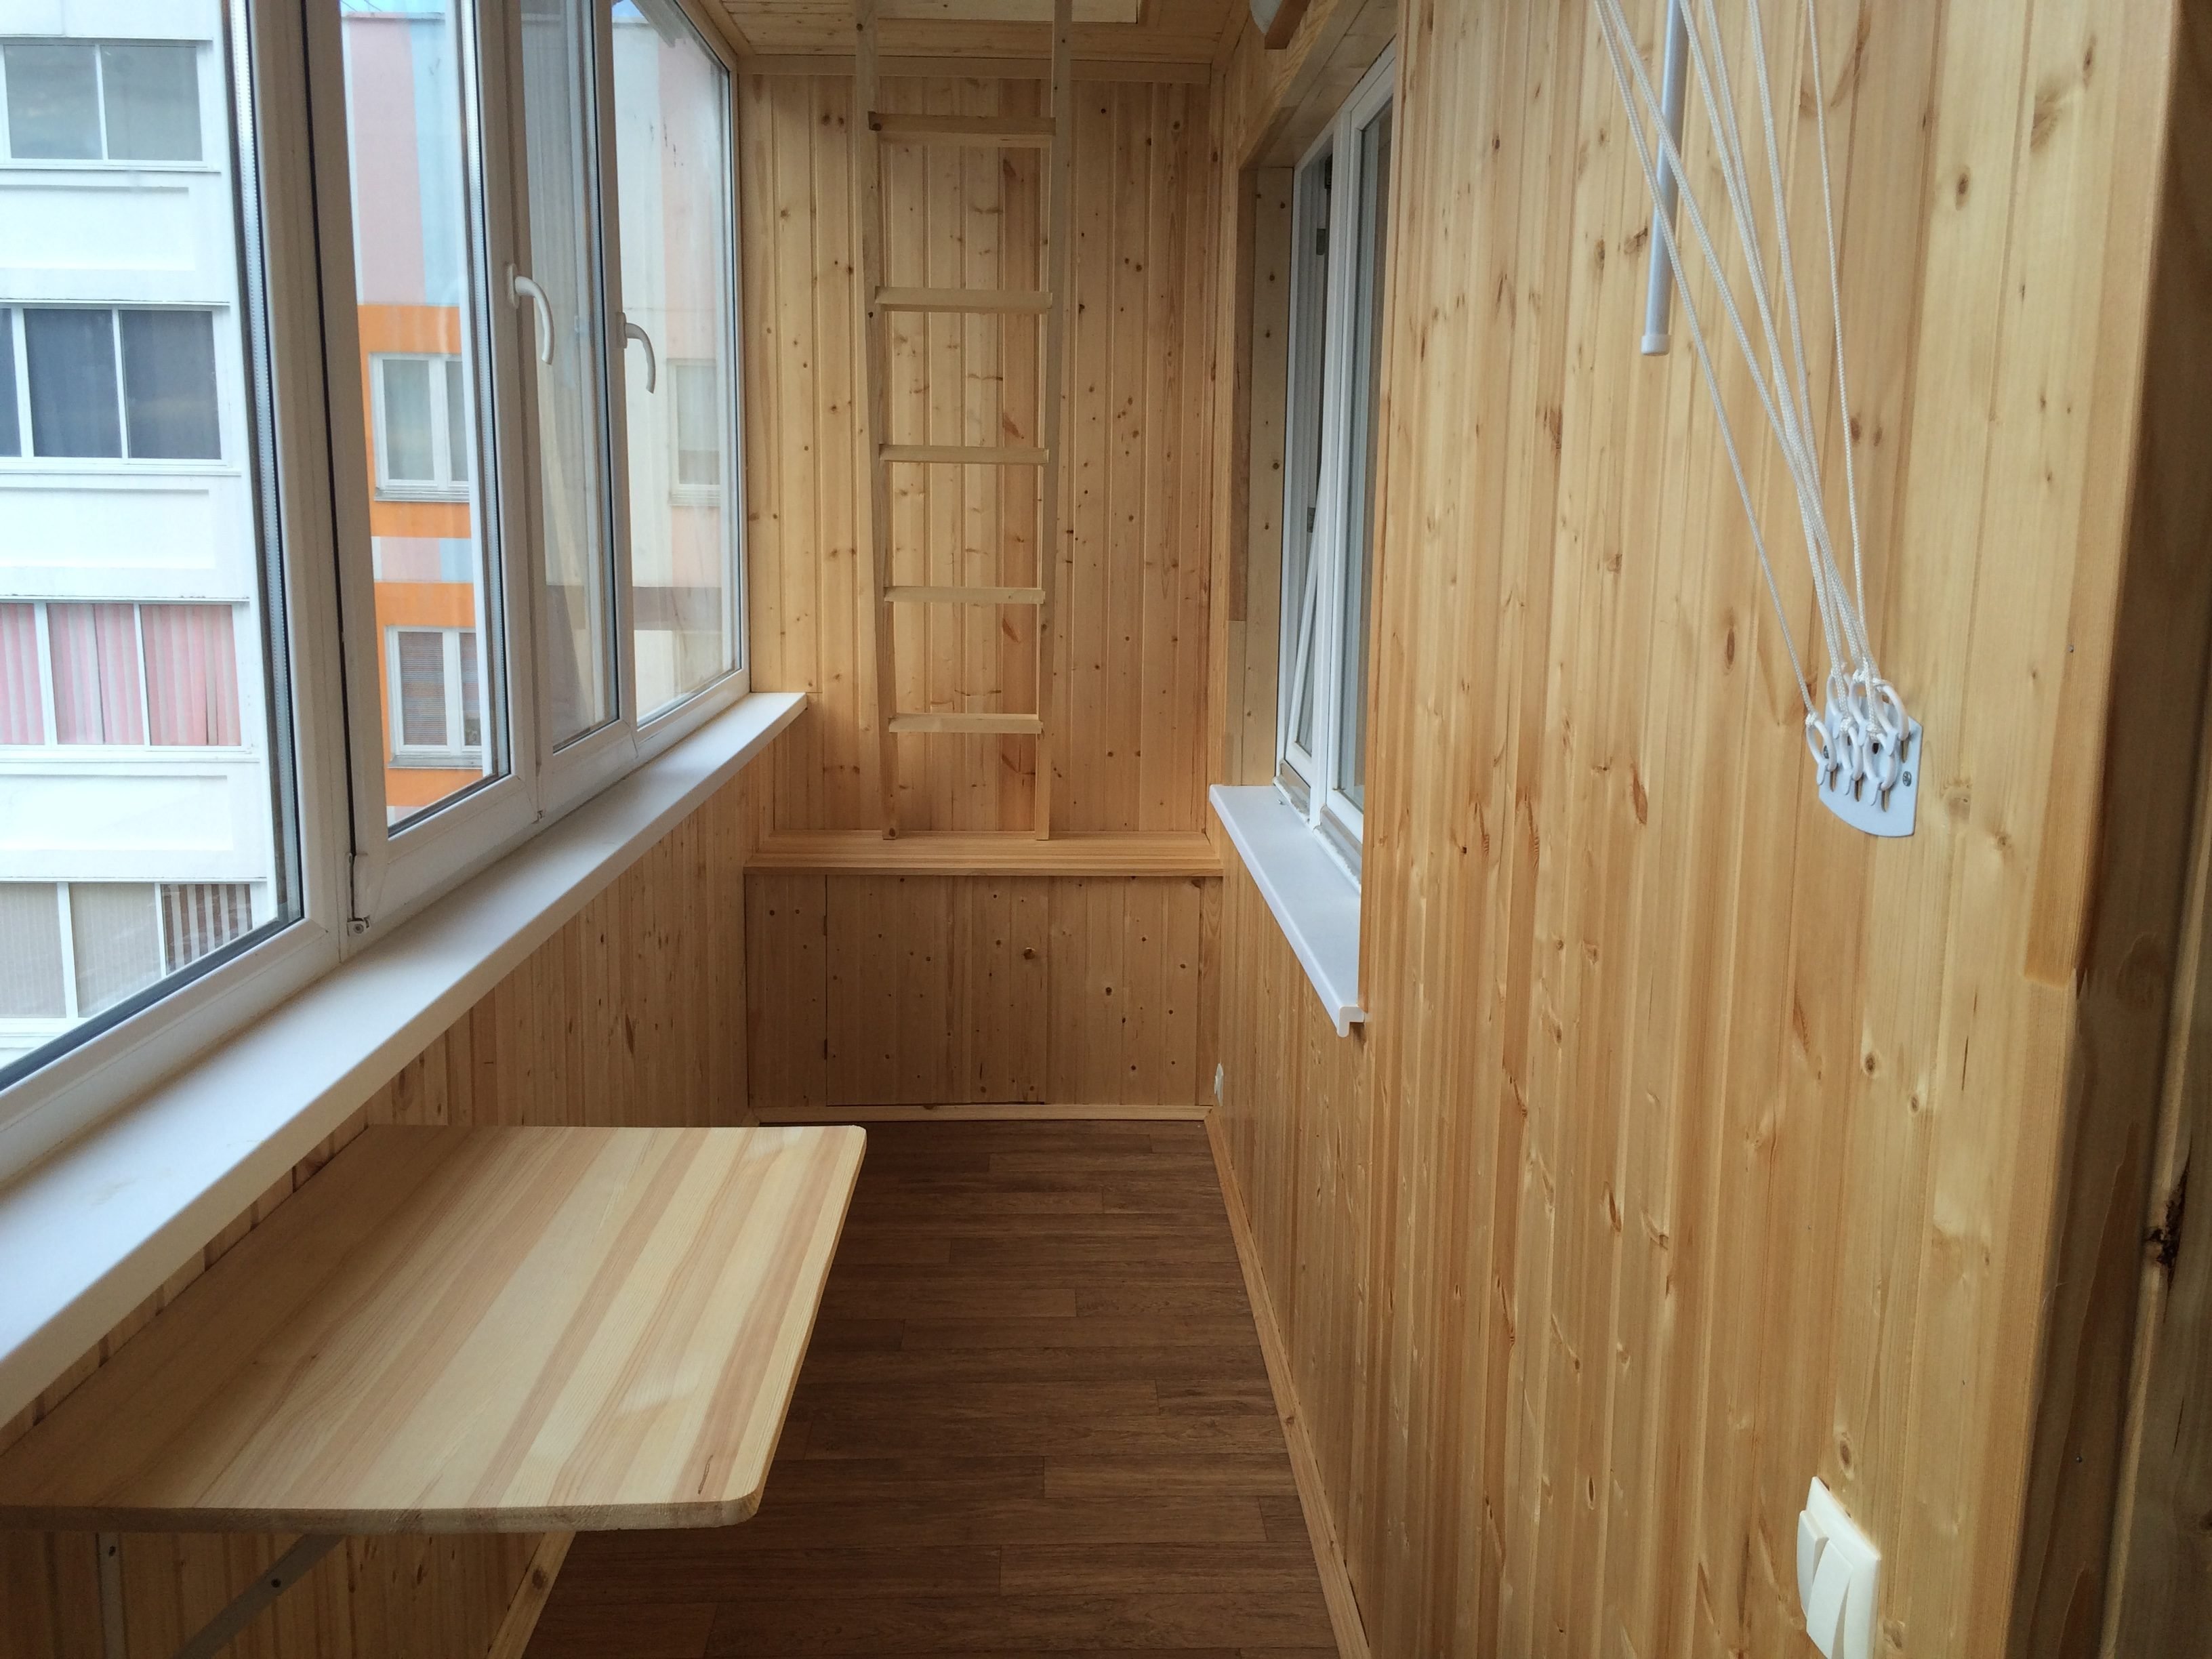
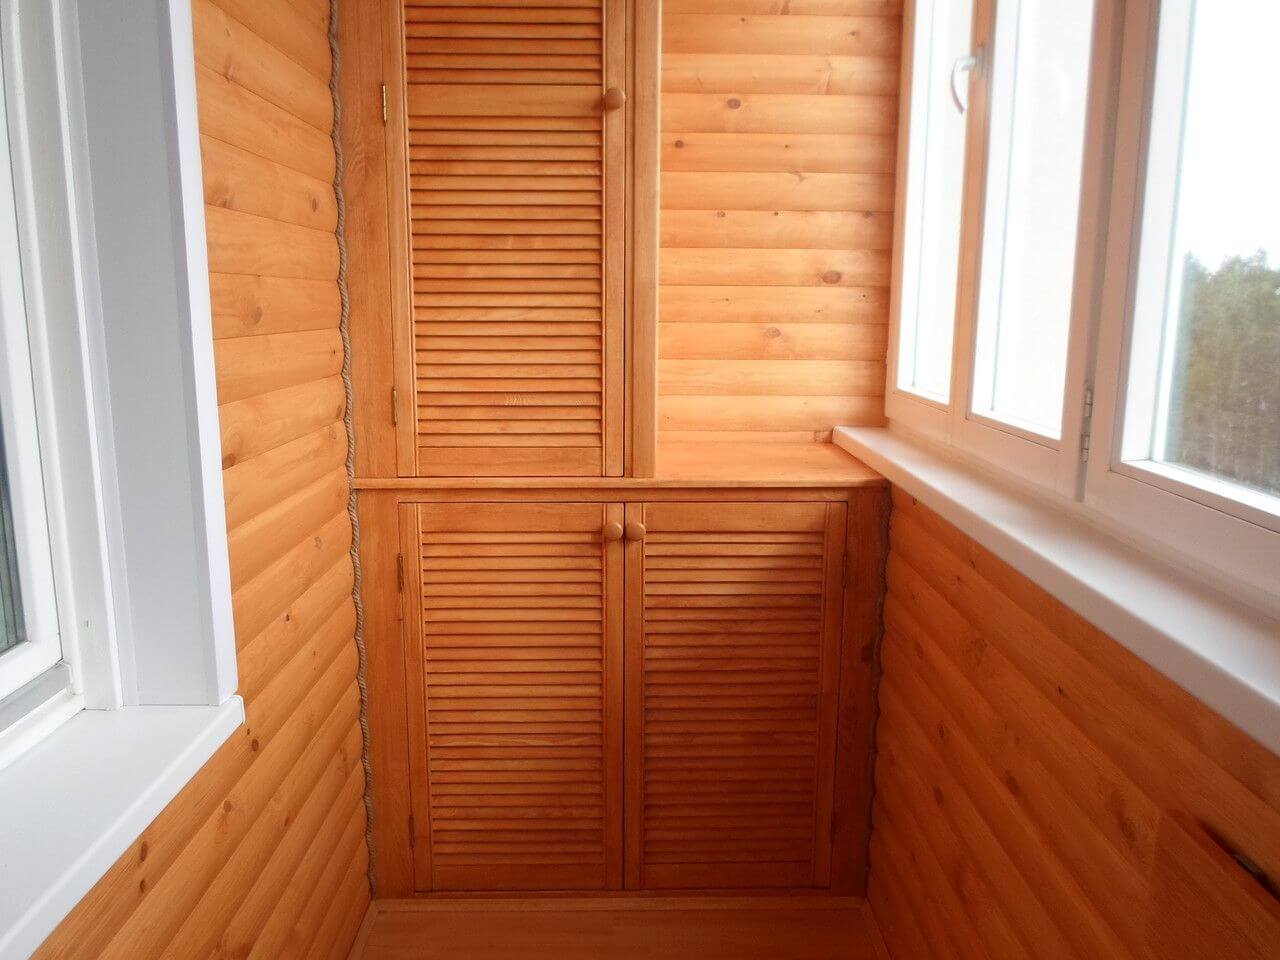
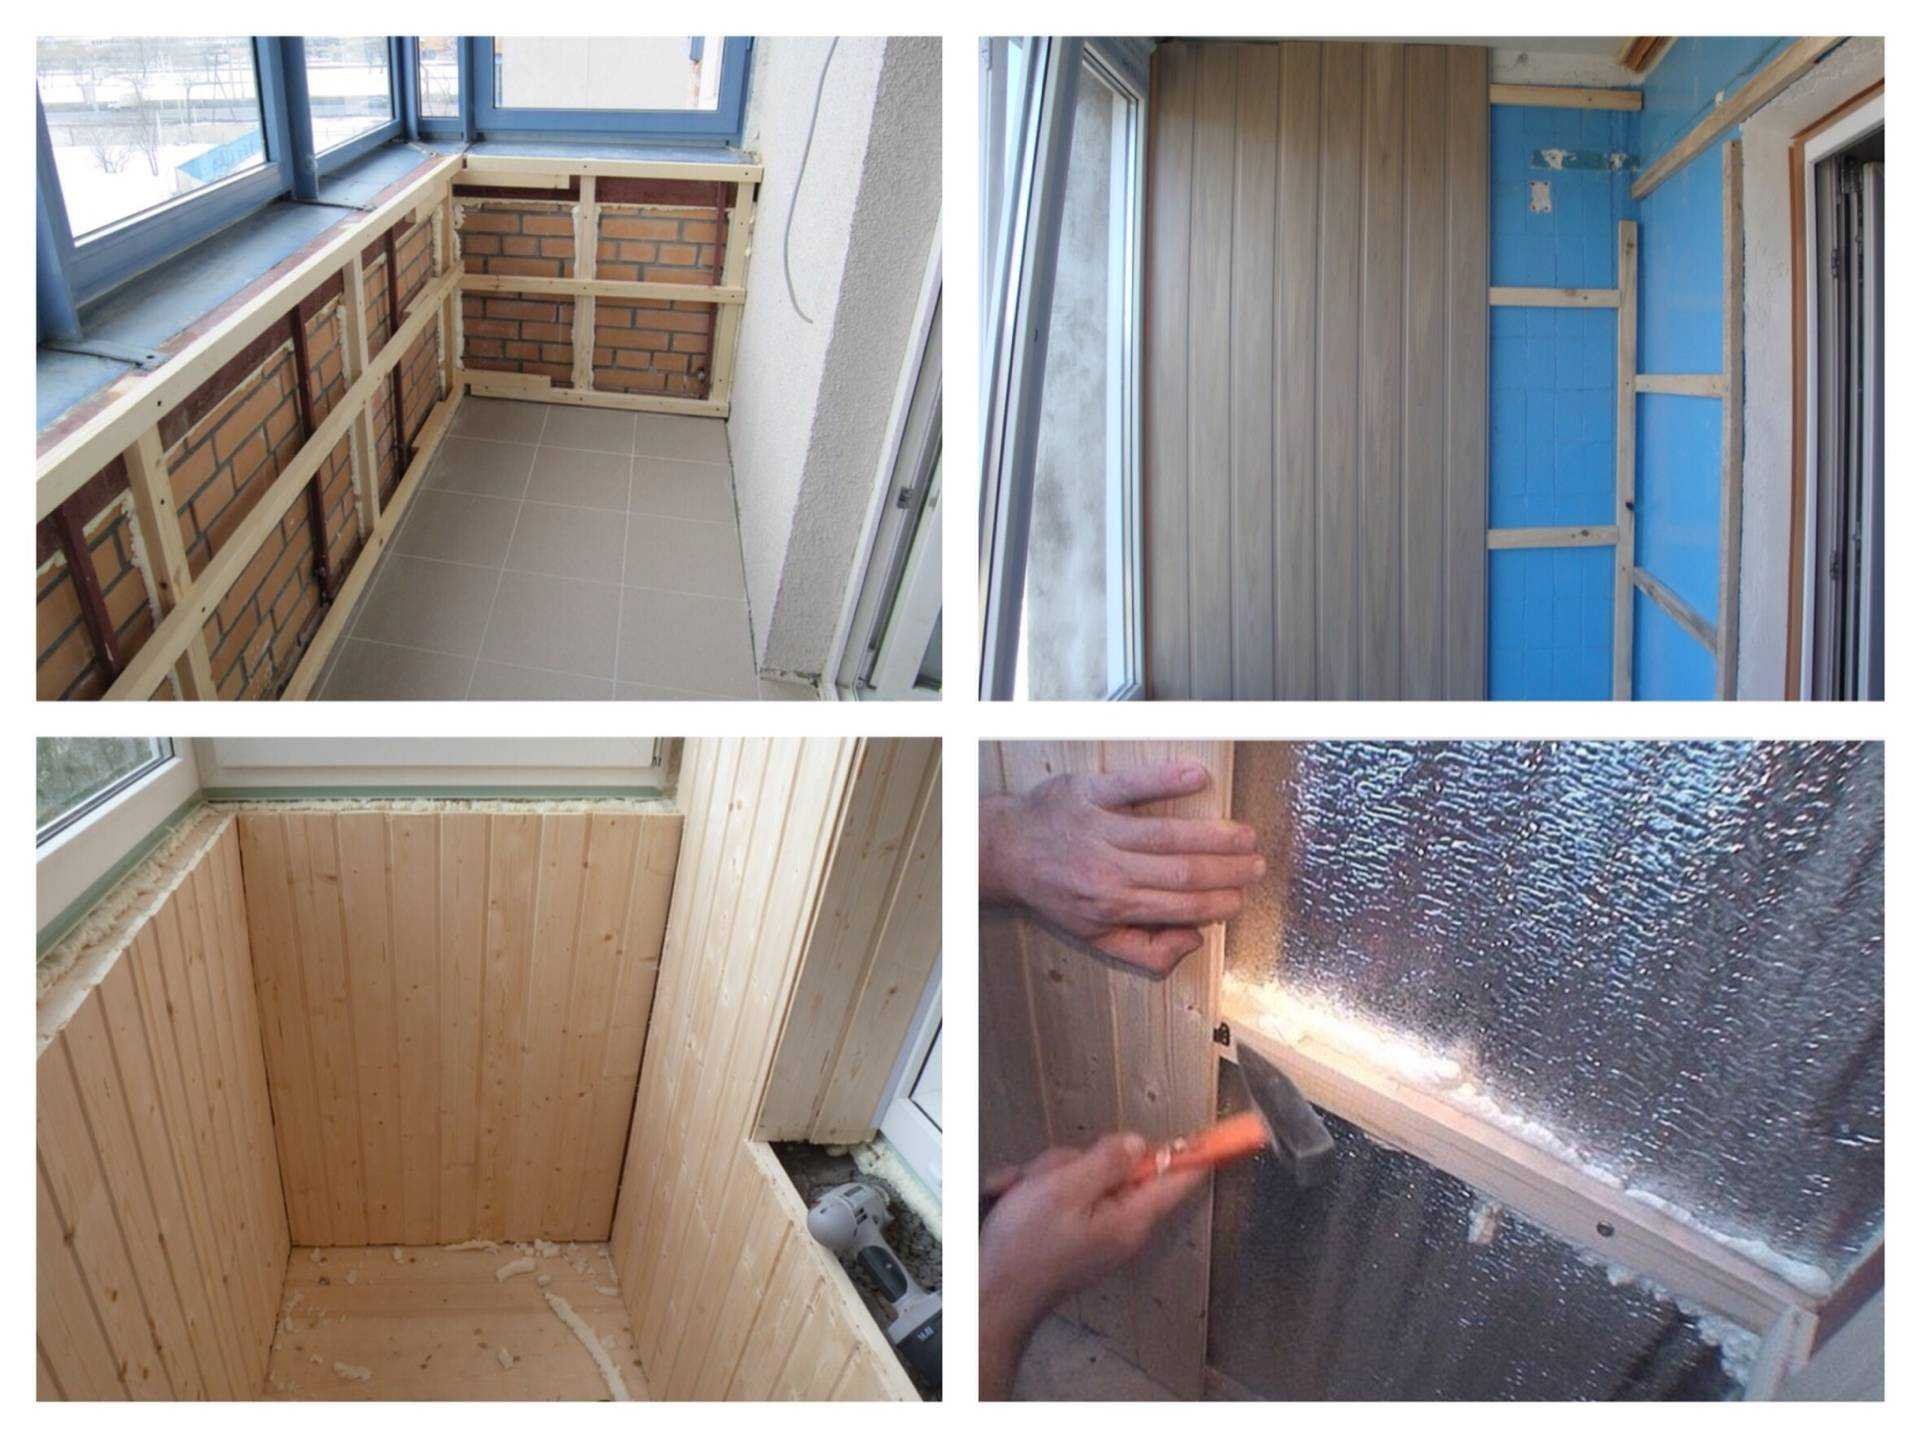
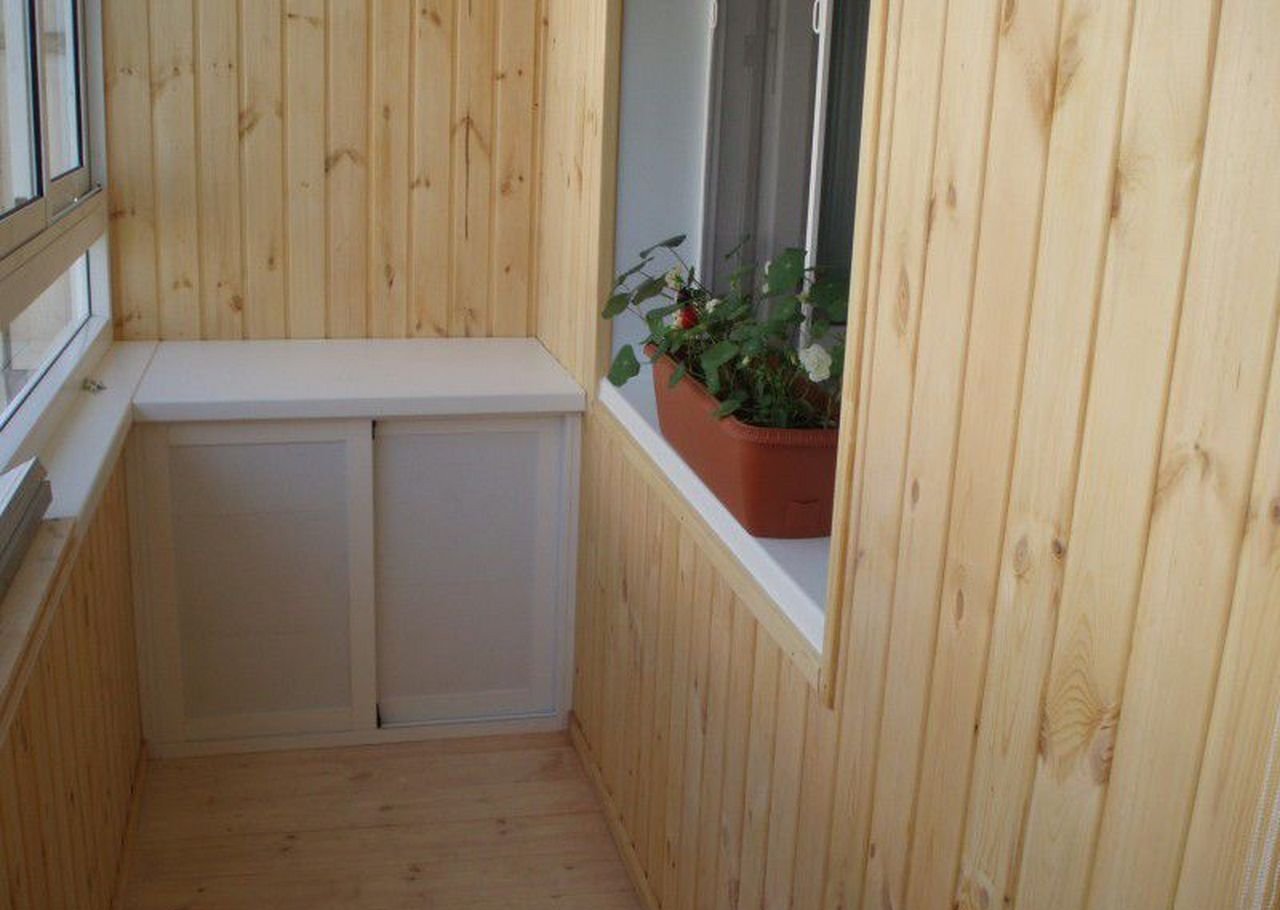
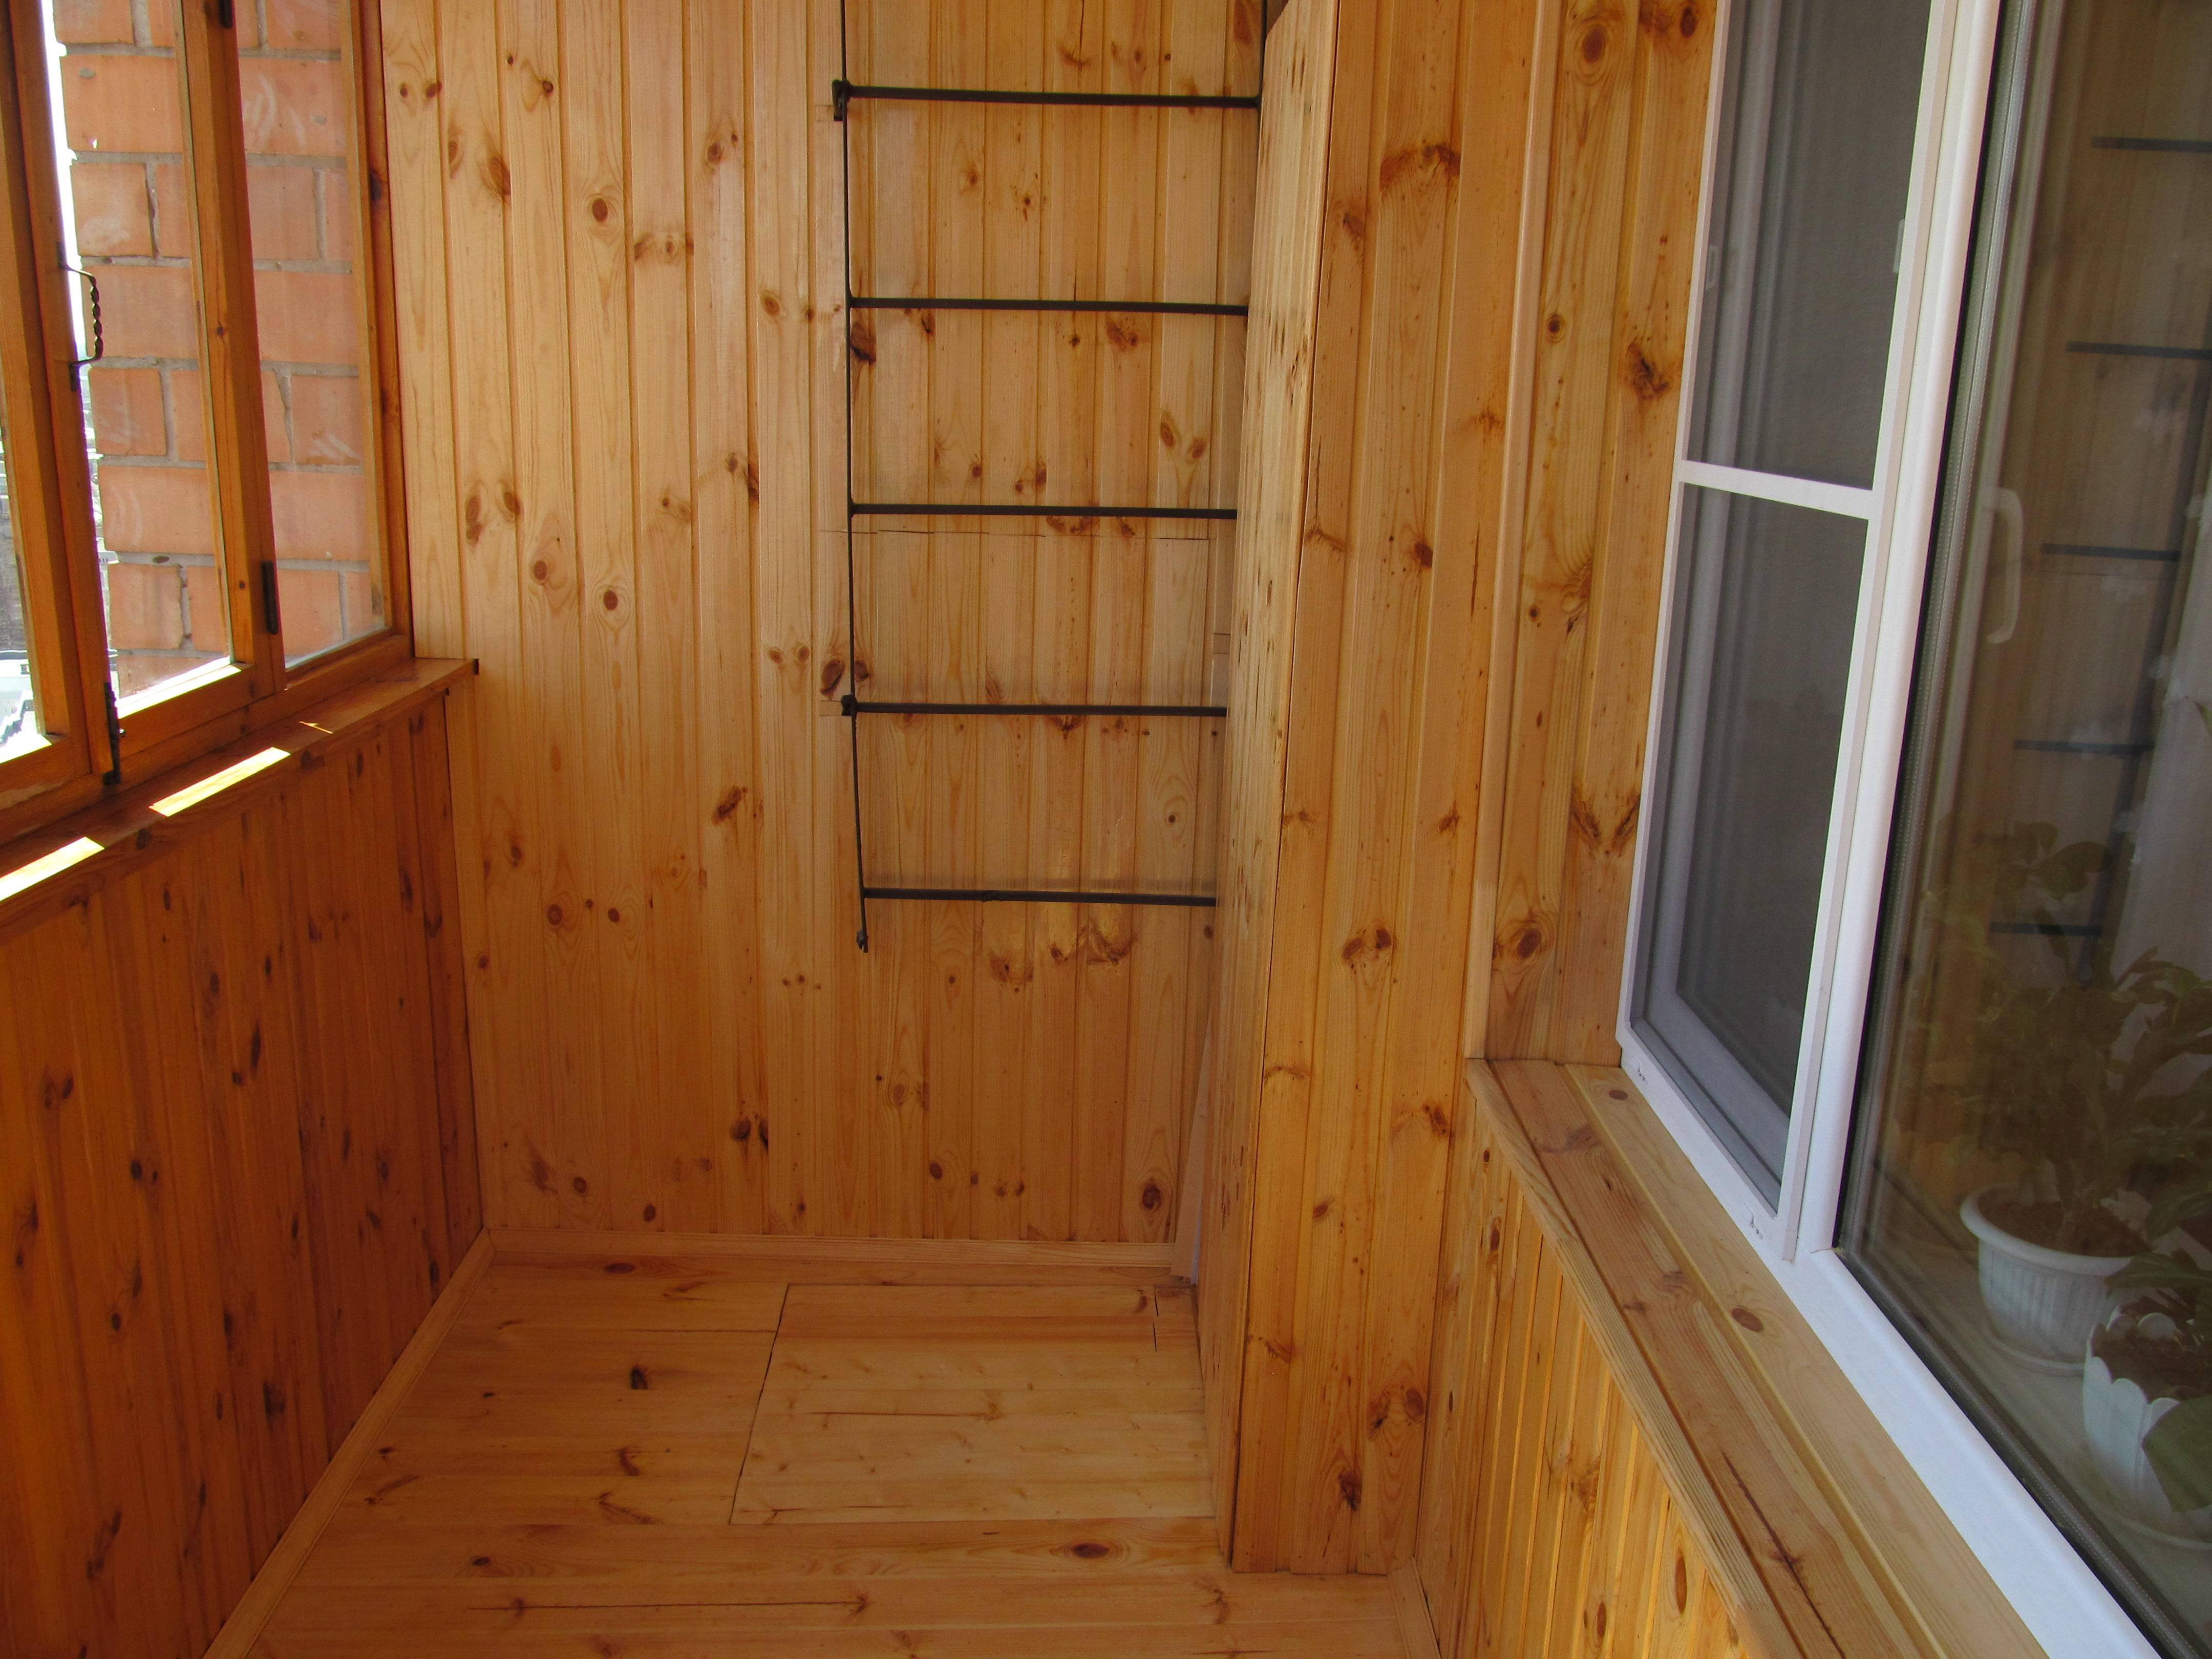
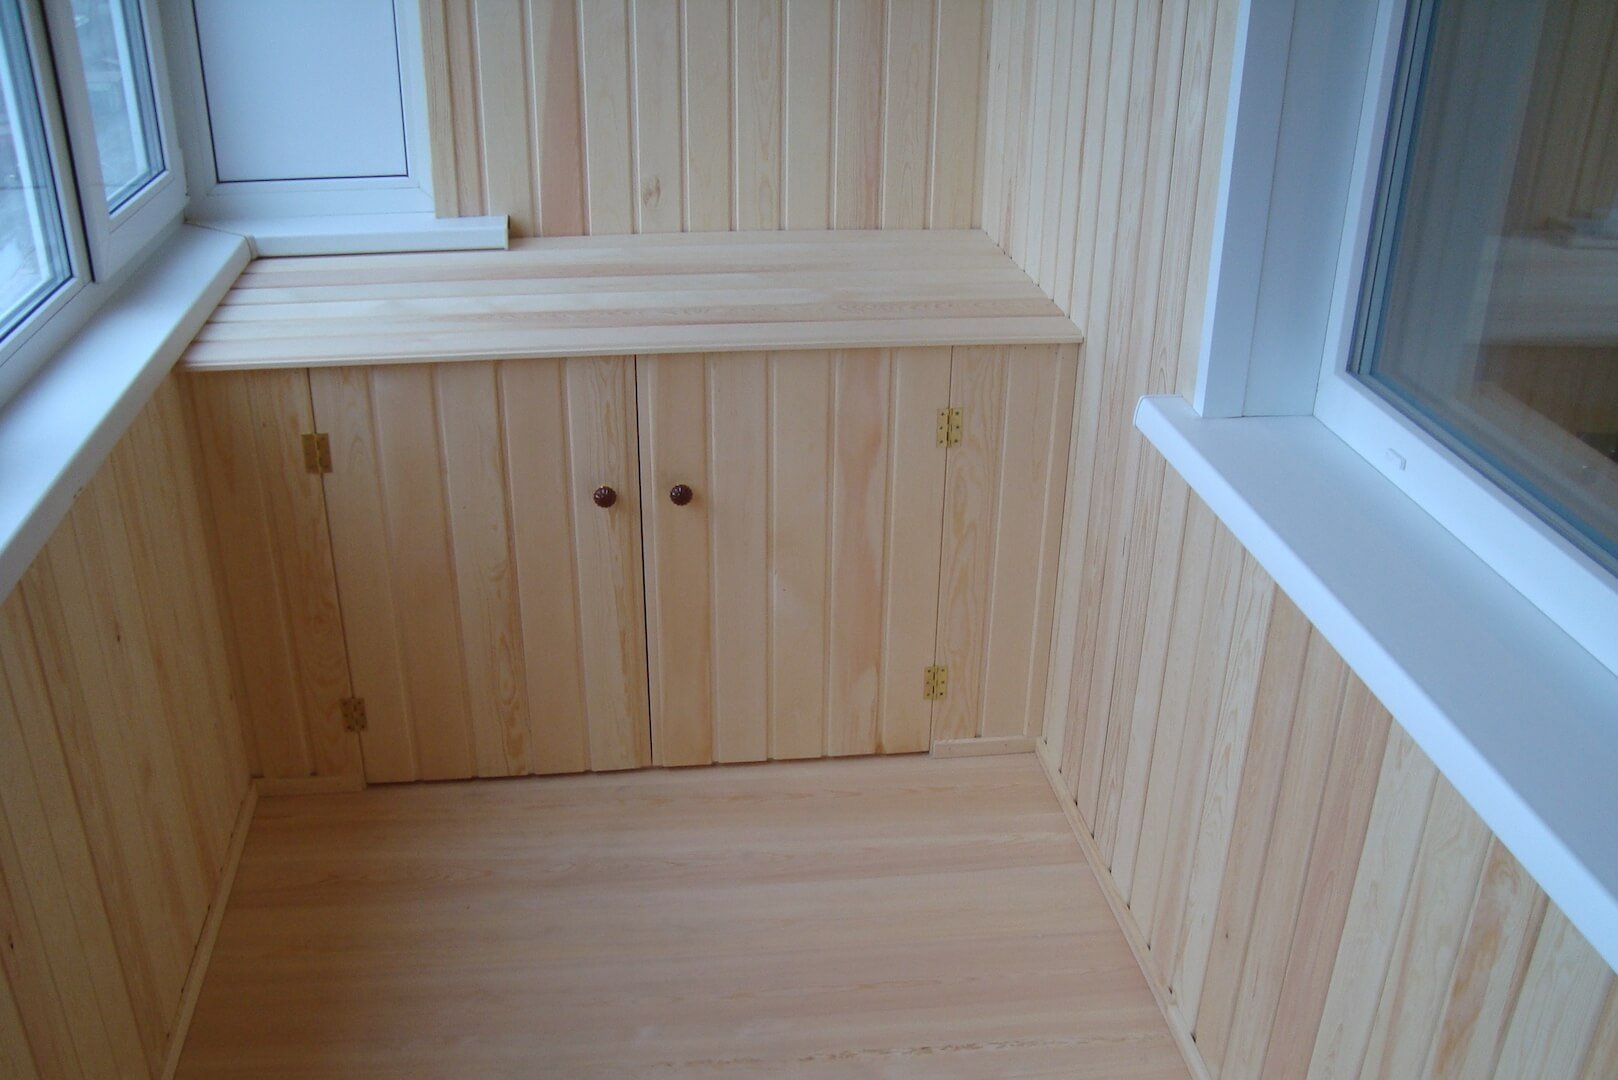
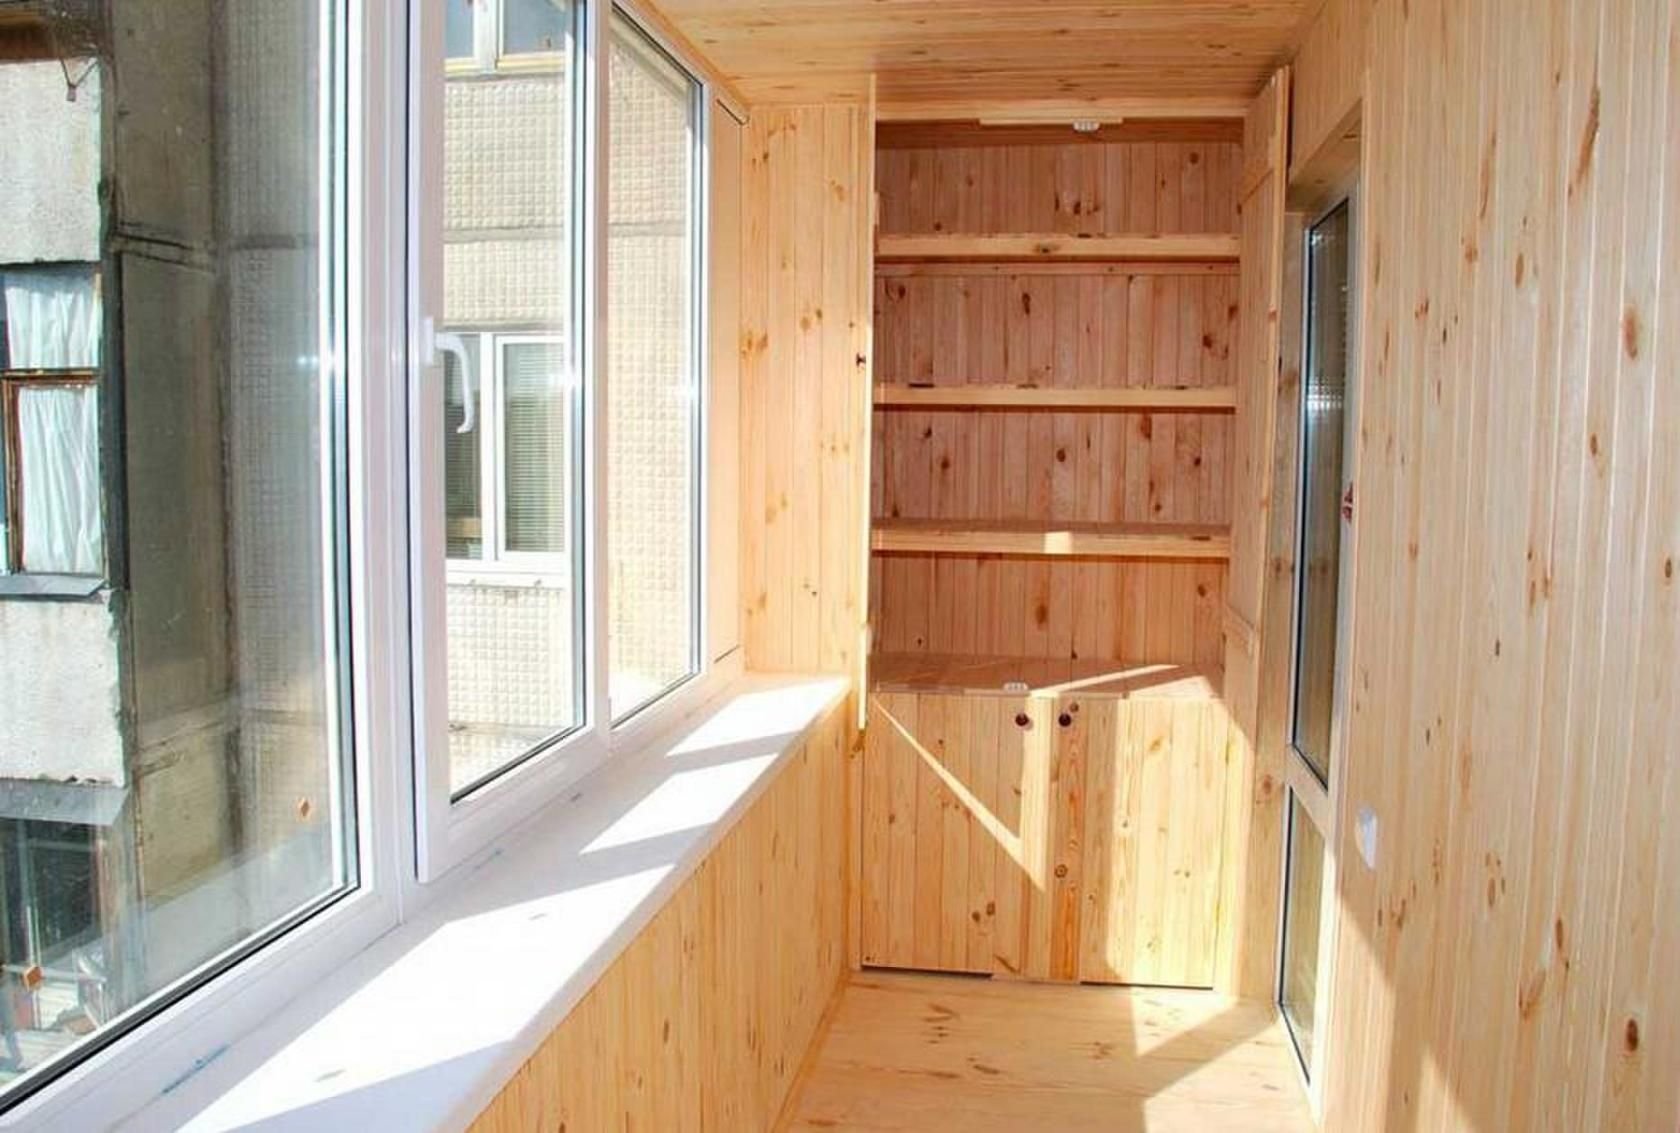
Transforming your balcony into a cozy retreat is a rewarding project, and finishing it with clapboard can add warmth and elegance to the space. Clapboard, a versatile material, is perfect for DIY enthusiasts looking to enhance their balcony's aesthetics while ensuring durability. Before starting, ensure your balcony is weatherproofed to protect the wood from moisture. Choose the right type of clapboard, considering options like pine, cedar, or larch, each offering unique textures and hues. Begin by measuring your balcony to calculate the amount of clapboard needed. It's essential to let the wood acclimate to the balcony's environment for a few days. Prepare the surface by cleaning thoroughly and fixing any imperfections. Installation starts with securing furring strips to the walls, creating a framework for the clapboard. Begin attaching the boards from the bottom, ensuring each piece is level and tightly fitted. Seal the edges and joints with weather-resistant sealant to prevent moisture ingress. Once installed, finish the clapboard with a suitable wood stain or paint to enhance its longevity and appearance. Regular maintenance, such as re-sealing and cleaning, will keep your balcony looking fresh and inviting. Through careful planning and attention to detail, your new clapboard-finished balcony can become a serene extension of your living space.


