- Interiors
- Finishing work
- Finishing an arch with drywall
Finishing an arch with drywall 15 photos
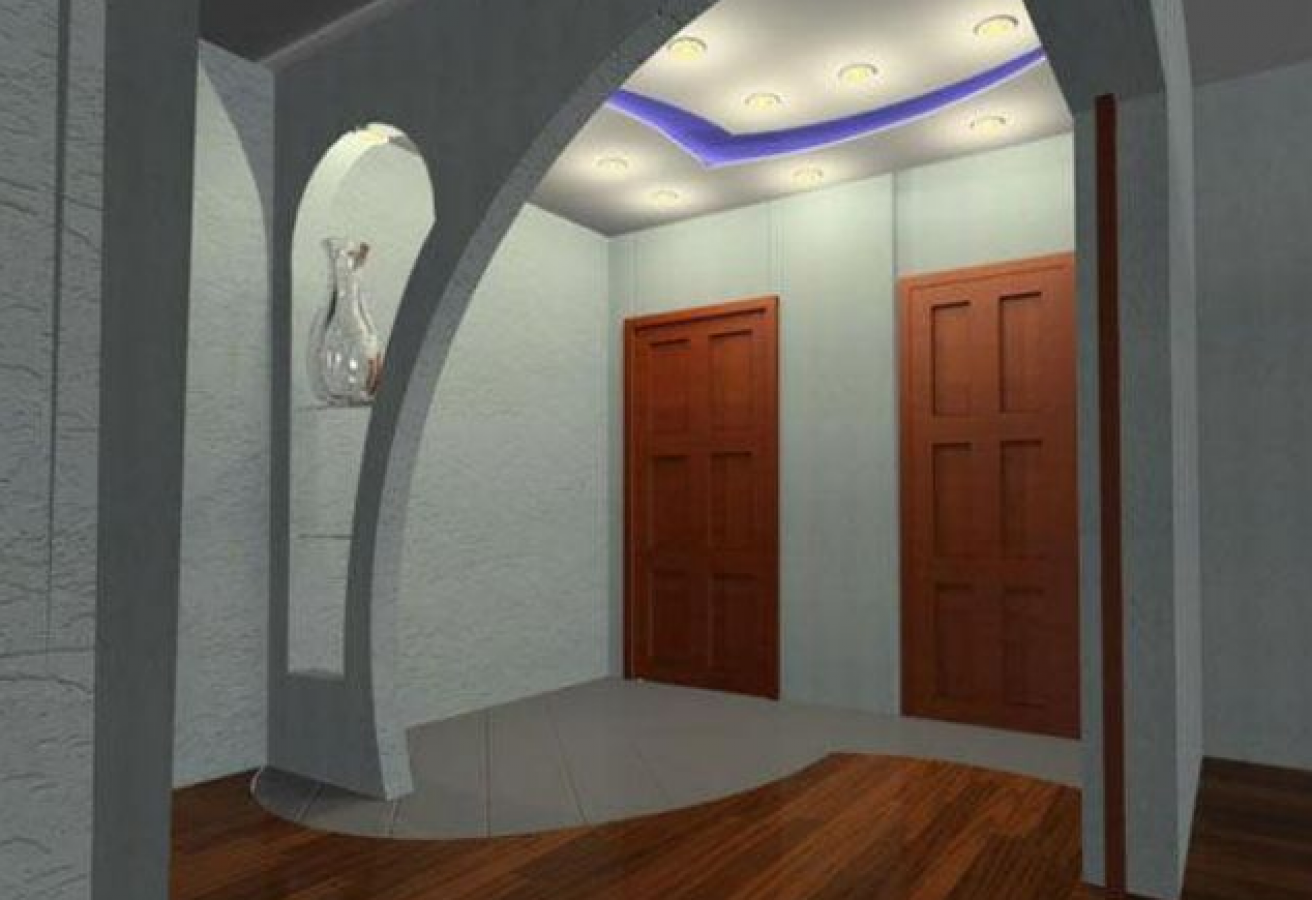
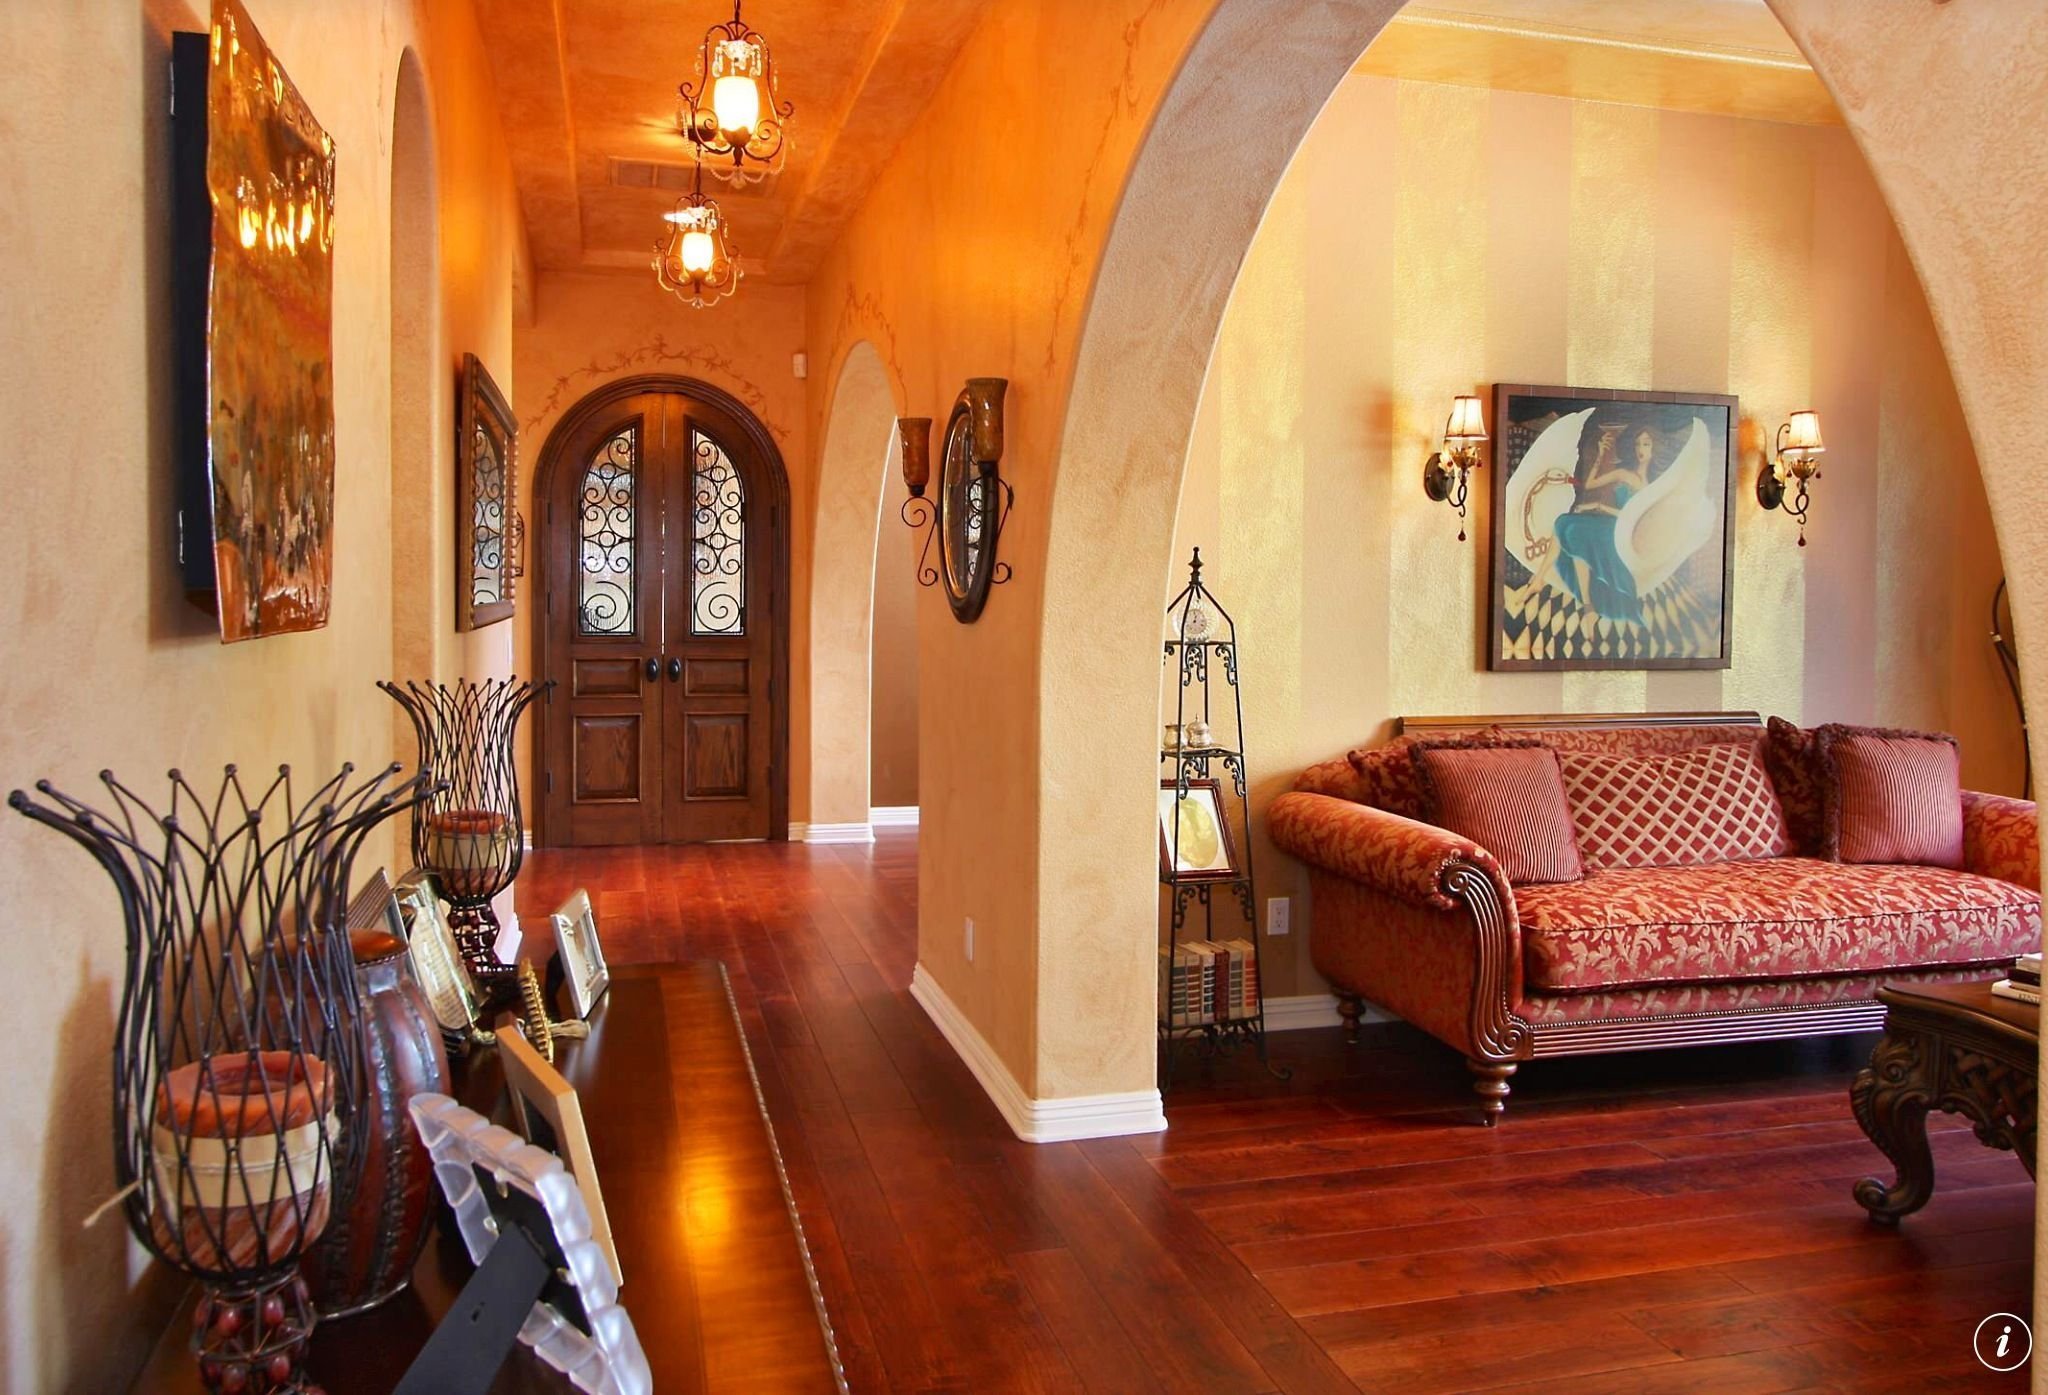
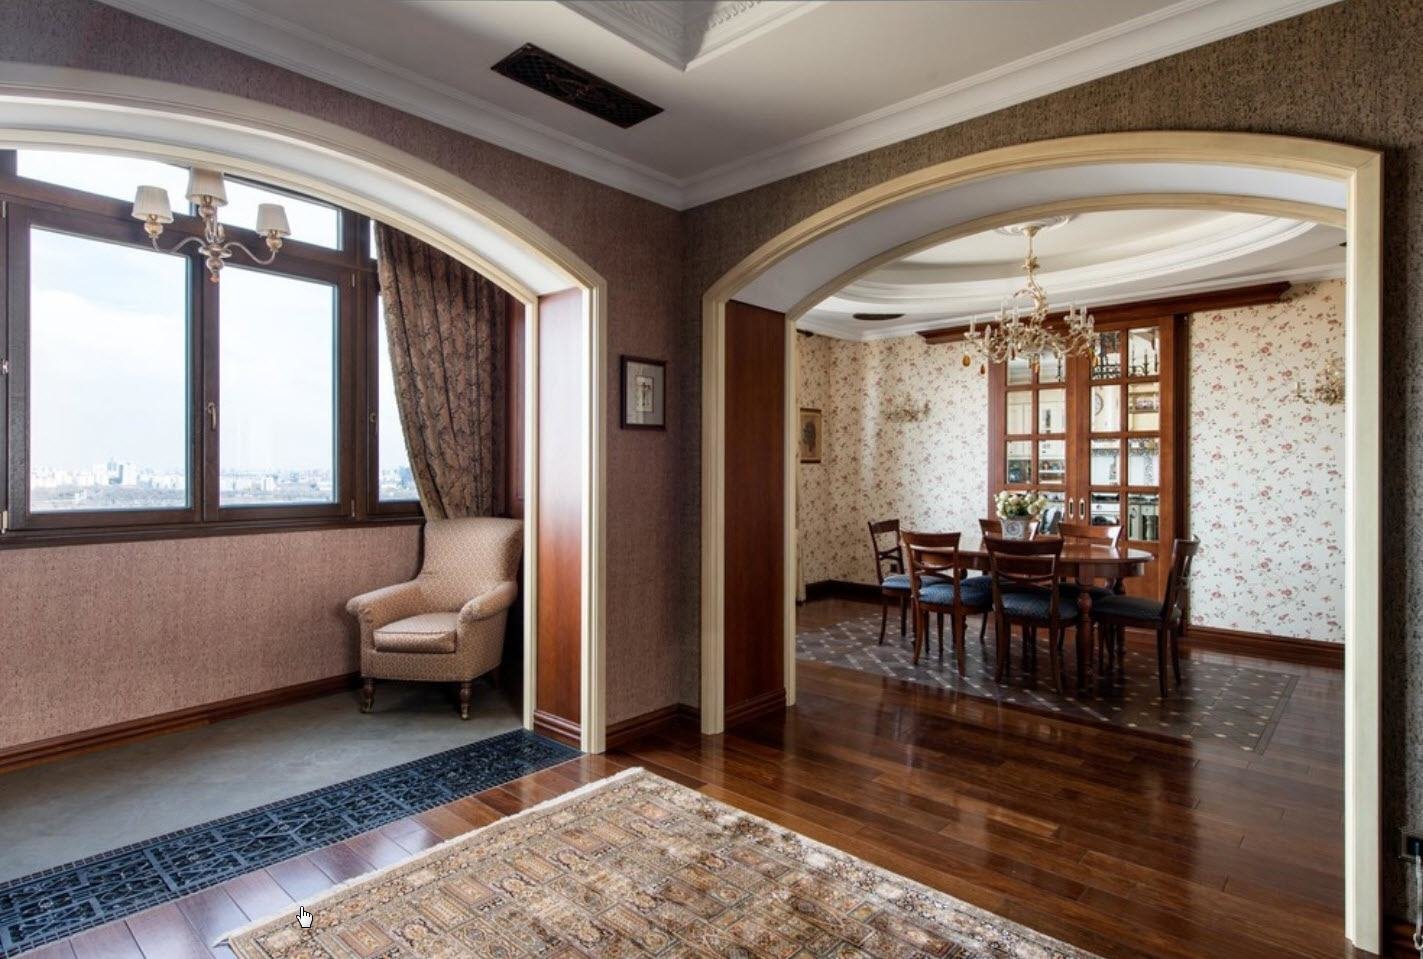
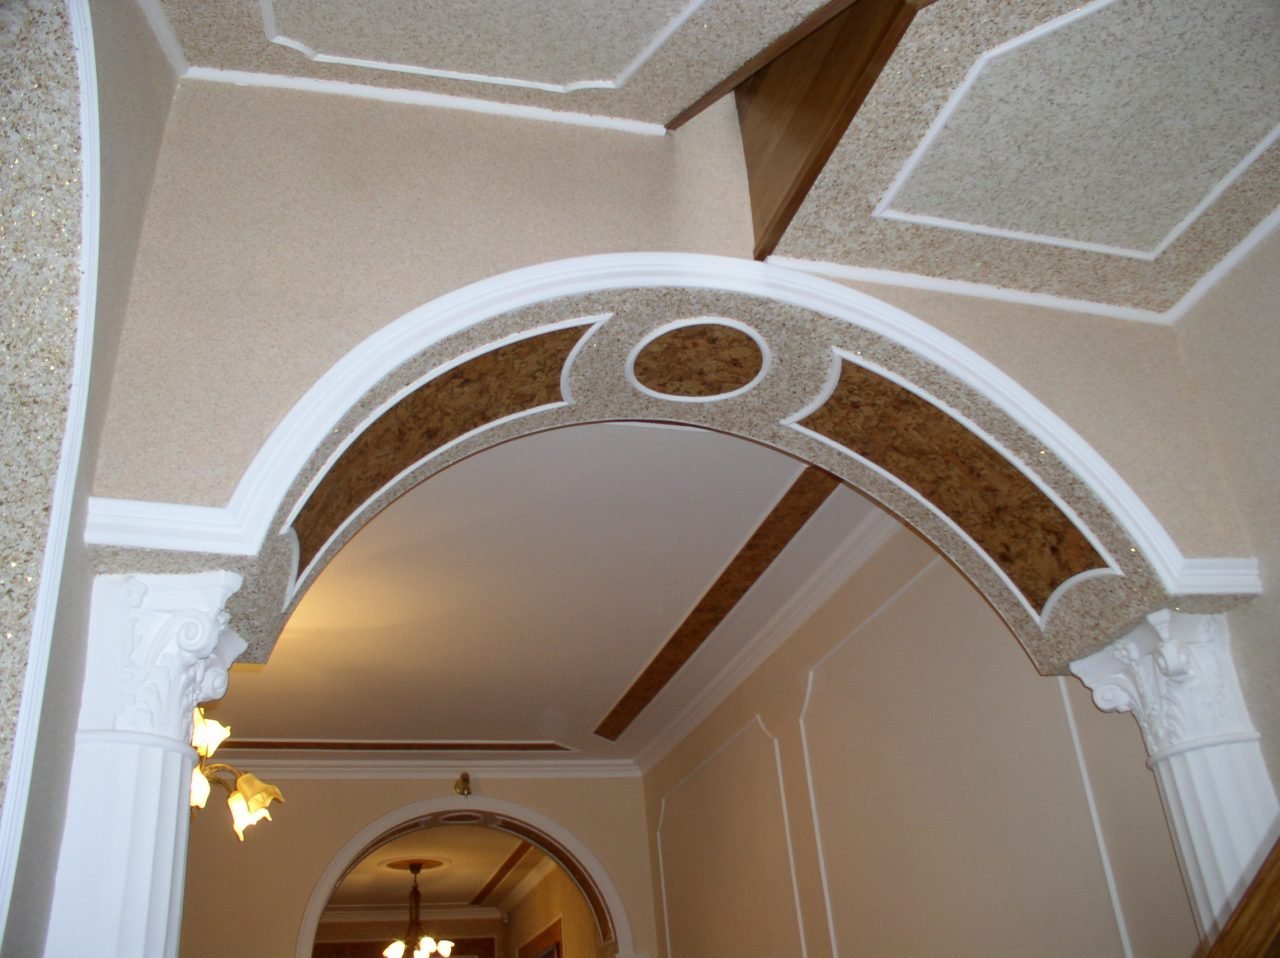
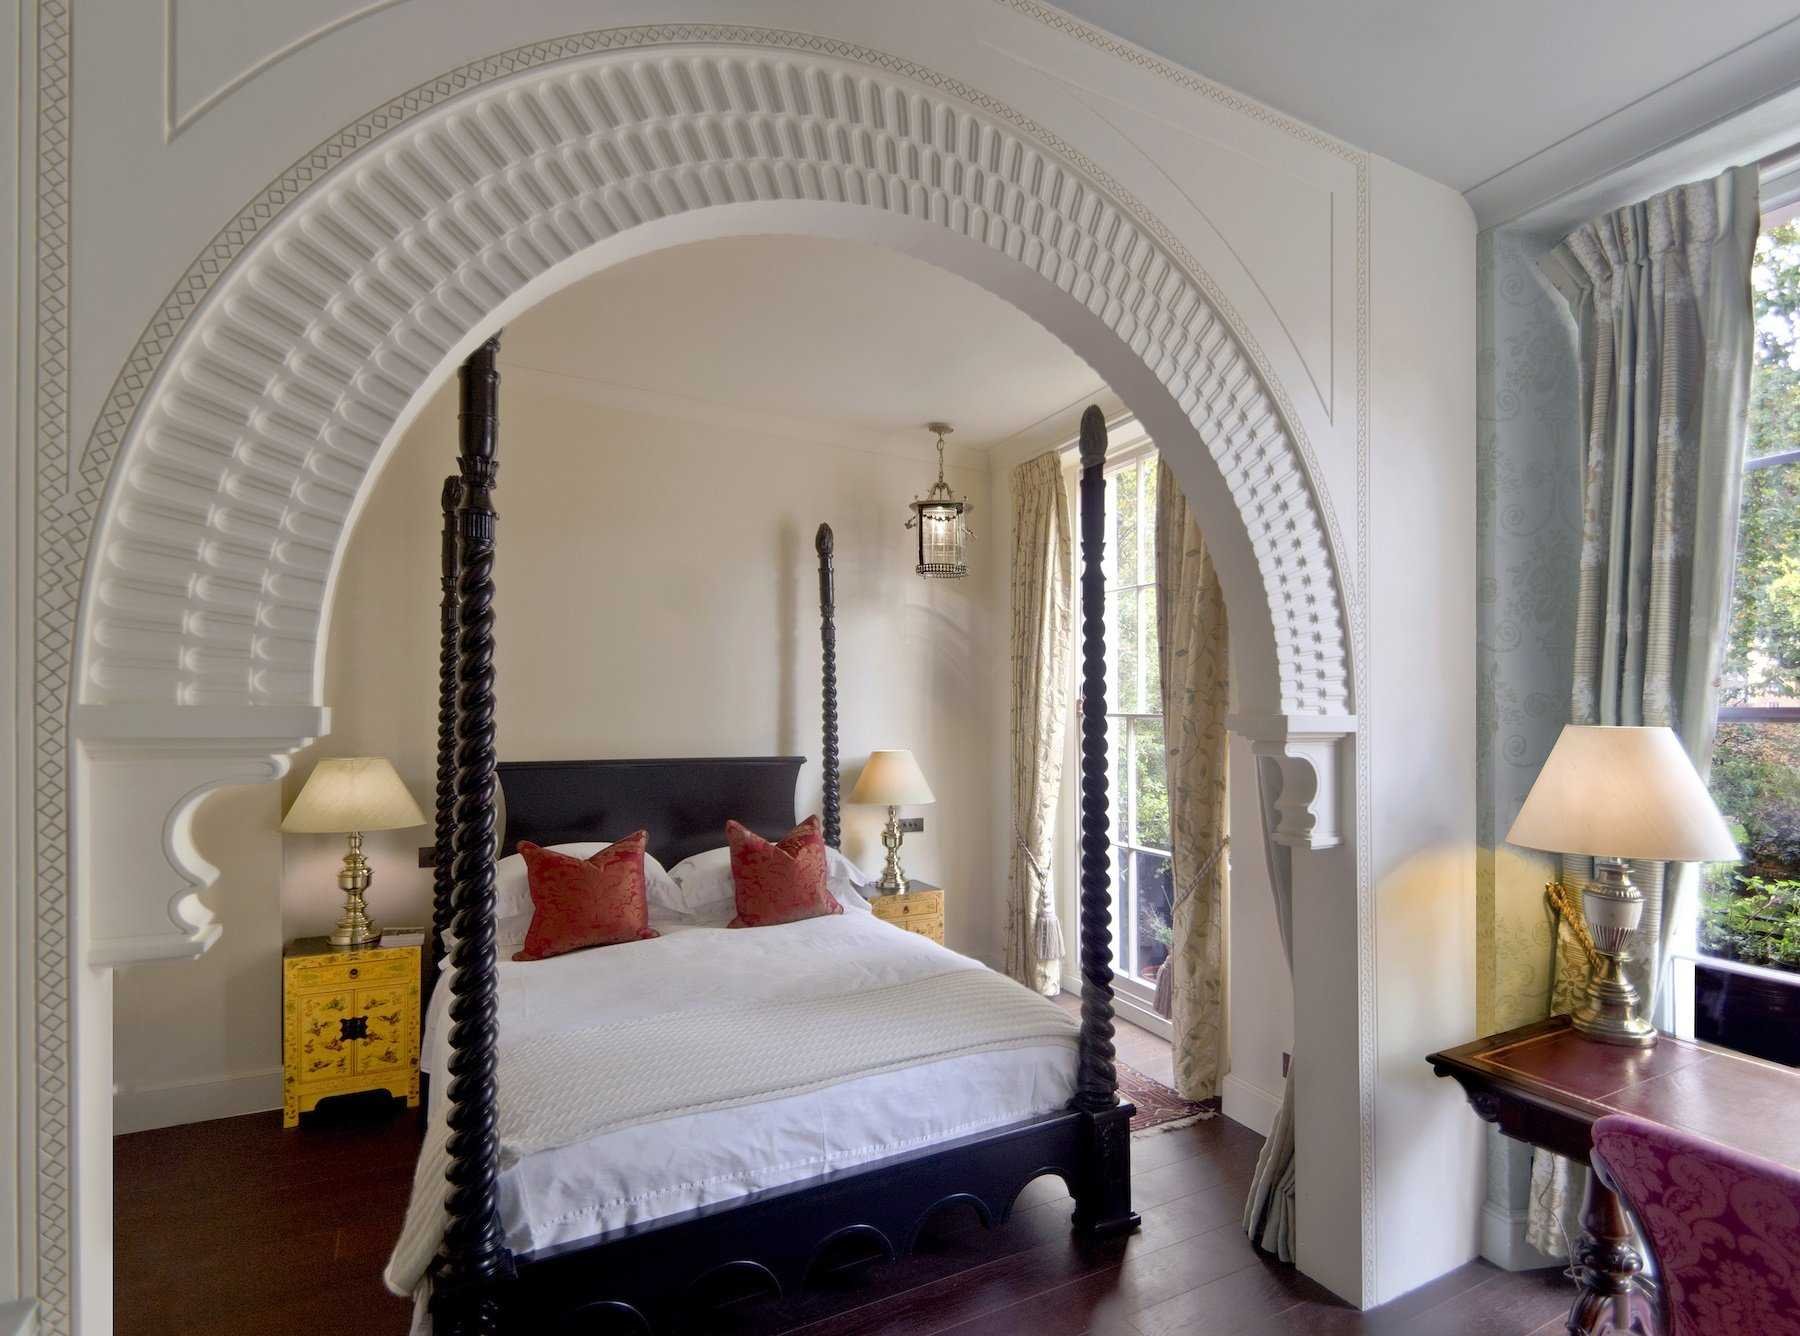
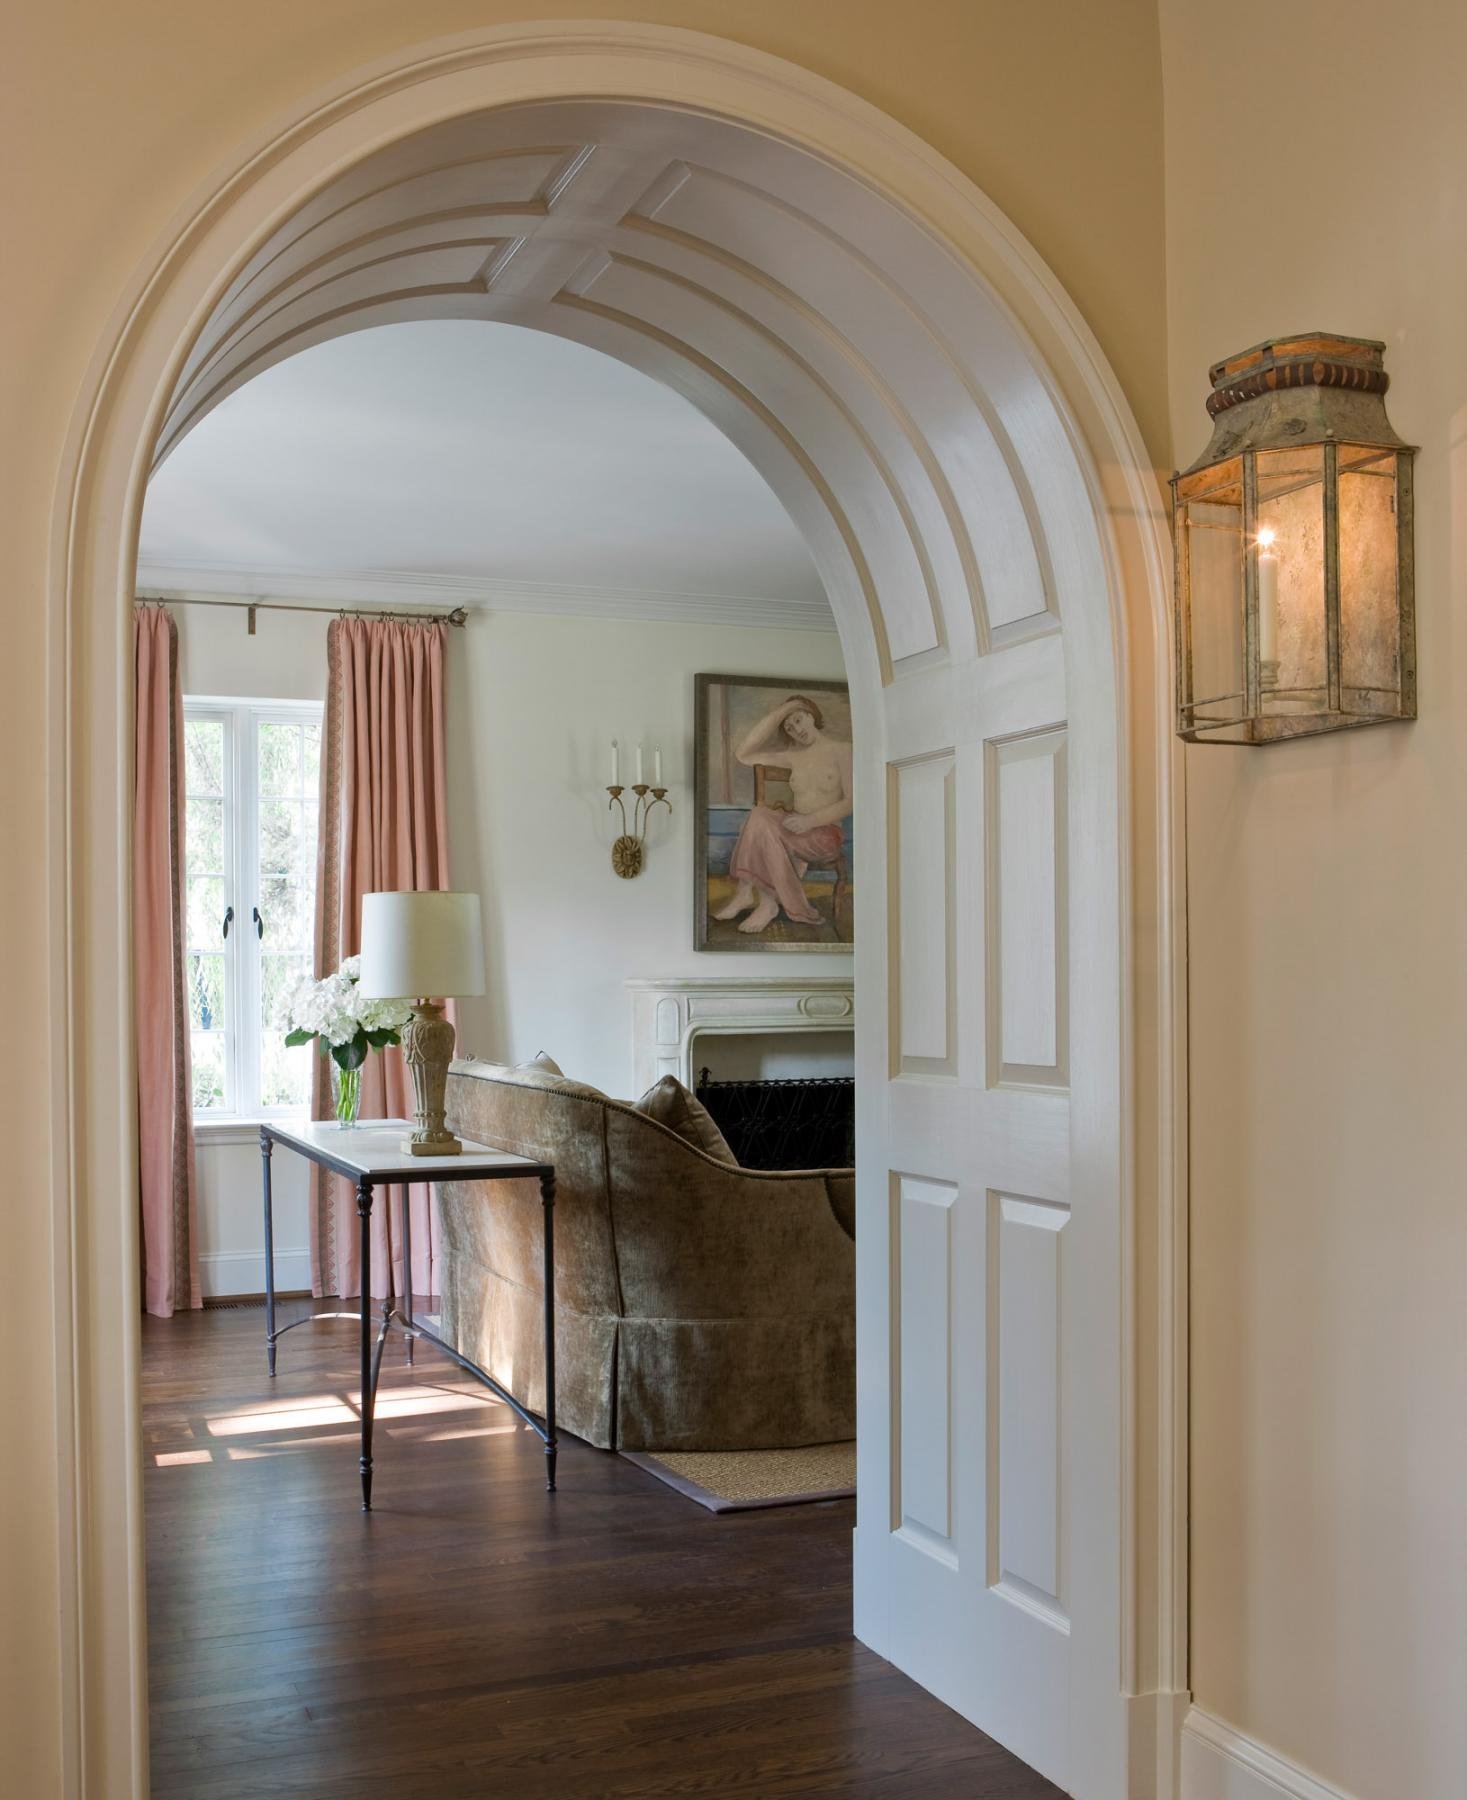
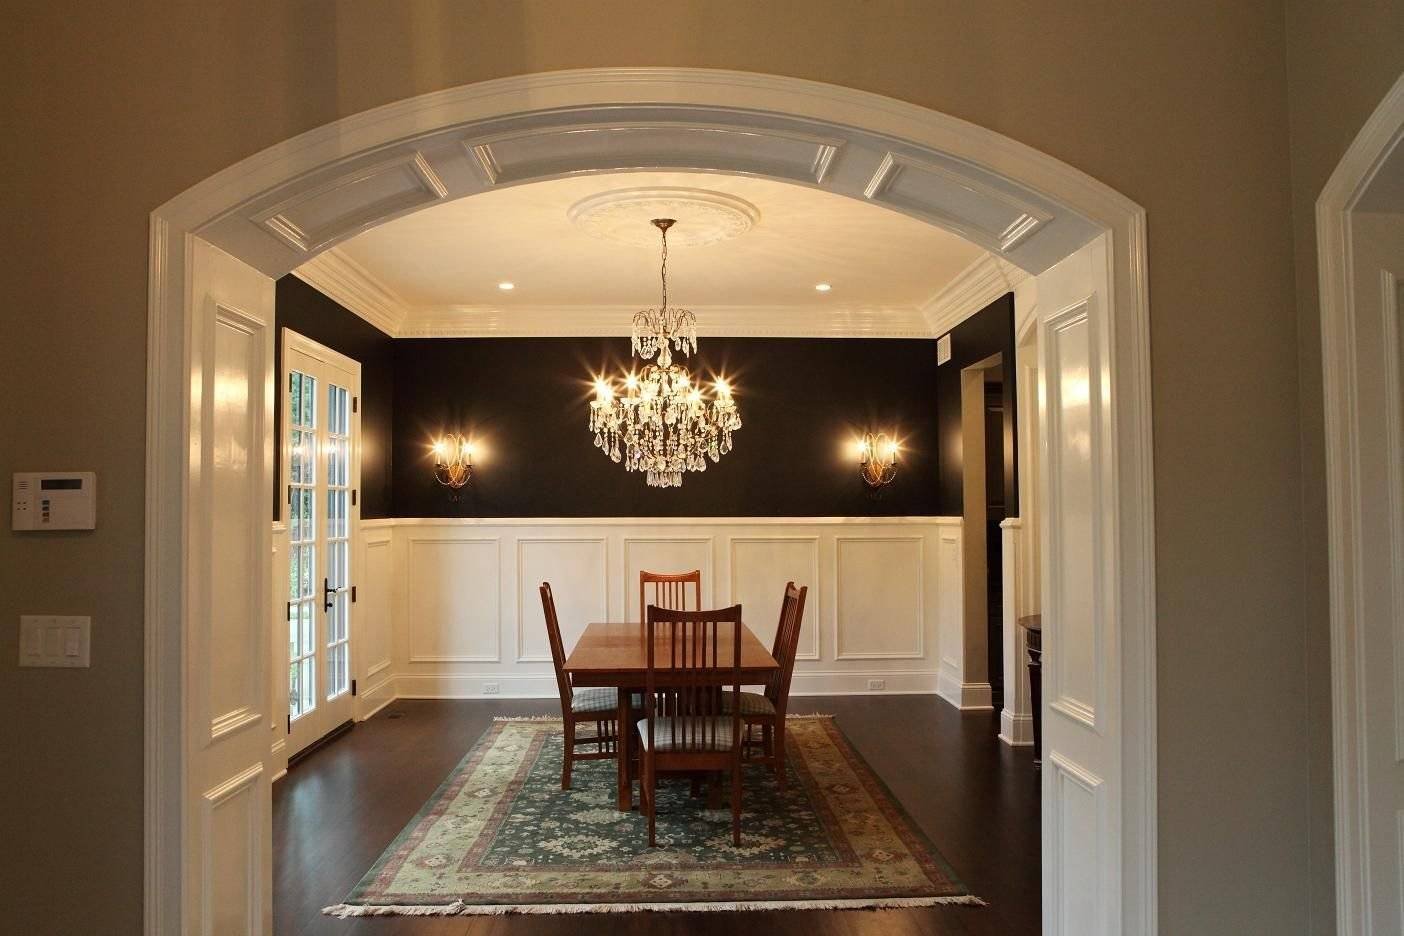
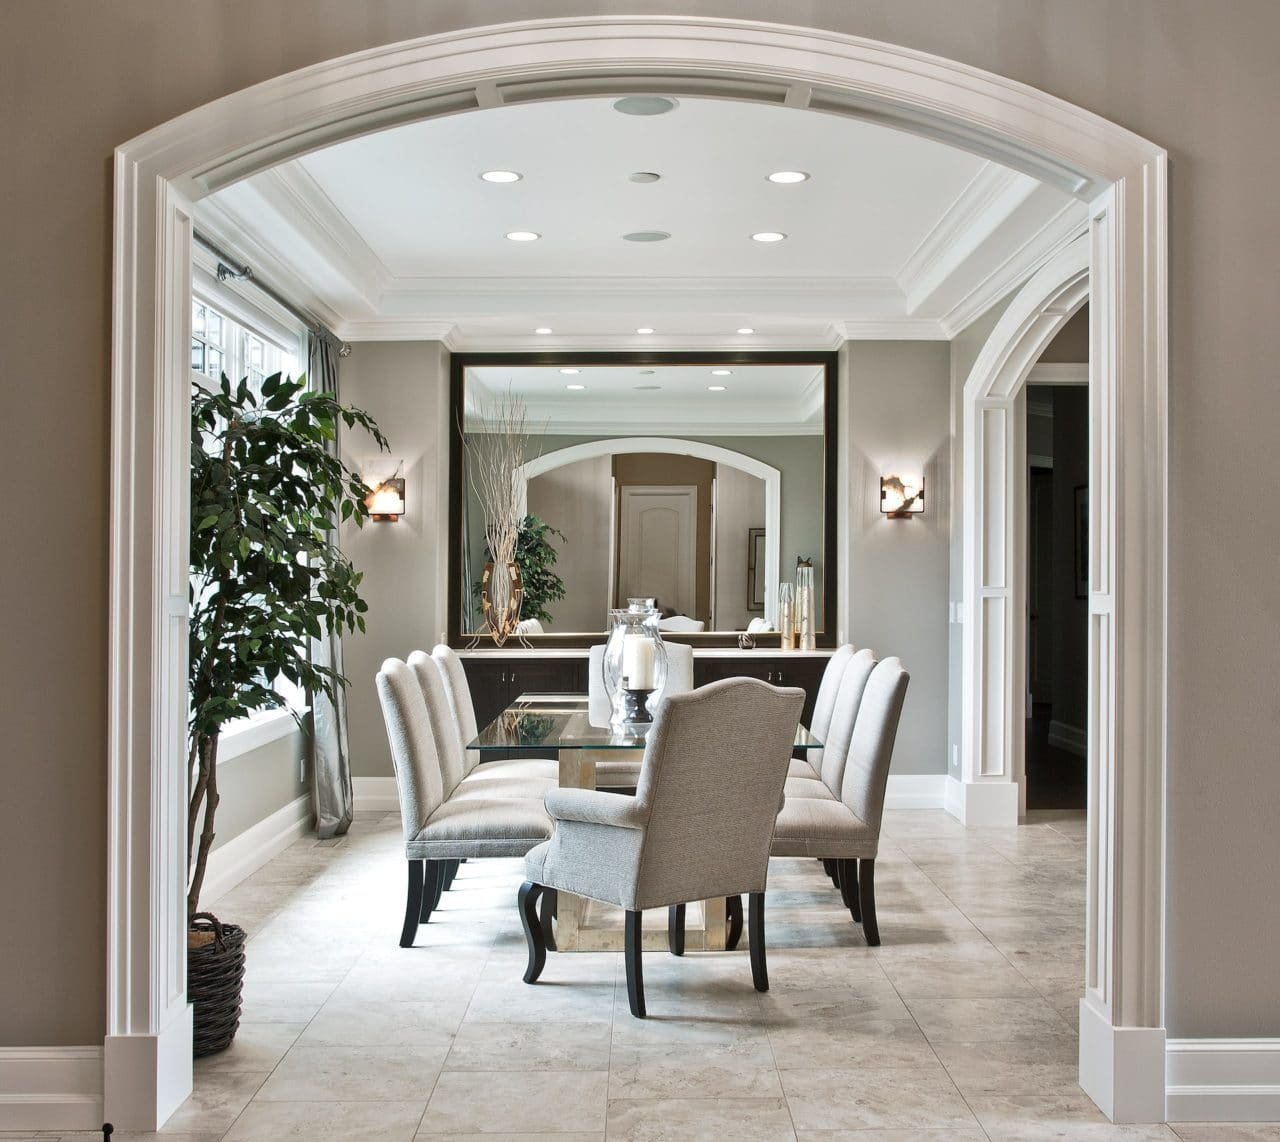
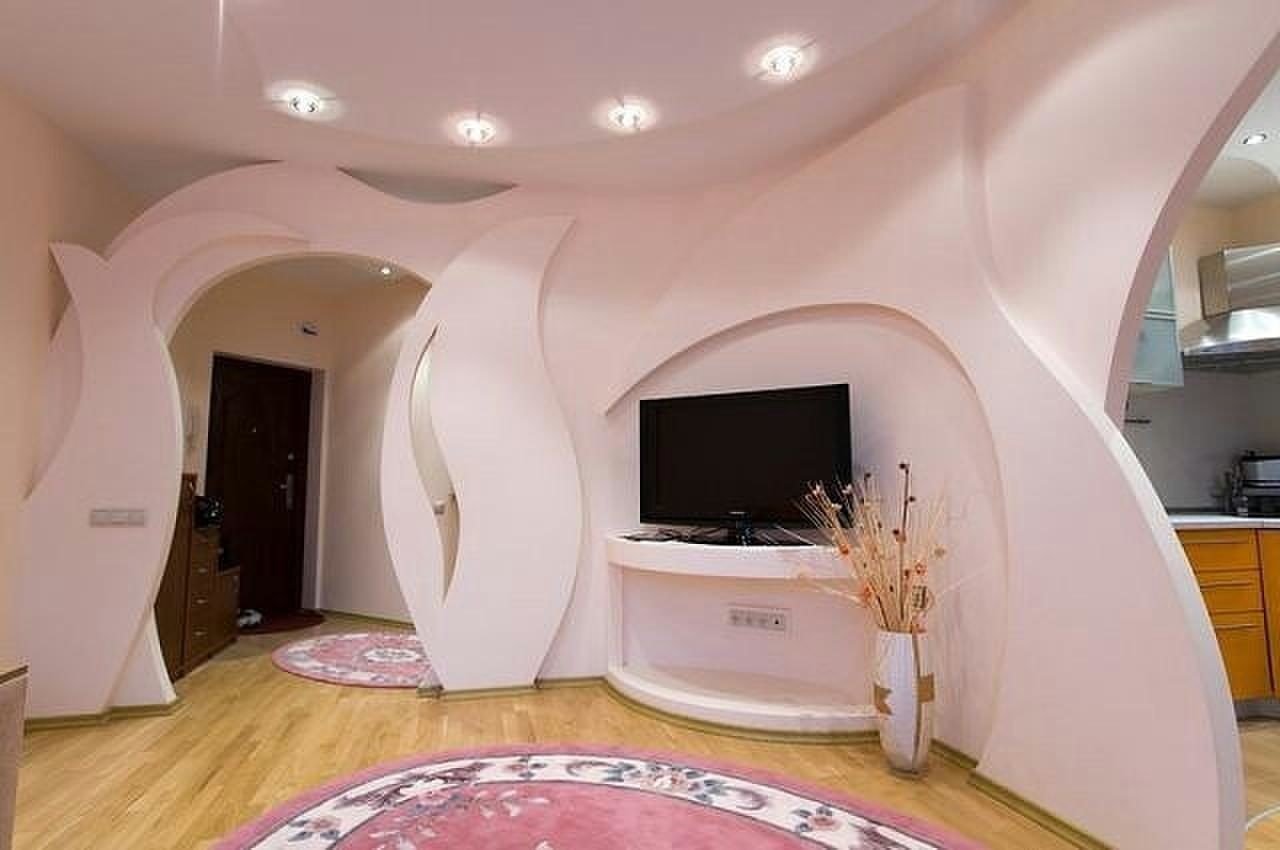
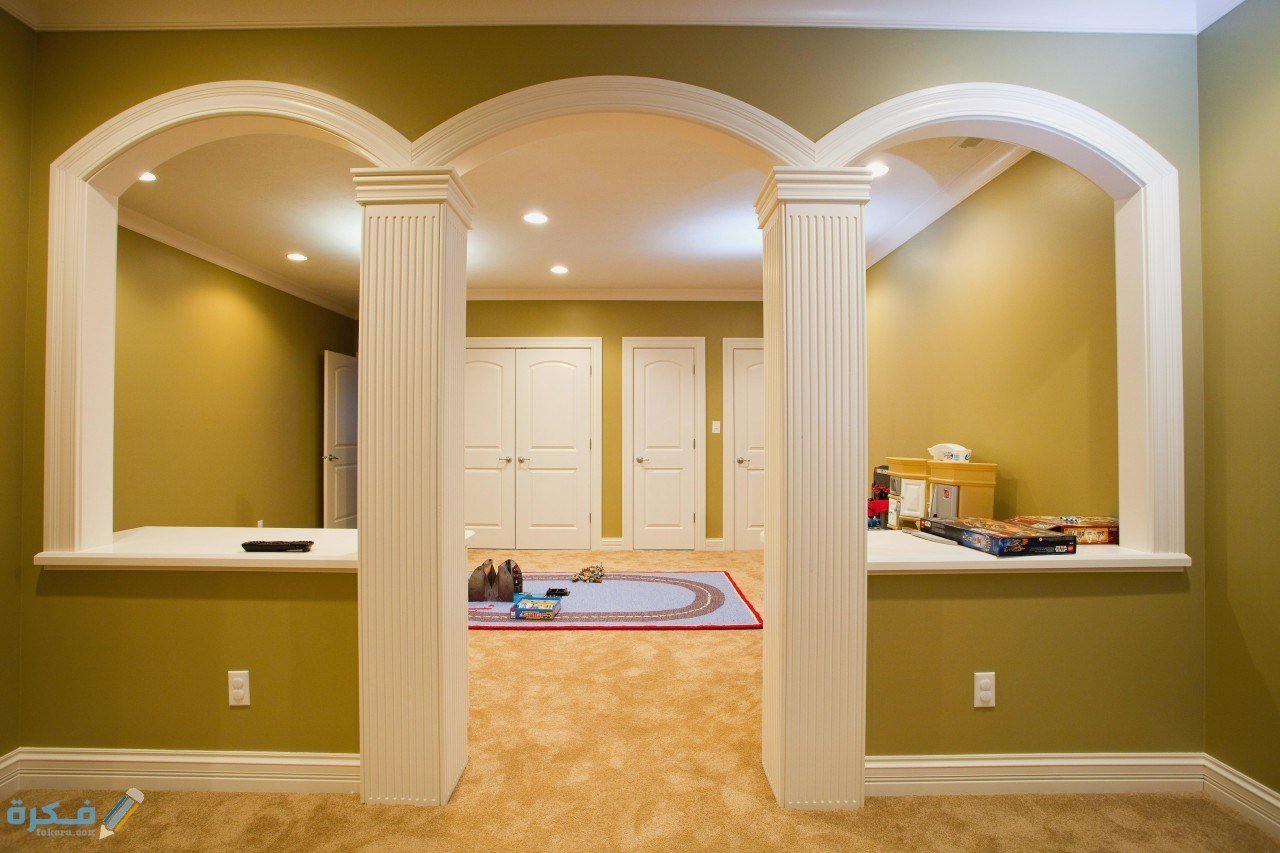
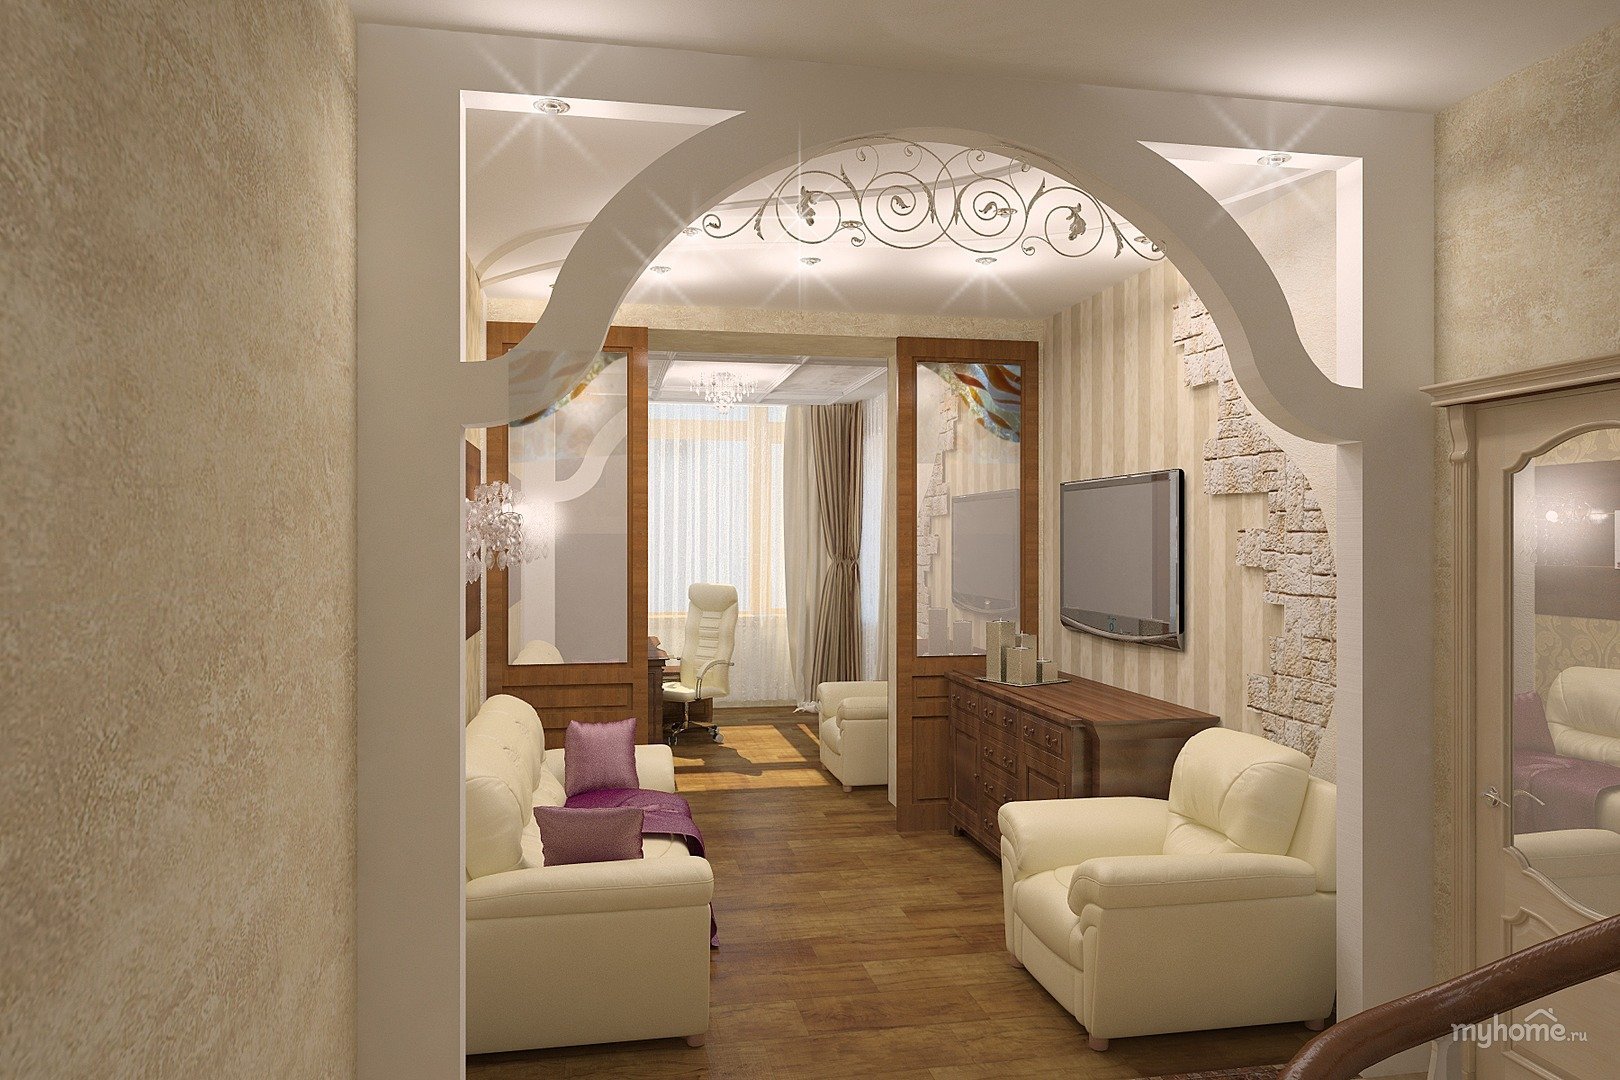
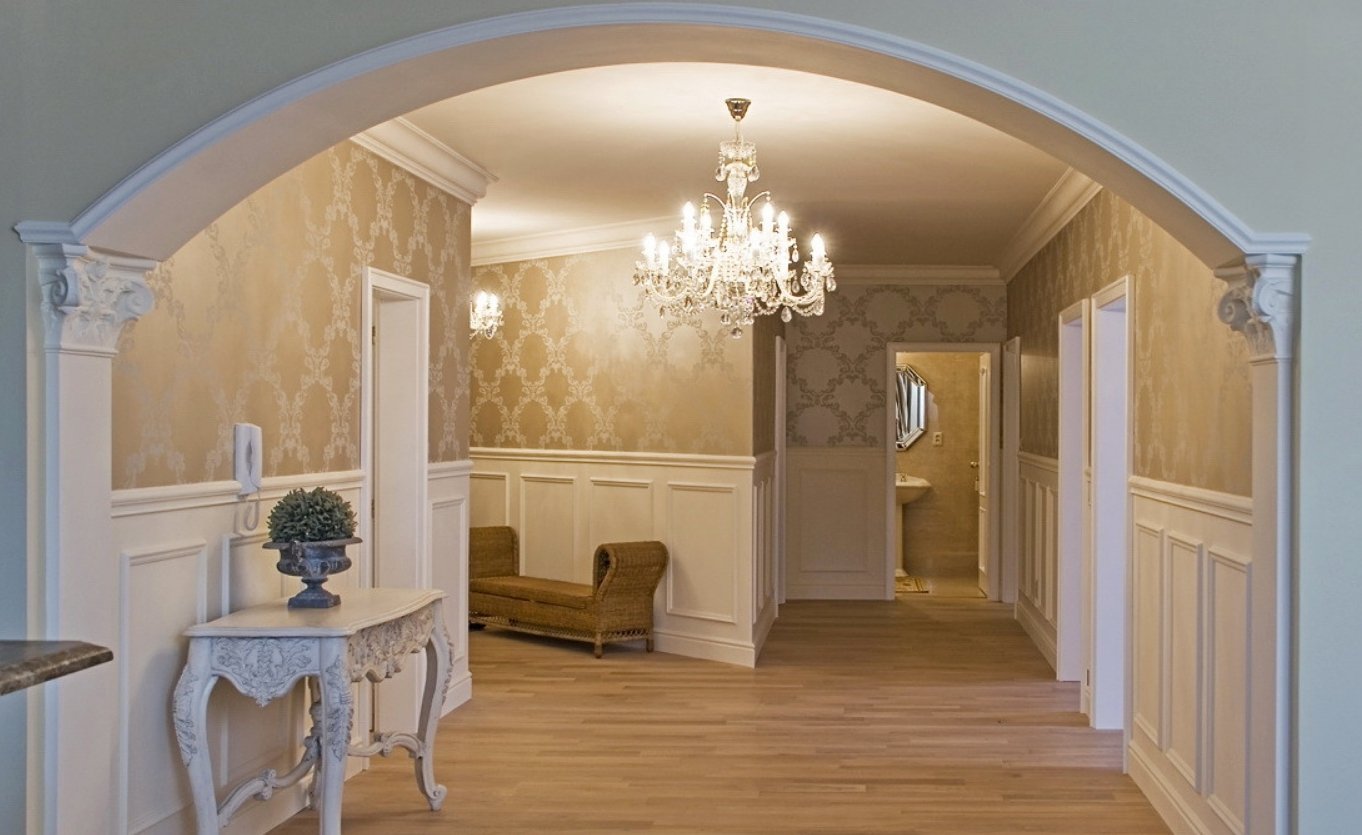
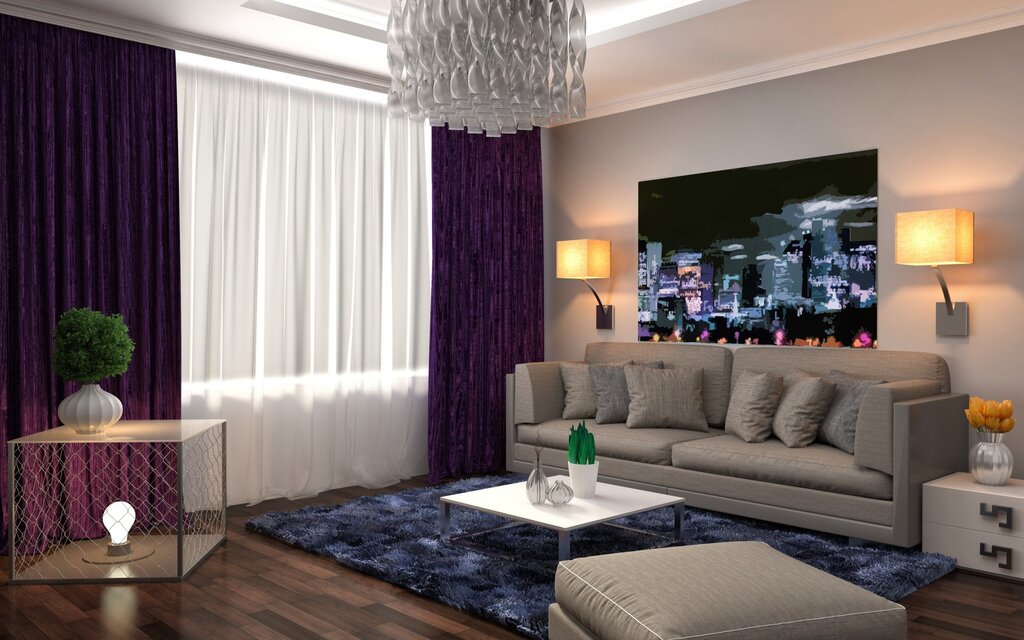
Transforming your living space with the elegance of a drywall-finished arch can elevate your home’s interior design to a new level. Drywall arches add a touch of sophistication and seamless flow to any room, serving as a subtle yet eye-catching architectural feature. The process of finishing an arch with drywall involves careful planning and precision to achieve smooth curves and a professional look. Begin by considering the arch’s placement within your space, ensuring it complements the existing layout and design. Once you’ve decided on the location, it’s crucial to outline the arch with precise measurements, using flexible drywall to accommodate its curved shape. The installation requires a steady hand and attention to detail, as the drywall must be cut and shaped accurately to fit the archway perfectly. After securing the drywall with appropriate fasteners, the next step is to apply joint compound to create a flawless finish. This is where patience and skill come into play, as multiple layers may be needed to achieve a smooth surface. Sanding between layers ensures that the finish is even, highlighting the gentle curves of the arch. Finally, a coat of primer and paint can be applied to blend the arch seamlessly into your existing décor, offering a unified and elegant appearance. The result is a stunning architectural feature that not only enhances the aesthetic appeal of your home but also reflects your personal style and attention to detail.