- Interiors
- Finishing work
- Drywall joint finishing
Drywall joint finishing 18 photos
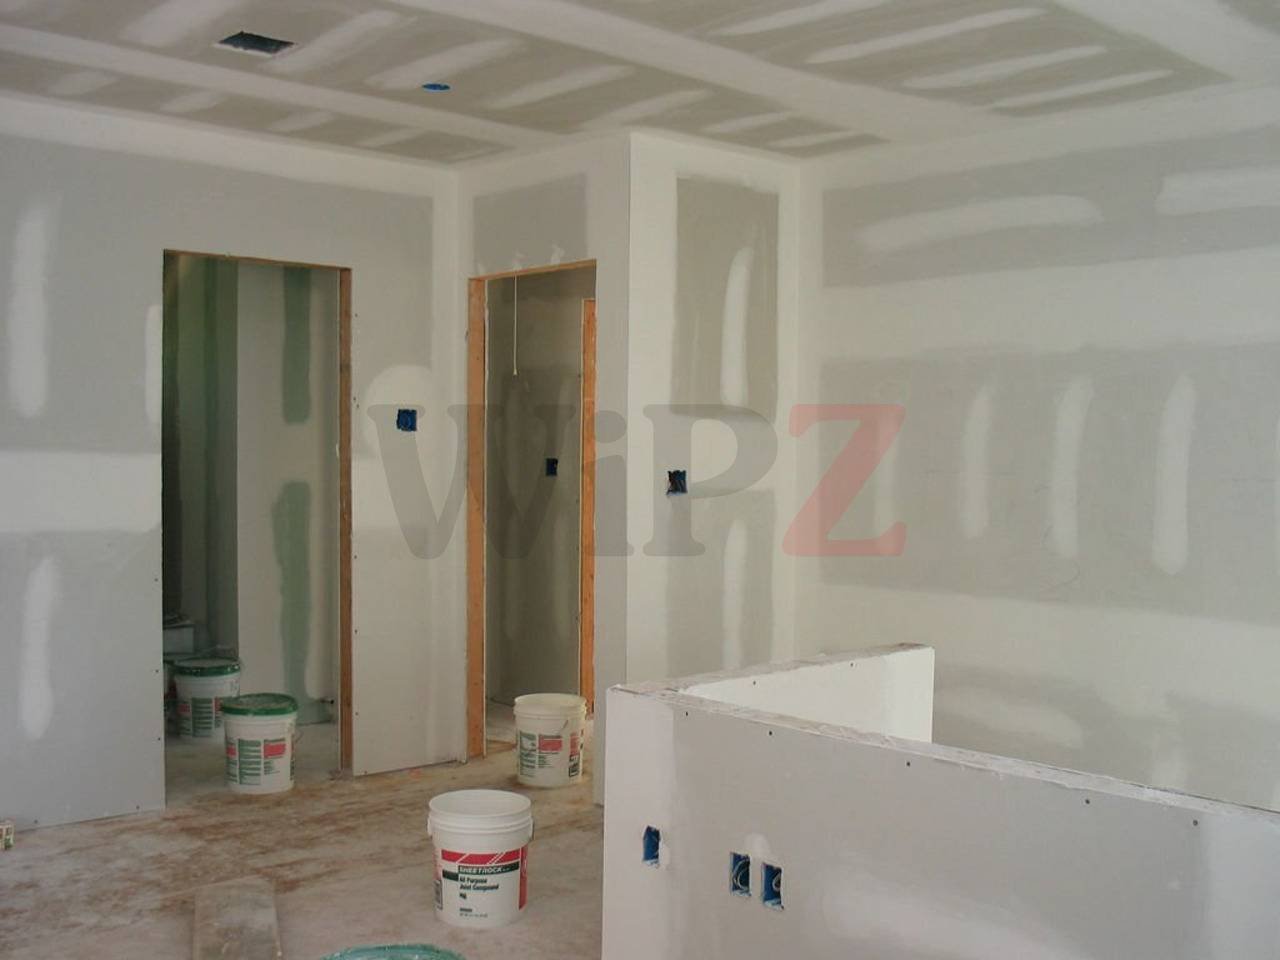
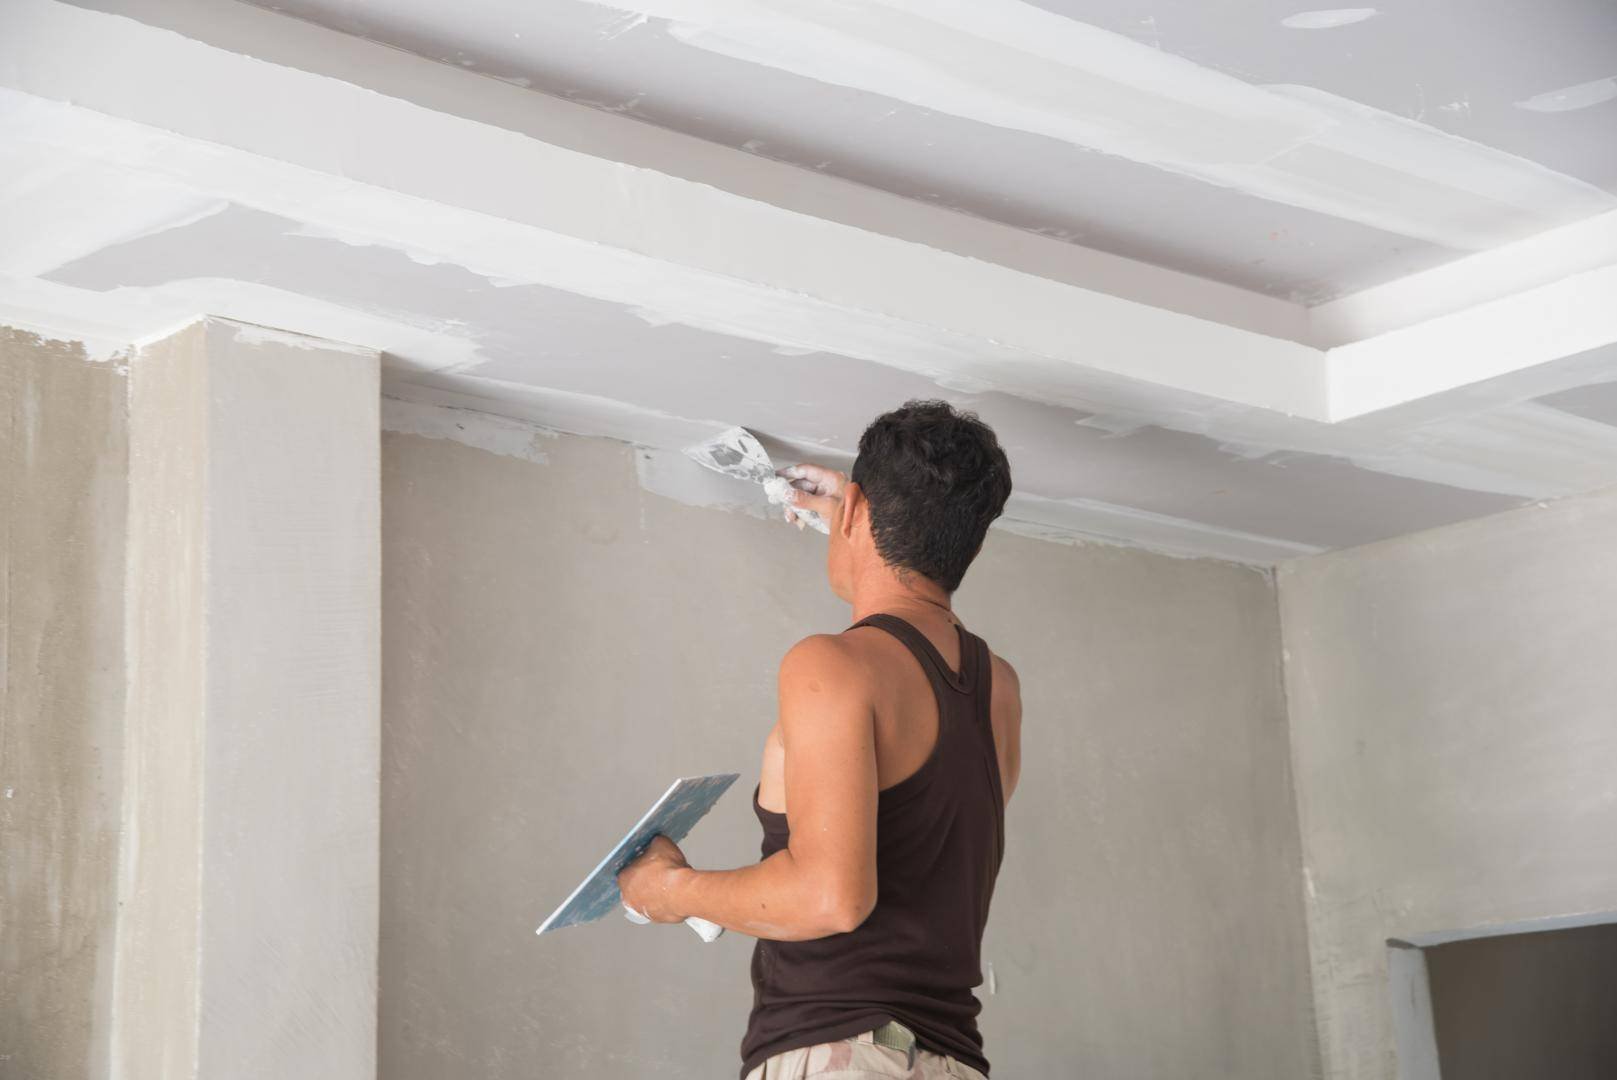
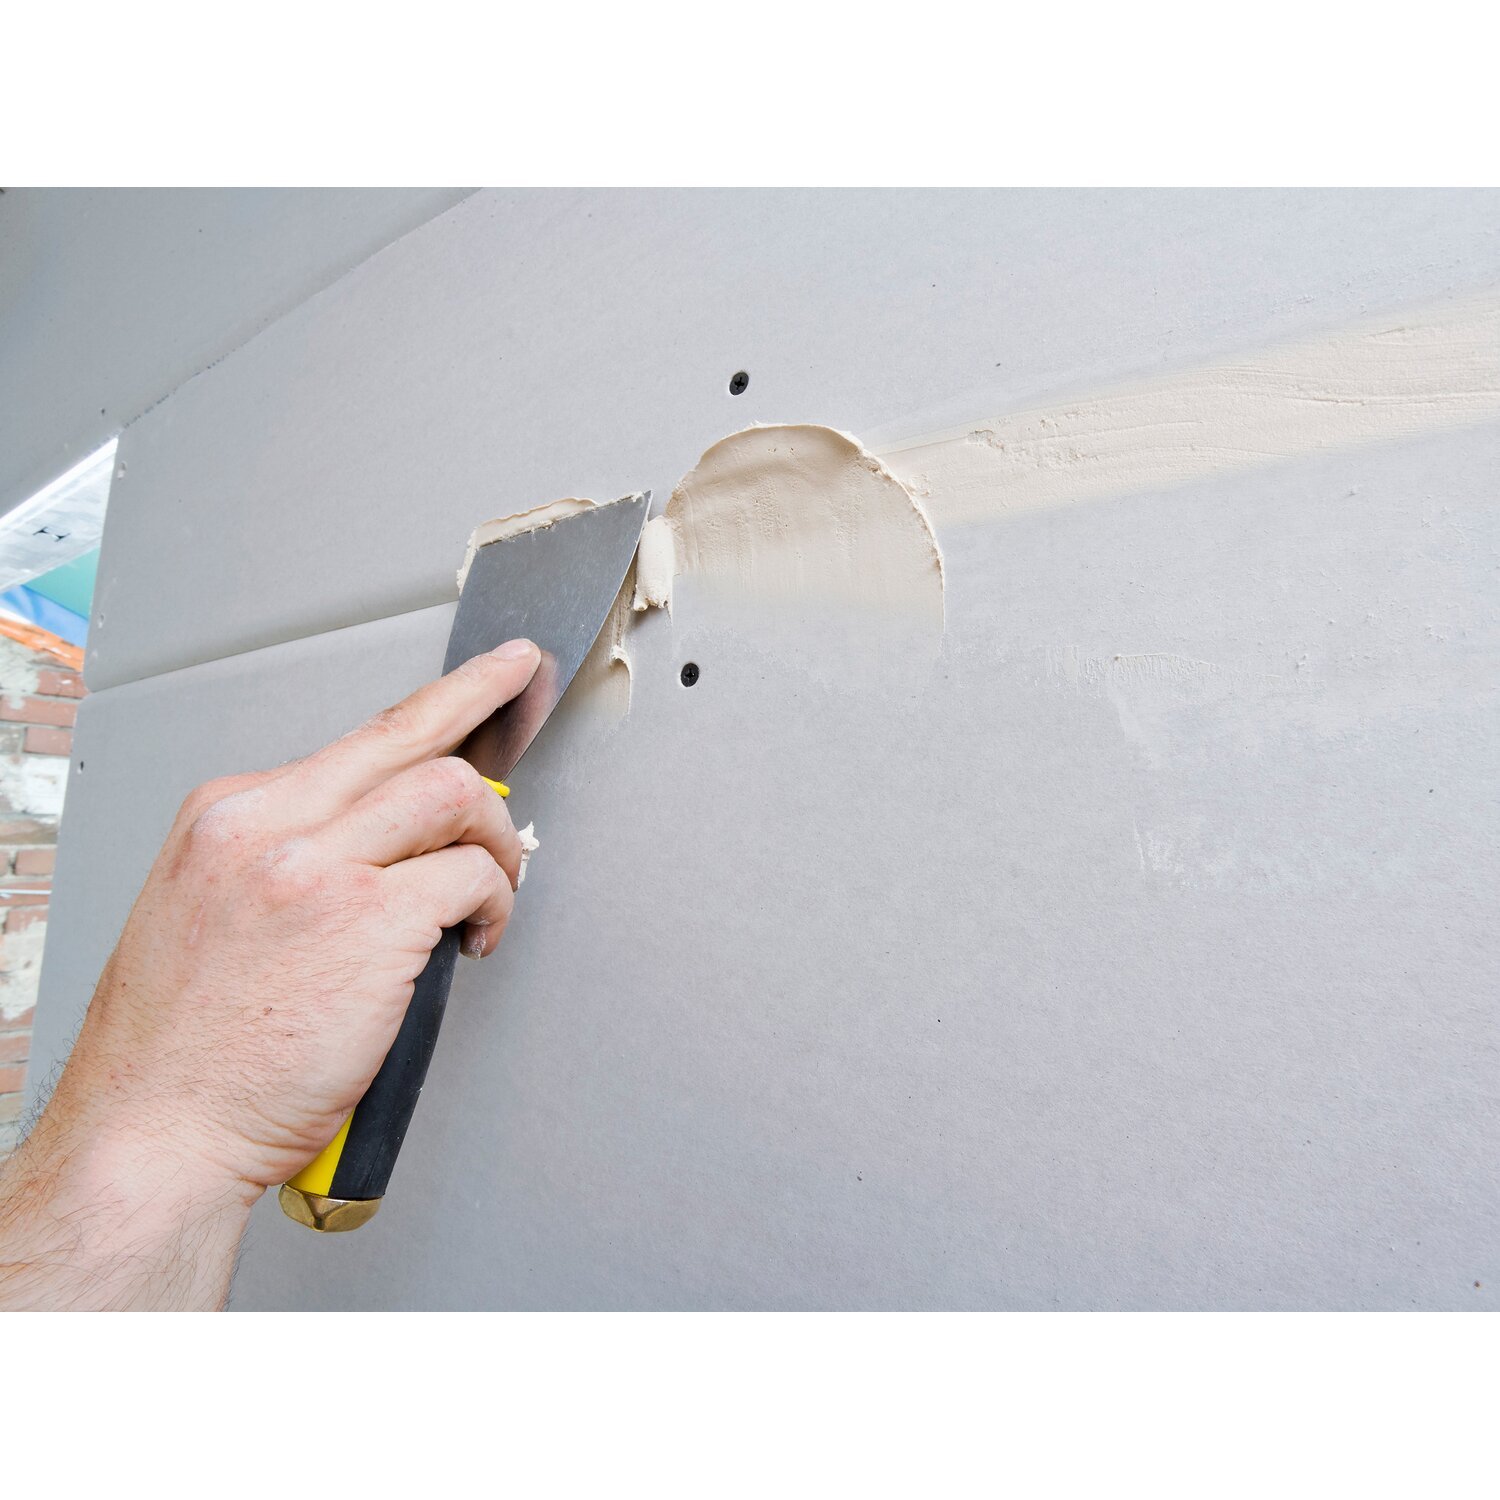
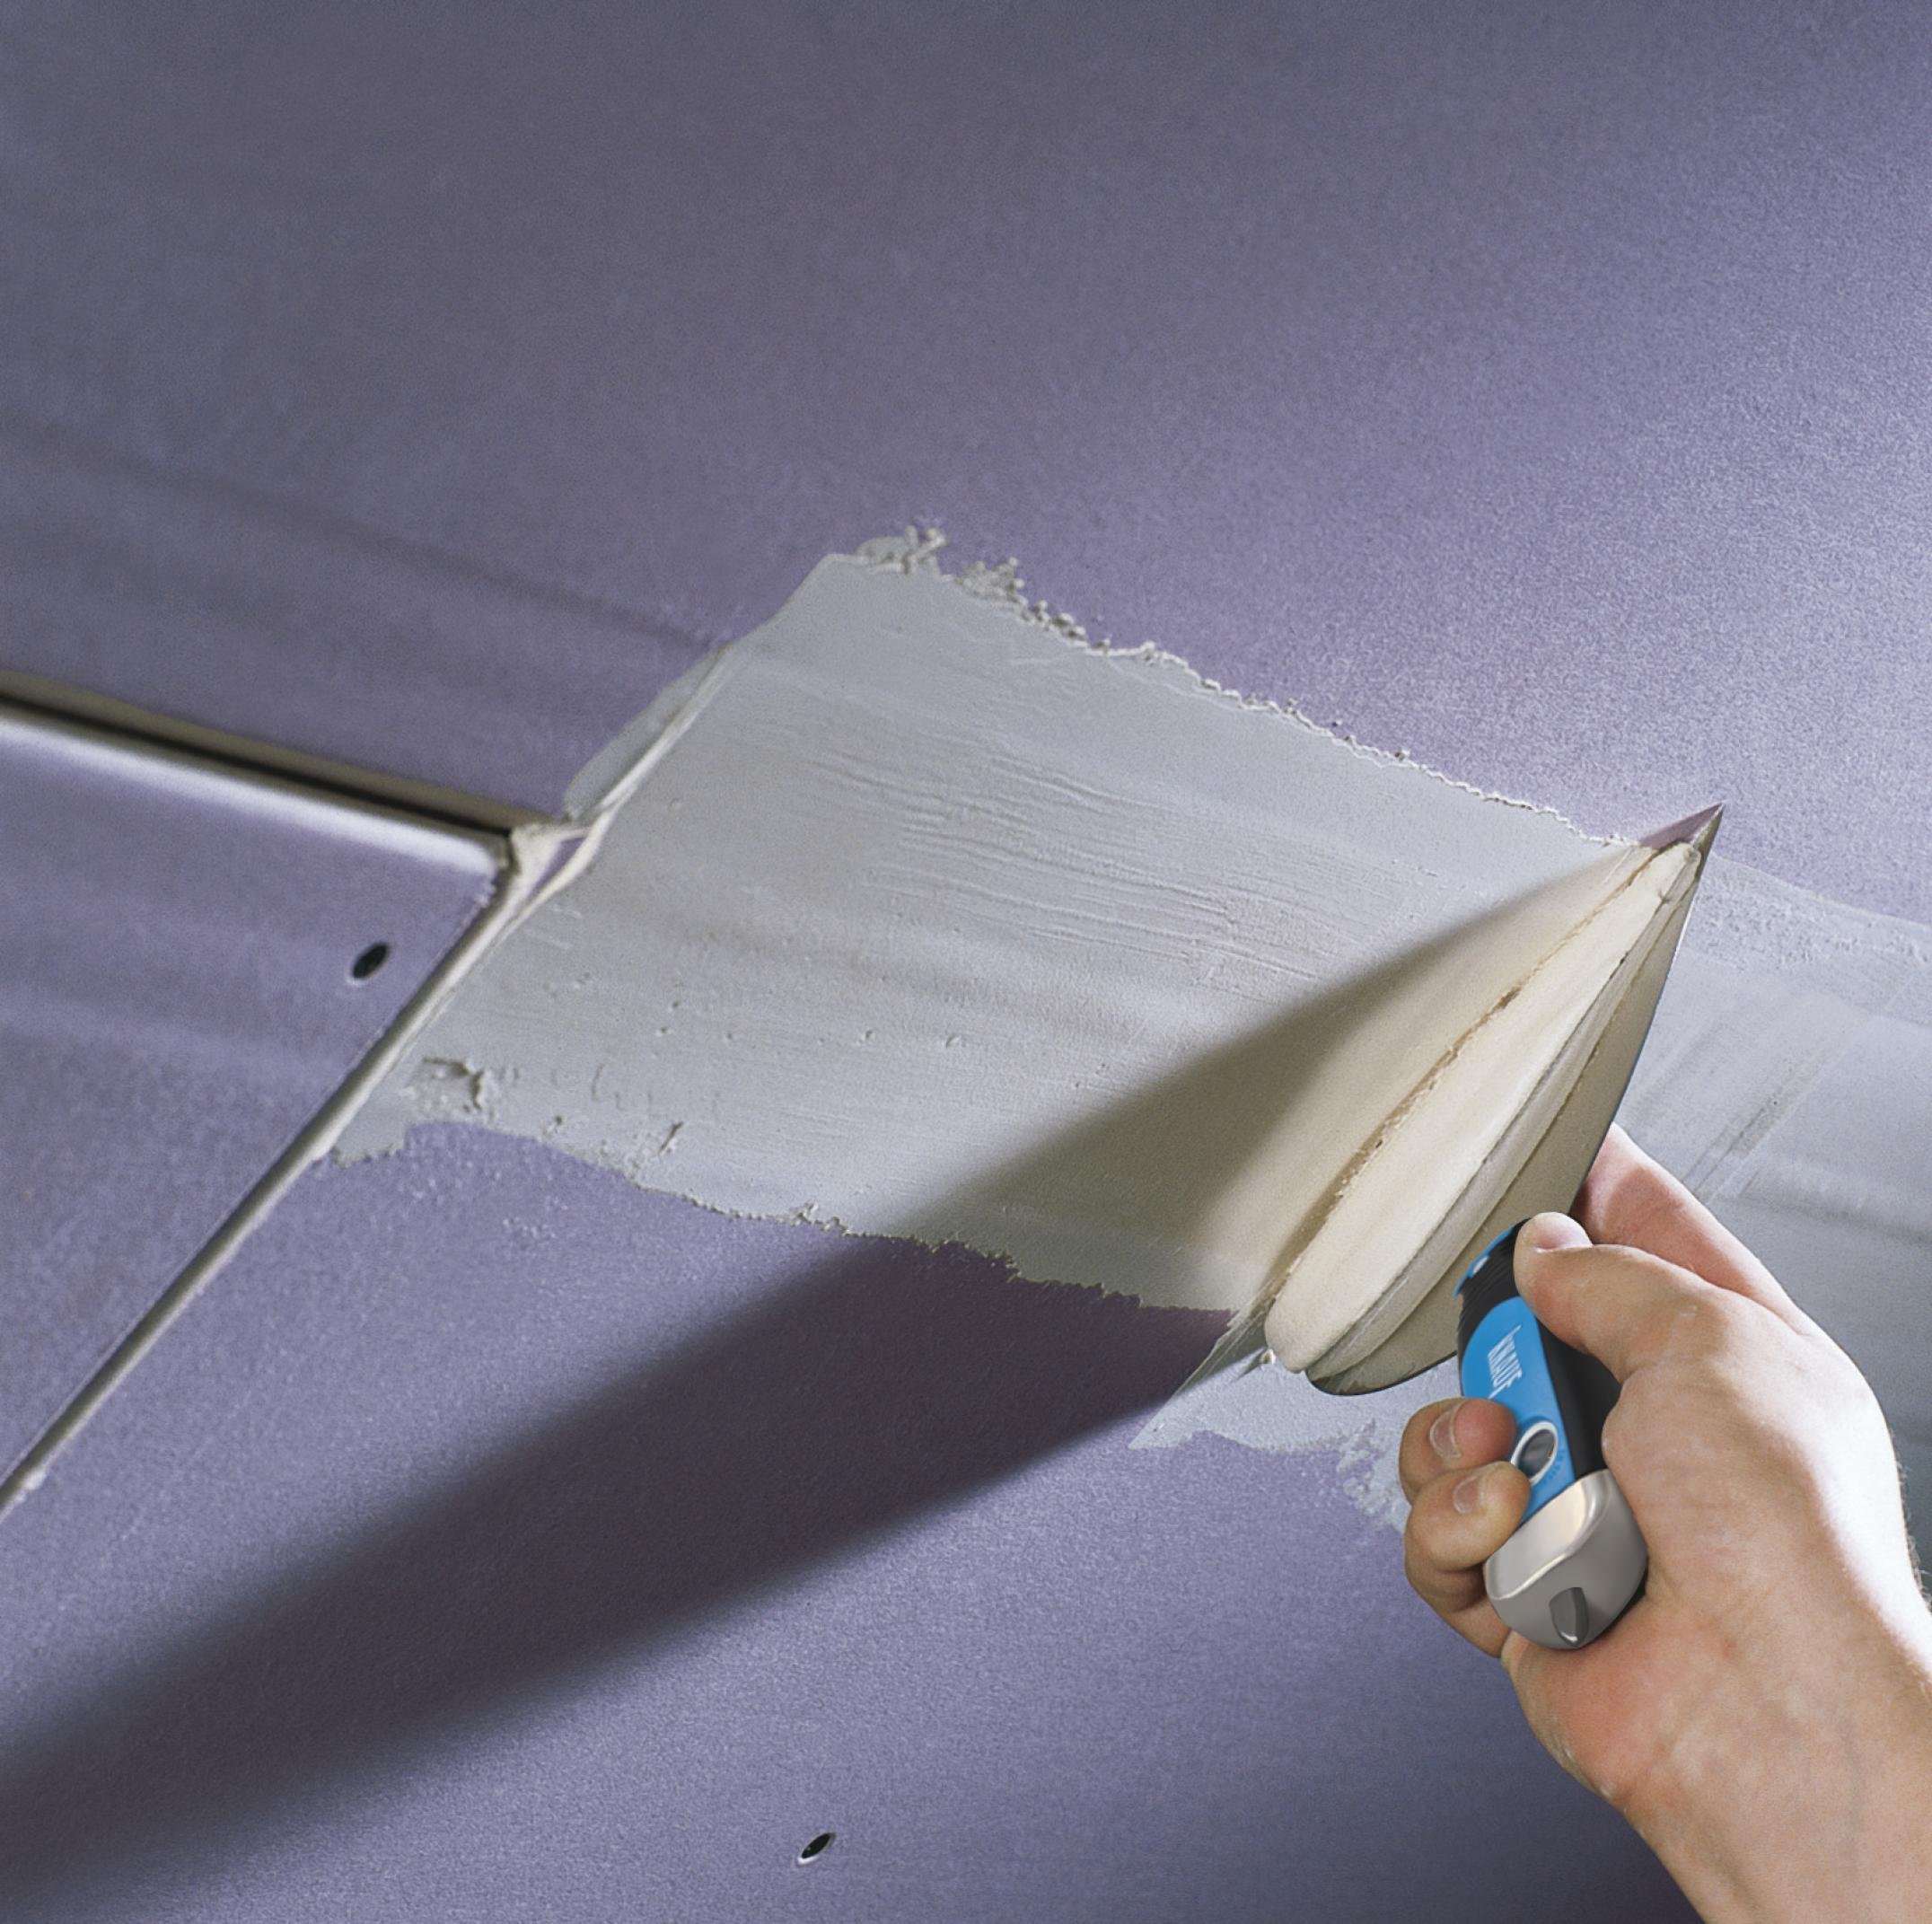
Drywall joint finishing is a crucial aspect of interior design and construction, providing a seamless and polished look to walls and ceilings. This process involves covering the joints between drywall panels to create a smooth, even surface that is ready for painting or wallpapering. The procedure begins with applying joint compound, commonly known as mud, to the seams. This is followed by embedding a strip of joint tape over the compound to reinforce the seam and prevent future cracks. Skilled craftsmen apply multiple layers of compound, with each layer carefully sanded to eliminate any imperfections. The final sanding ensures a flawless finish that blends seamlessly with the drywall, enhancing the overall aesthetic of a space. Mastery of drywall joint finishing requires attention to detail and experience to achieve the perfect balance between smoothness and durability. Whether renovating a single room or embarking on a large-scale project, understanding the intricacies of drywall joint finishing can significantly impact the final appearance and quality of an interior space.


