Drywall joint compound application 53 photos
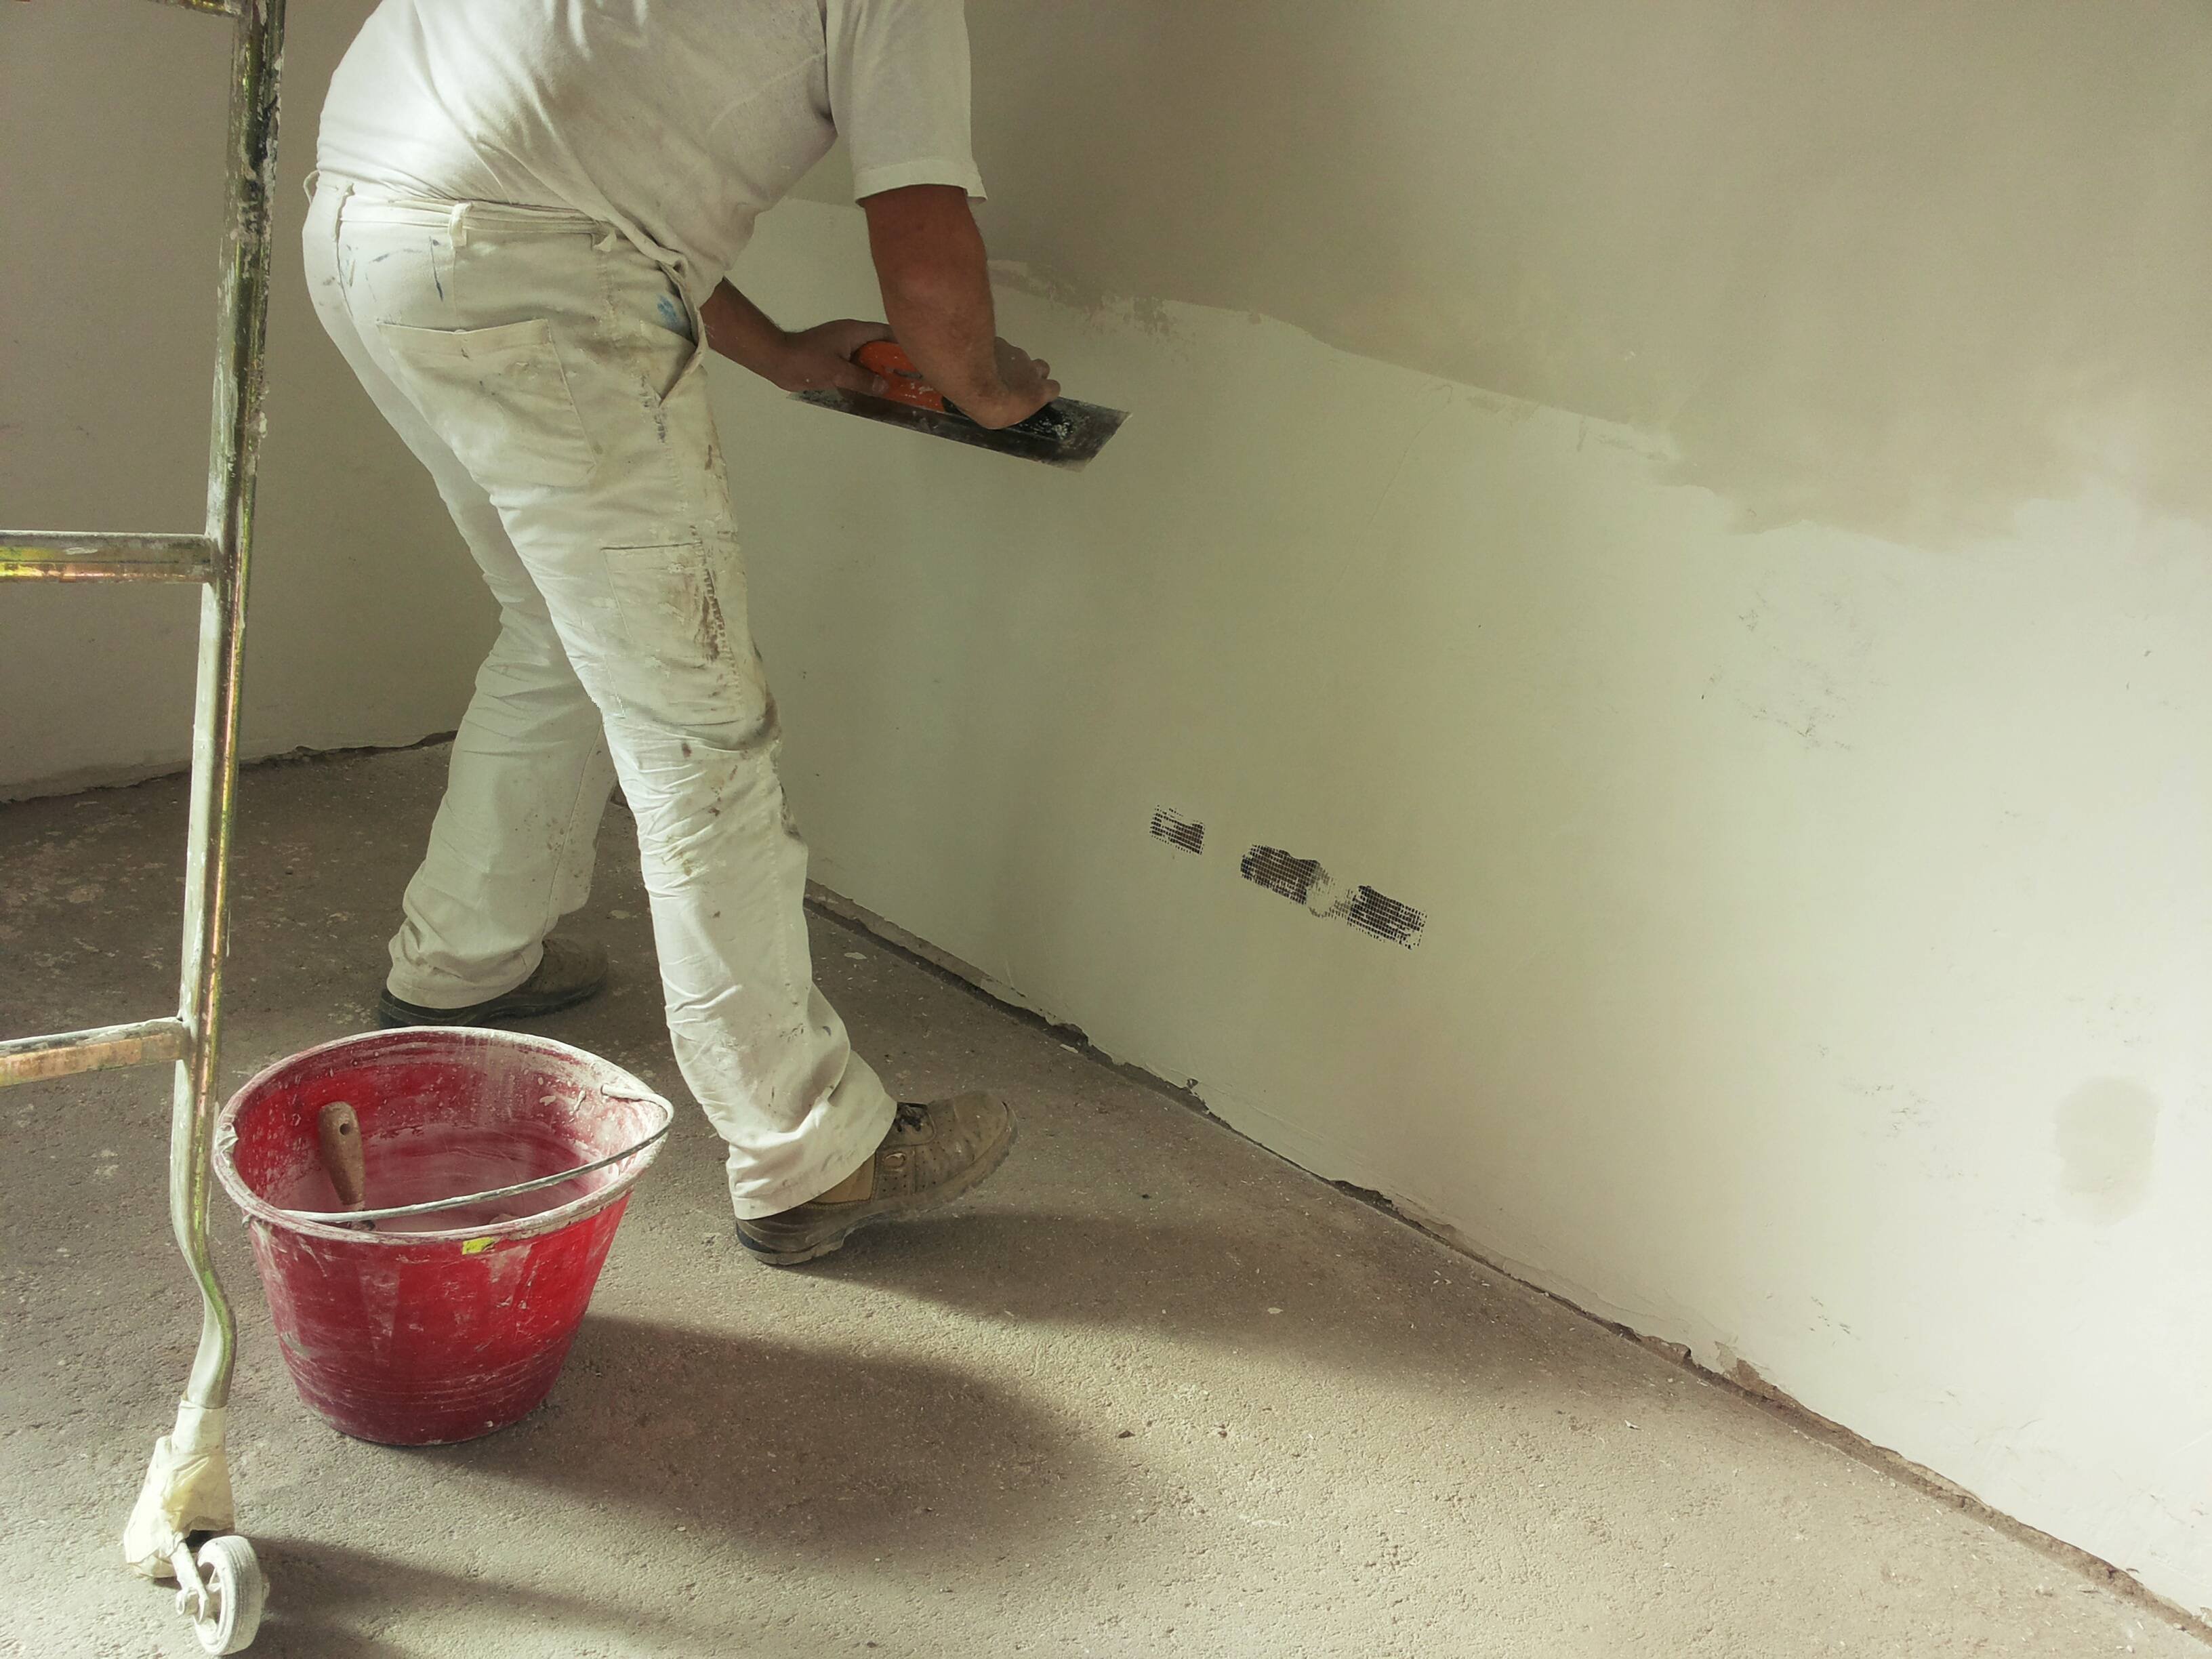
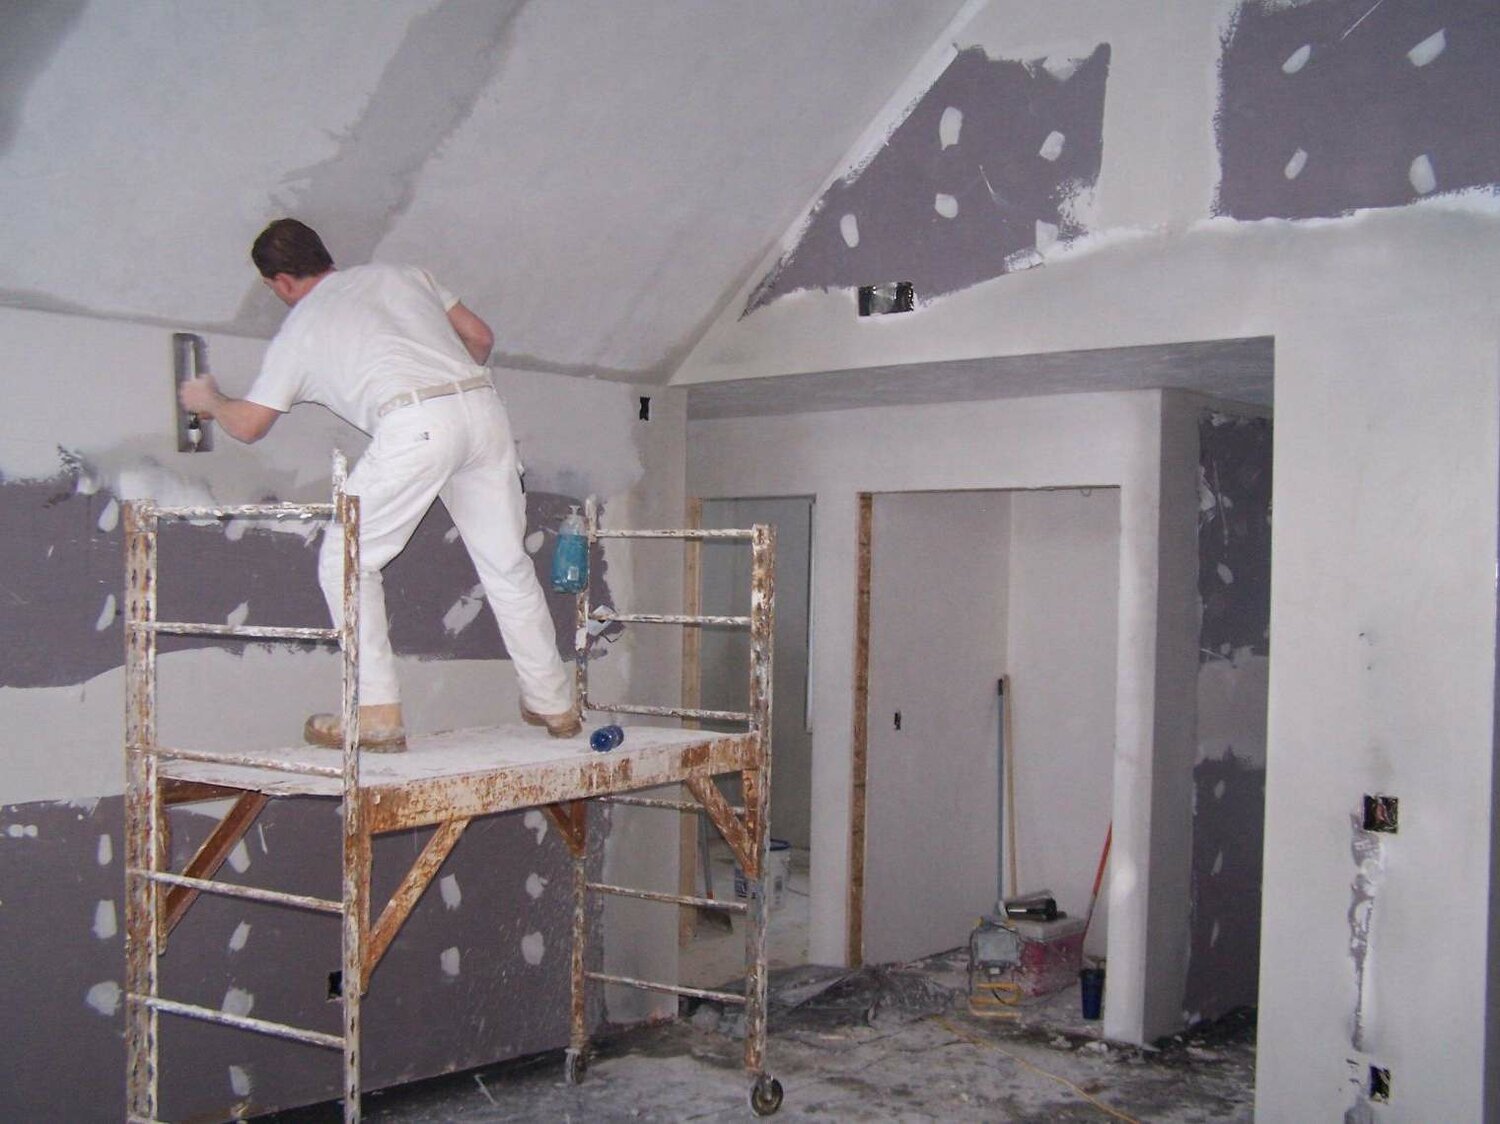
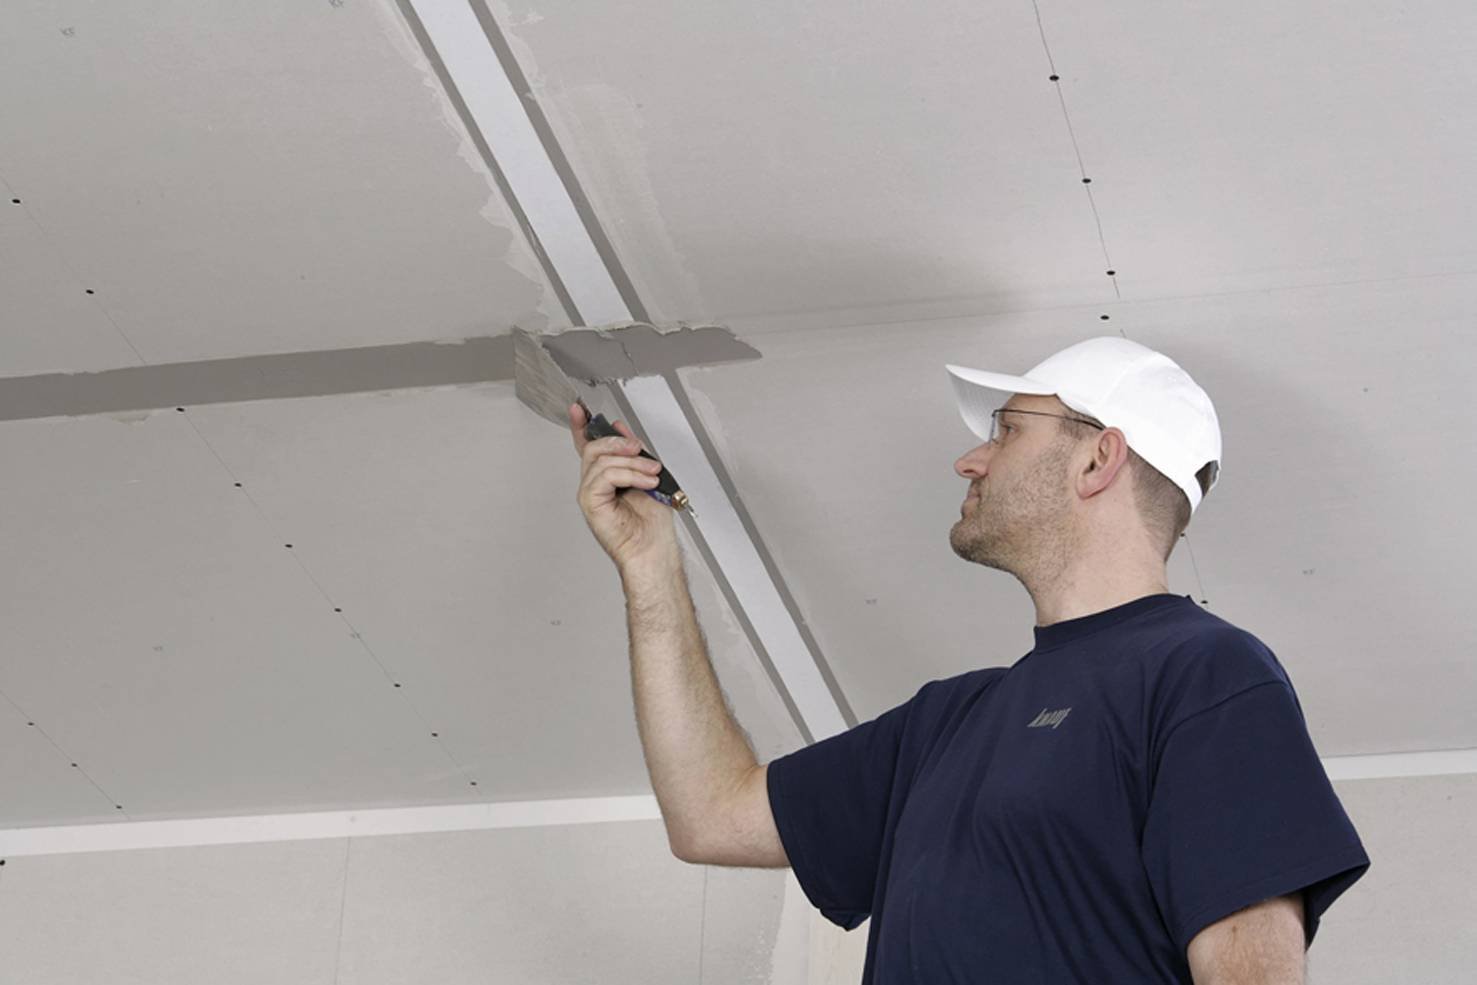
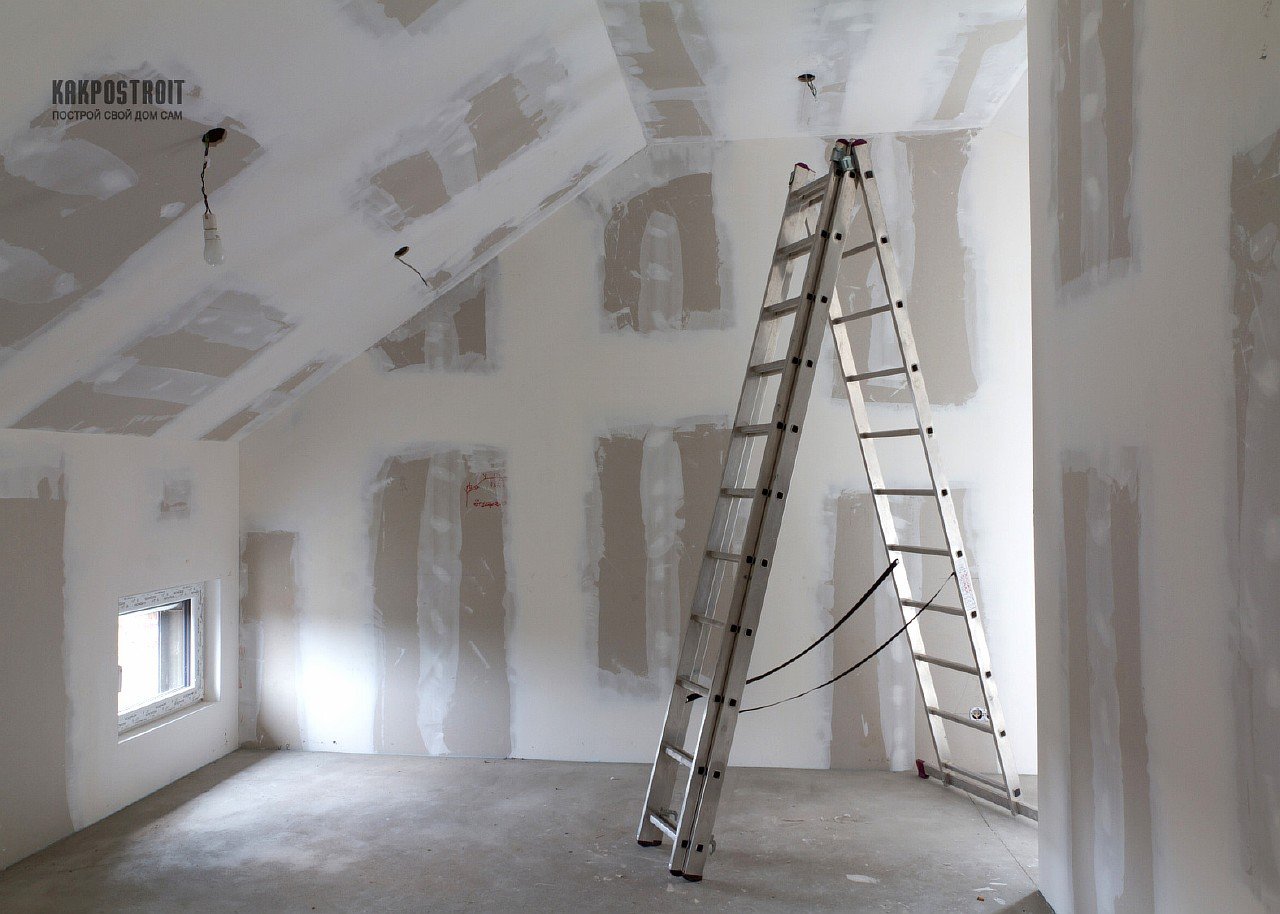
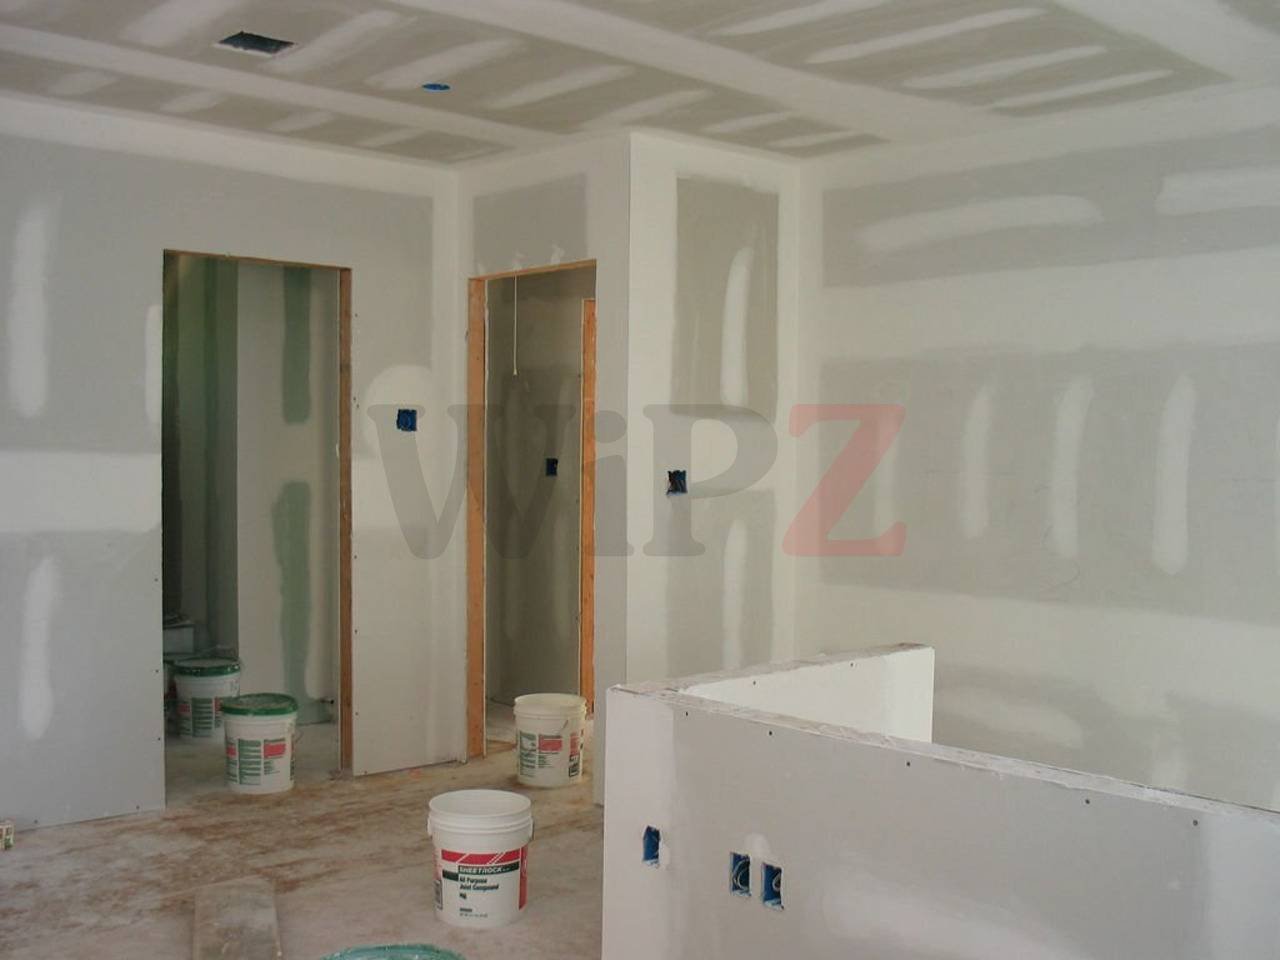
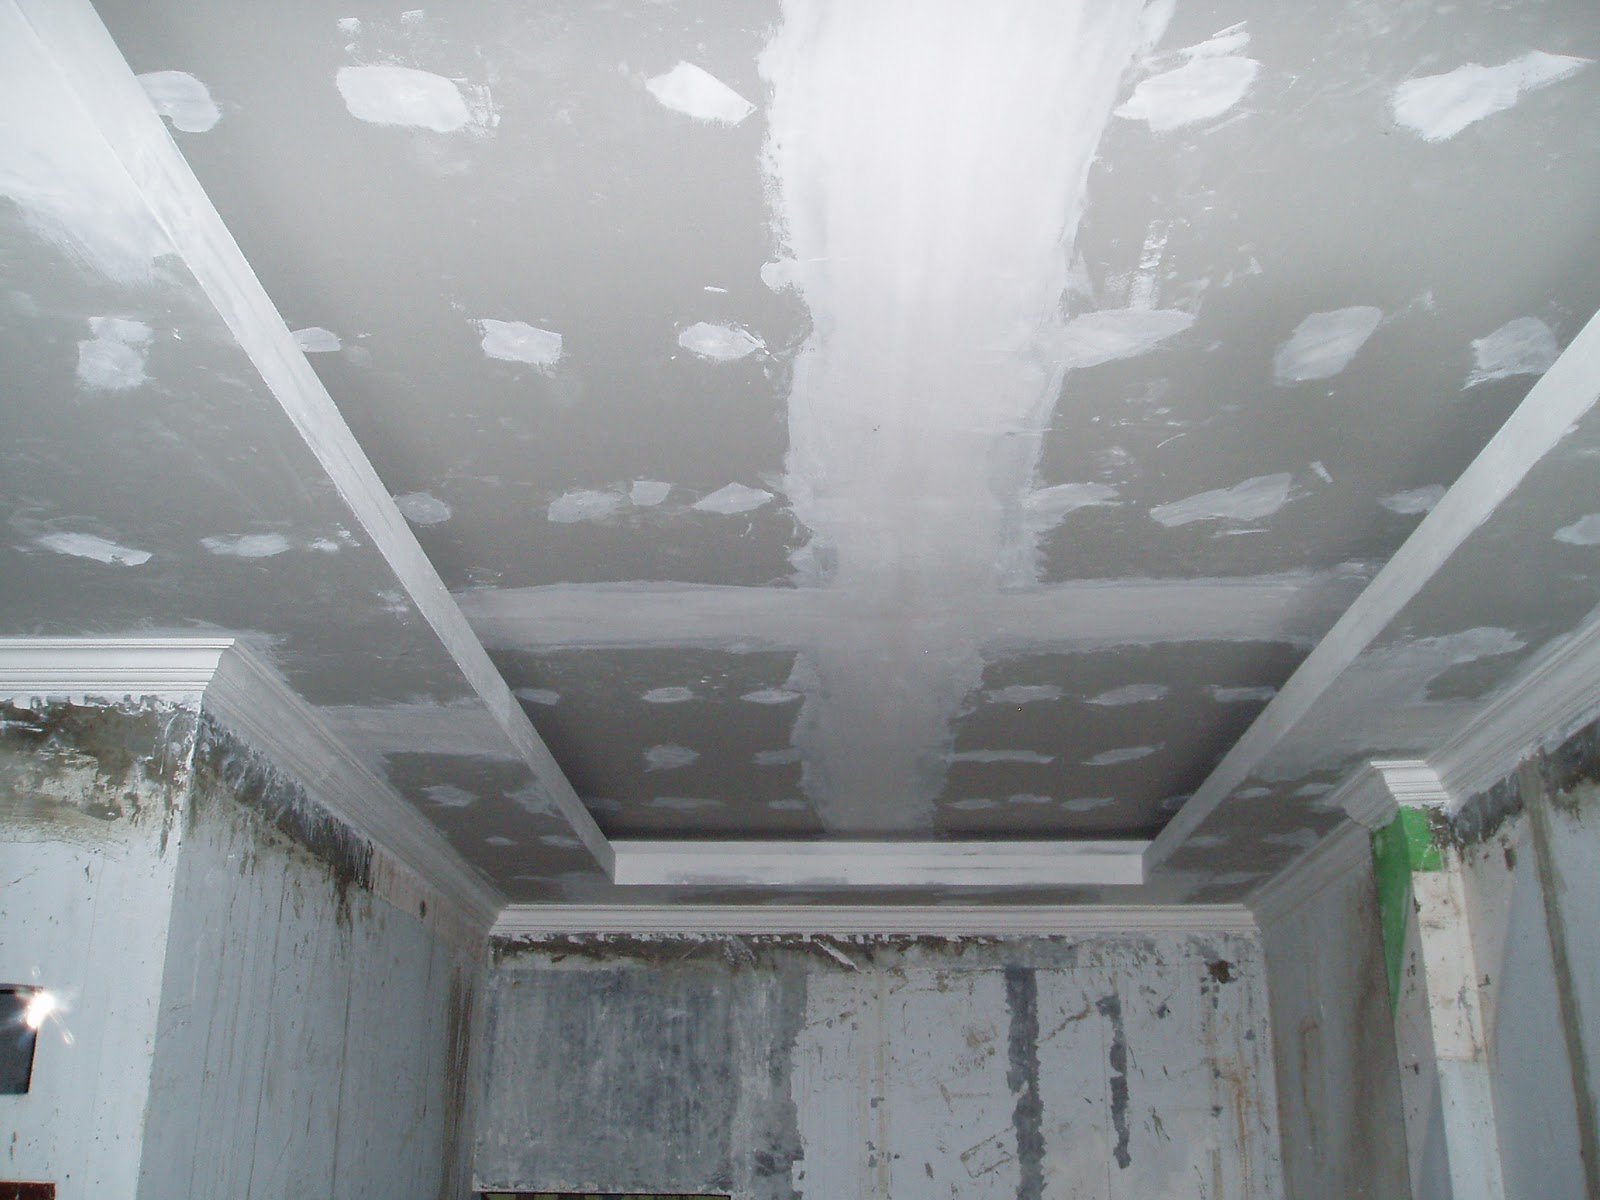
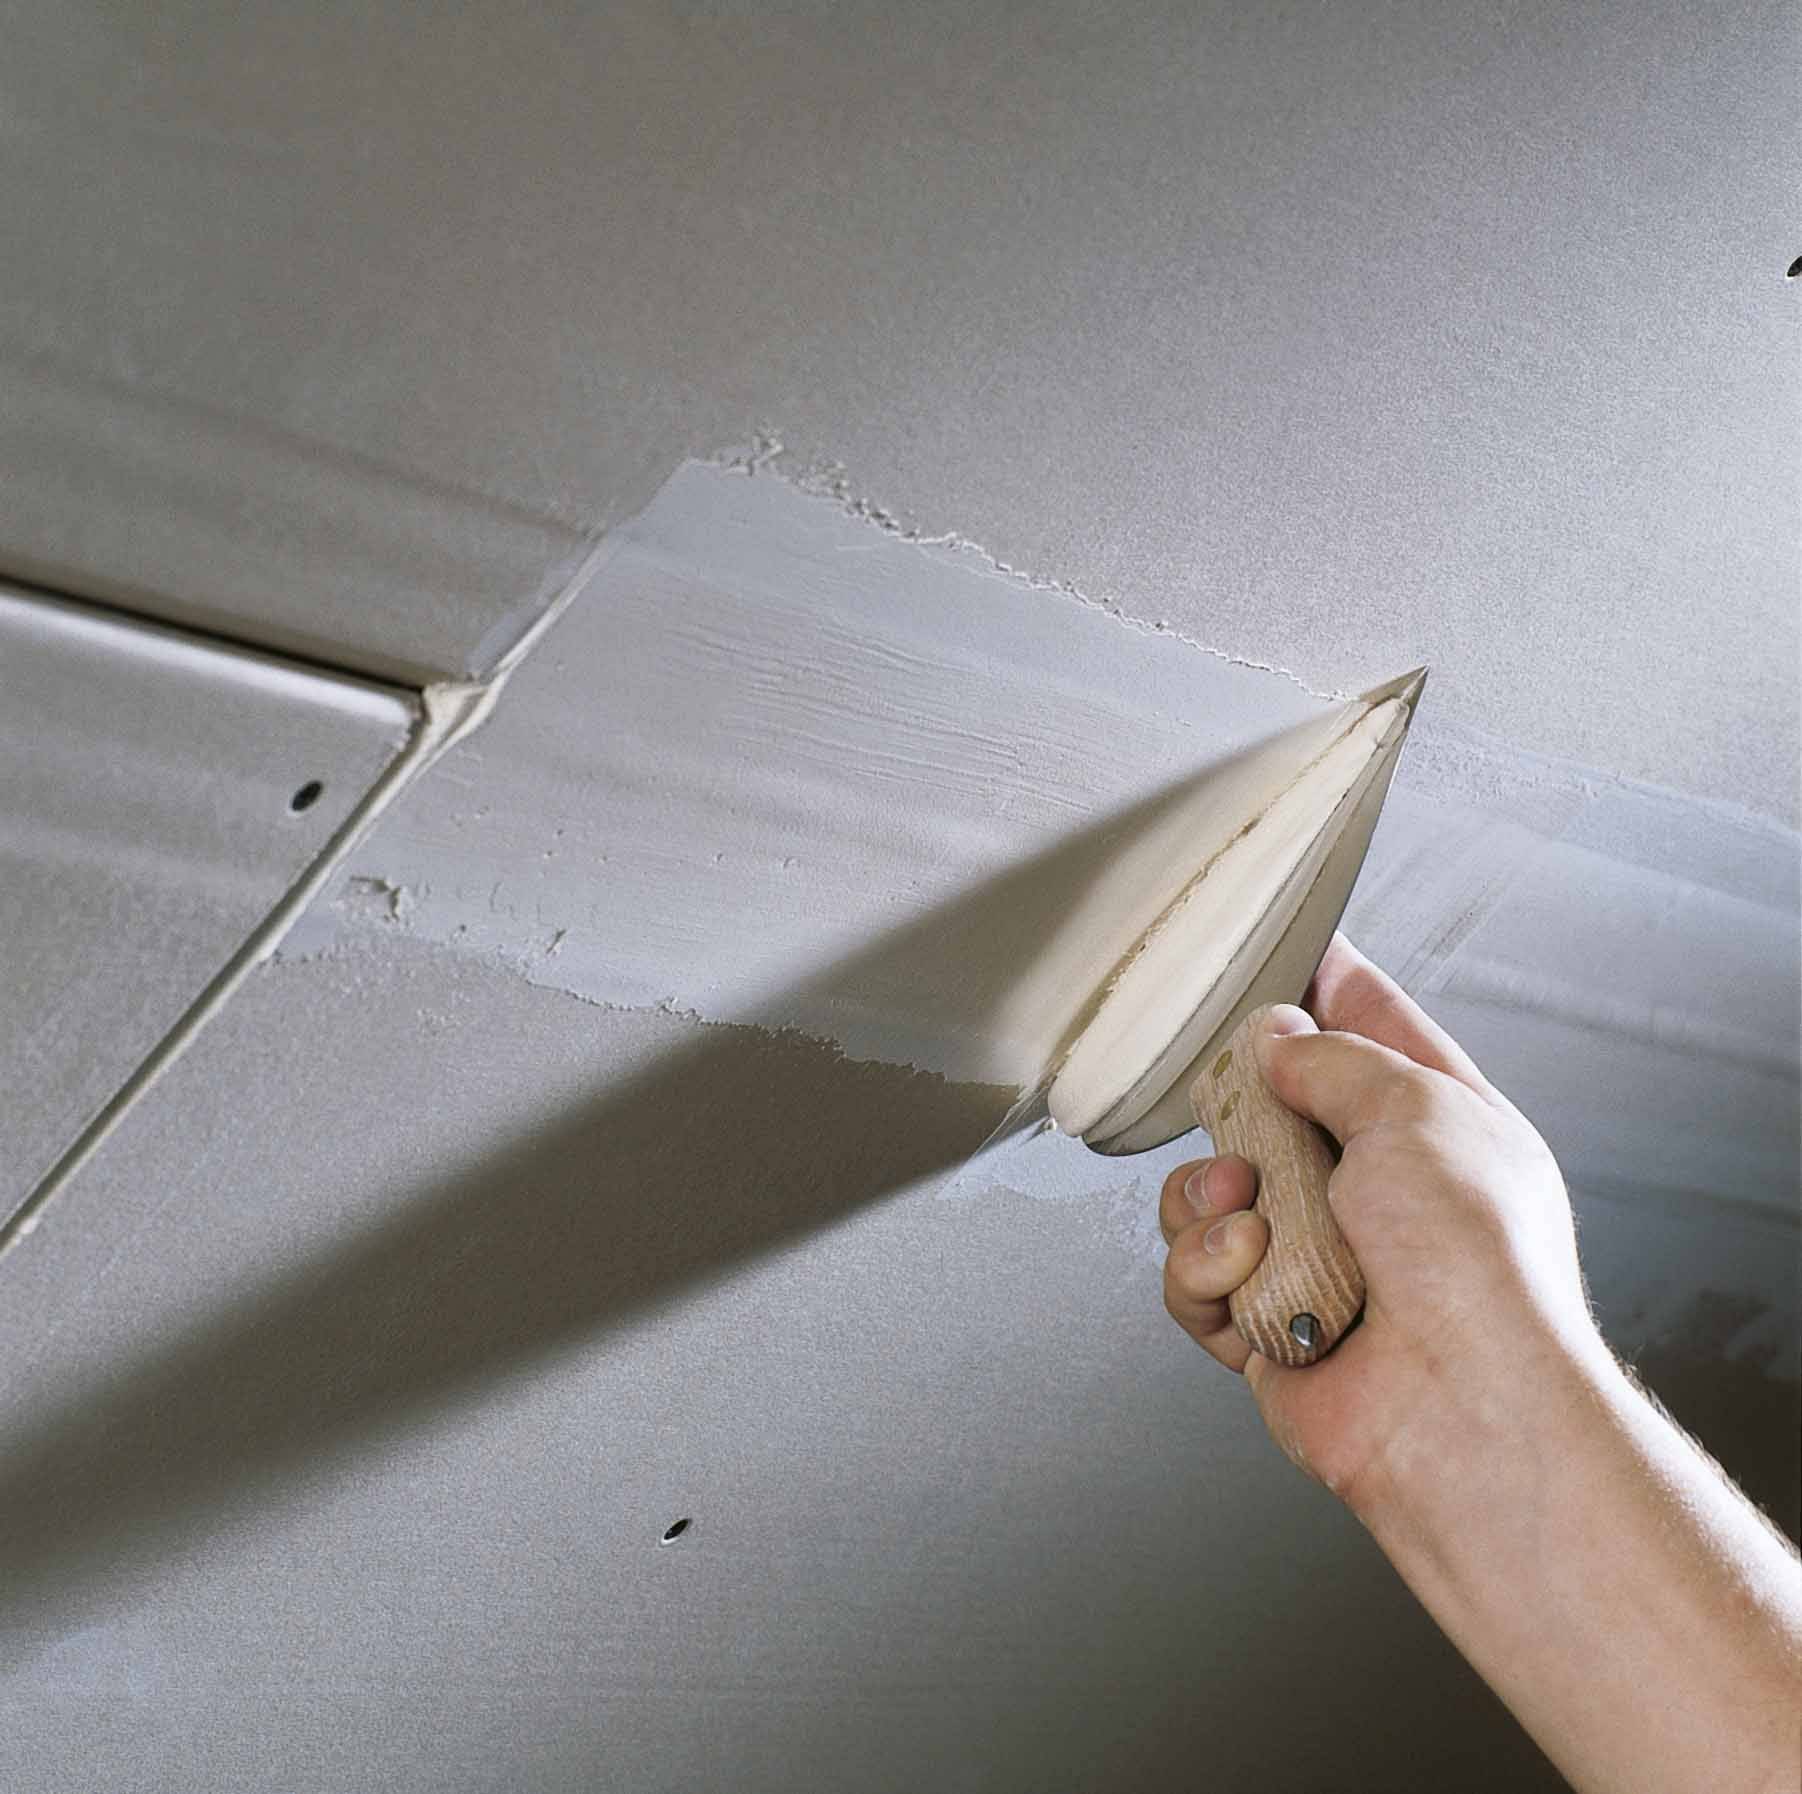
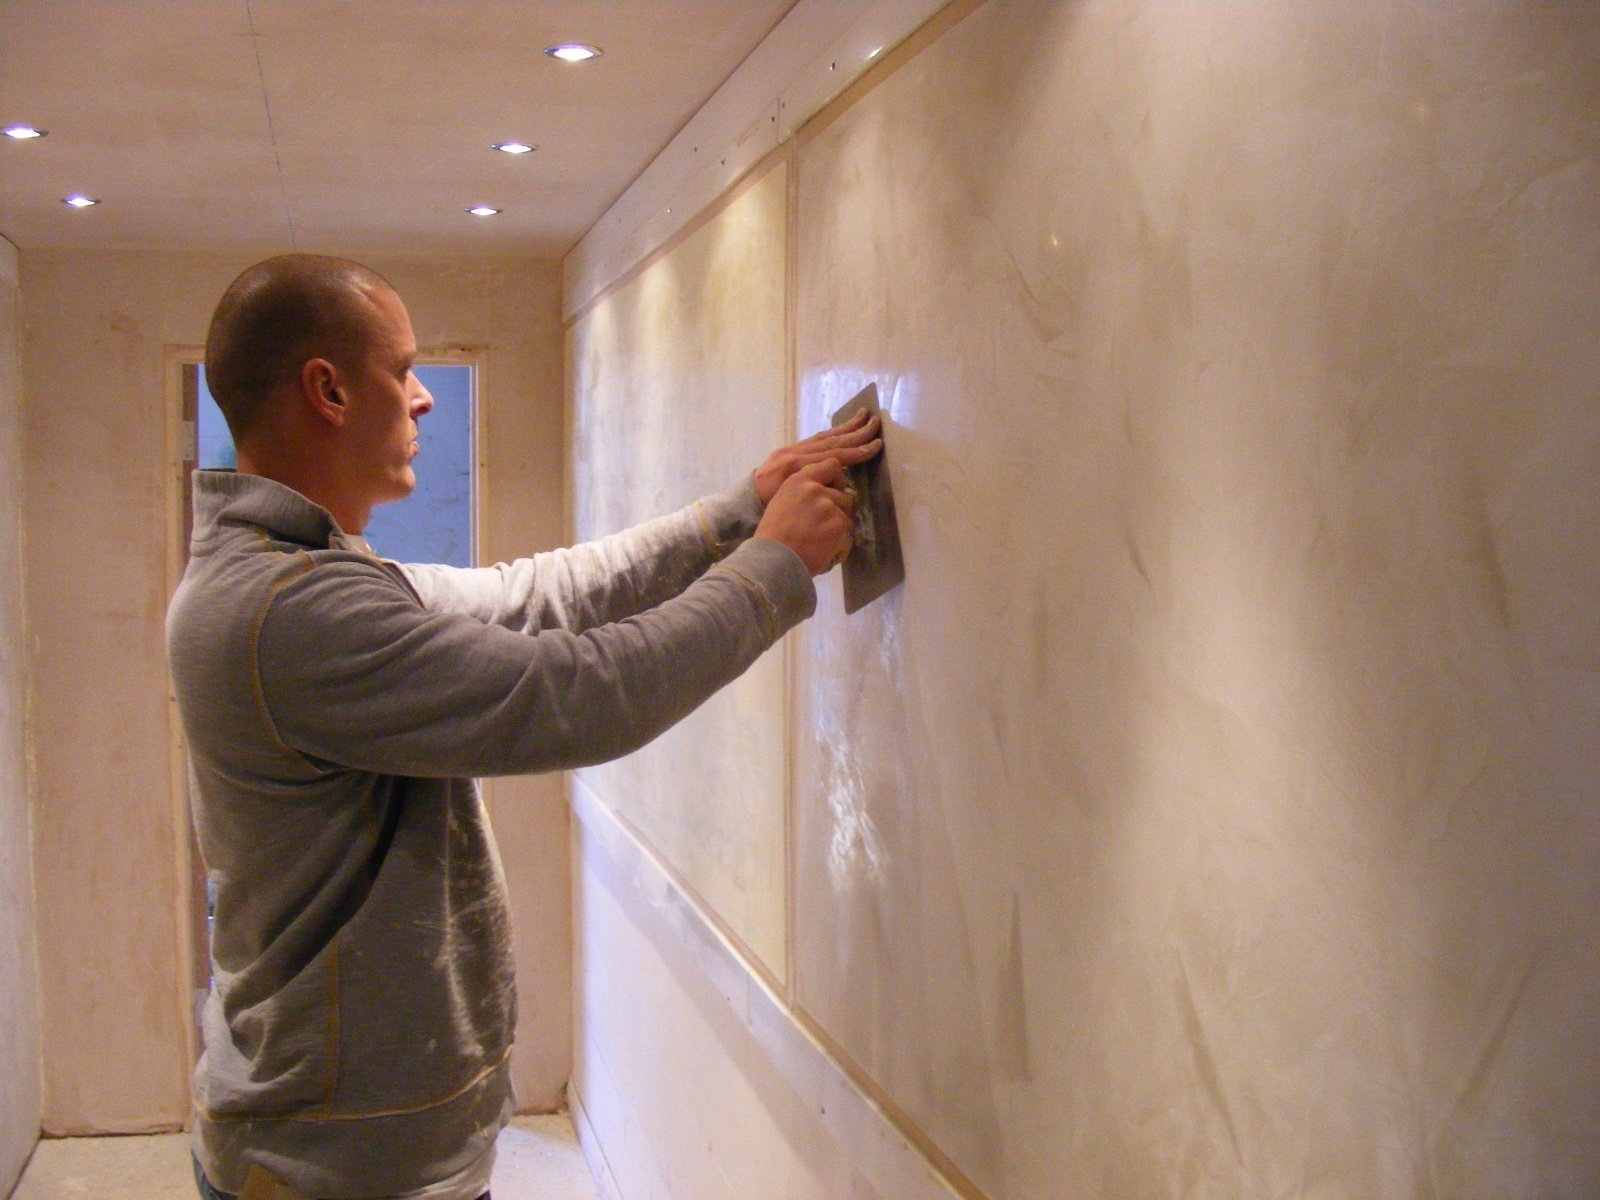
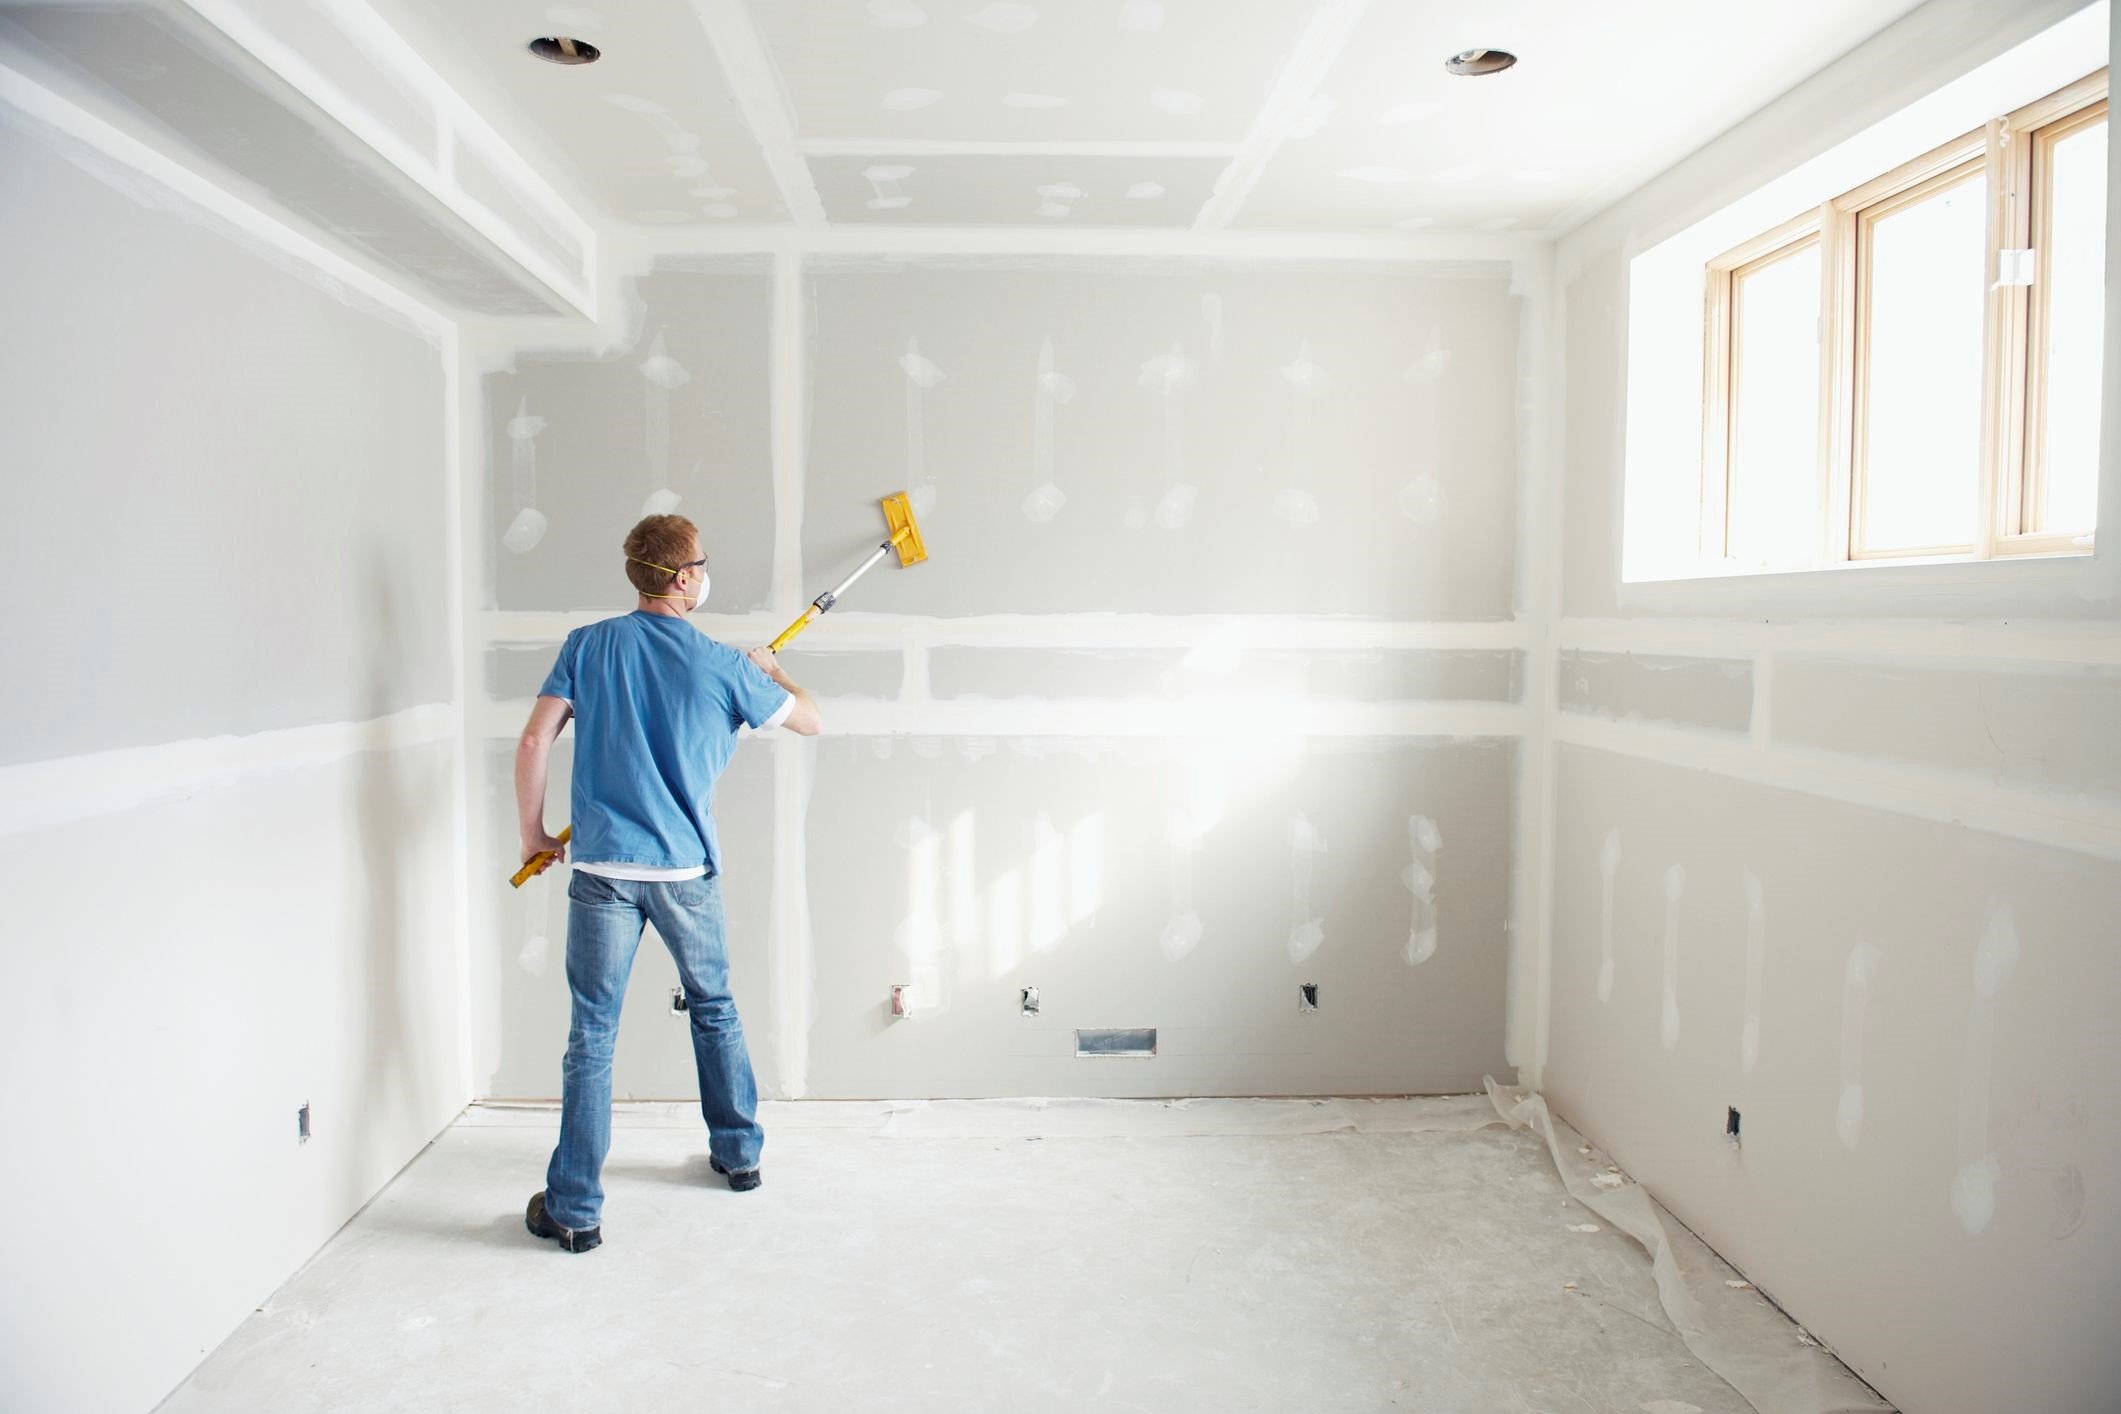
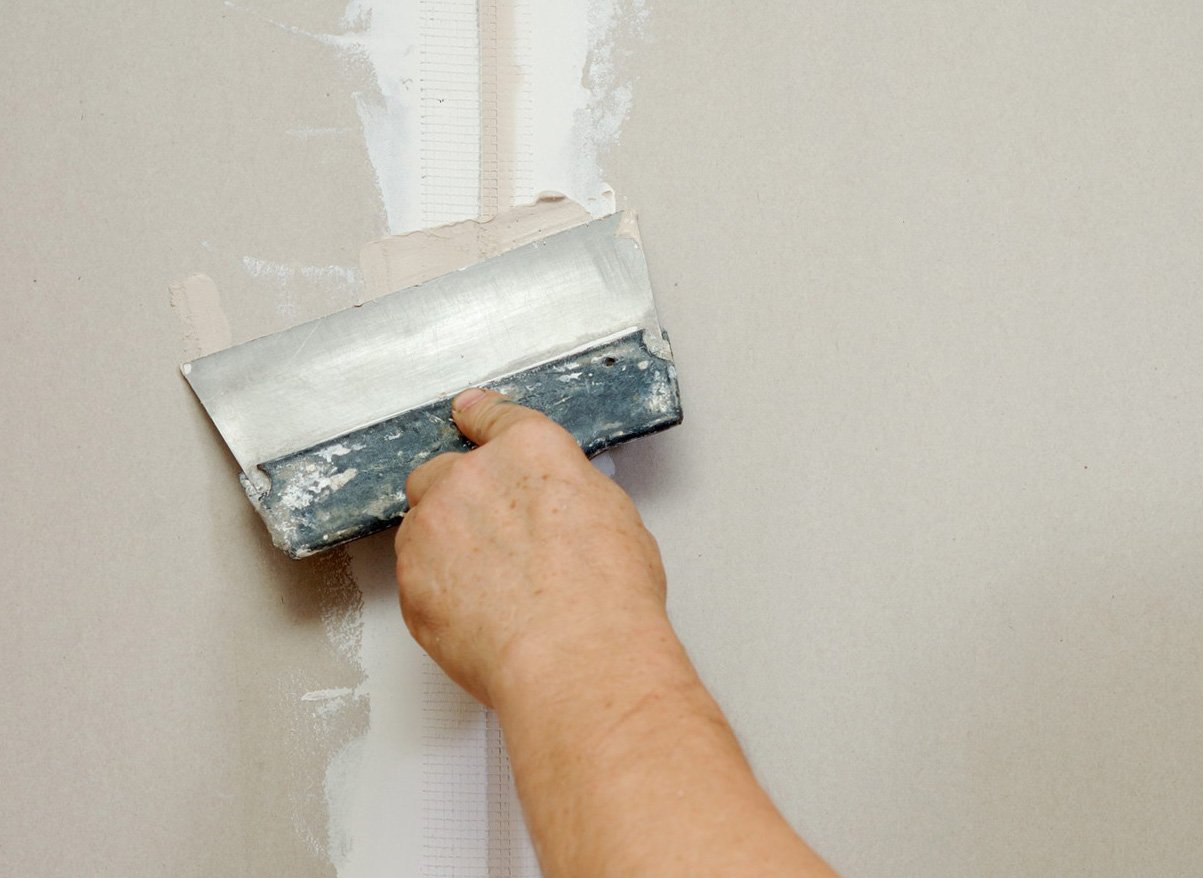
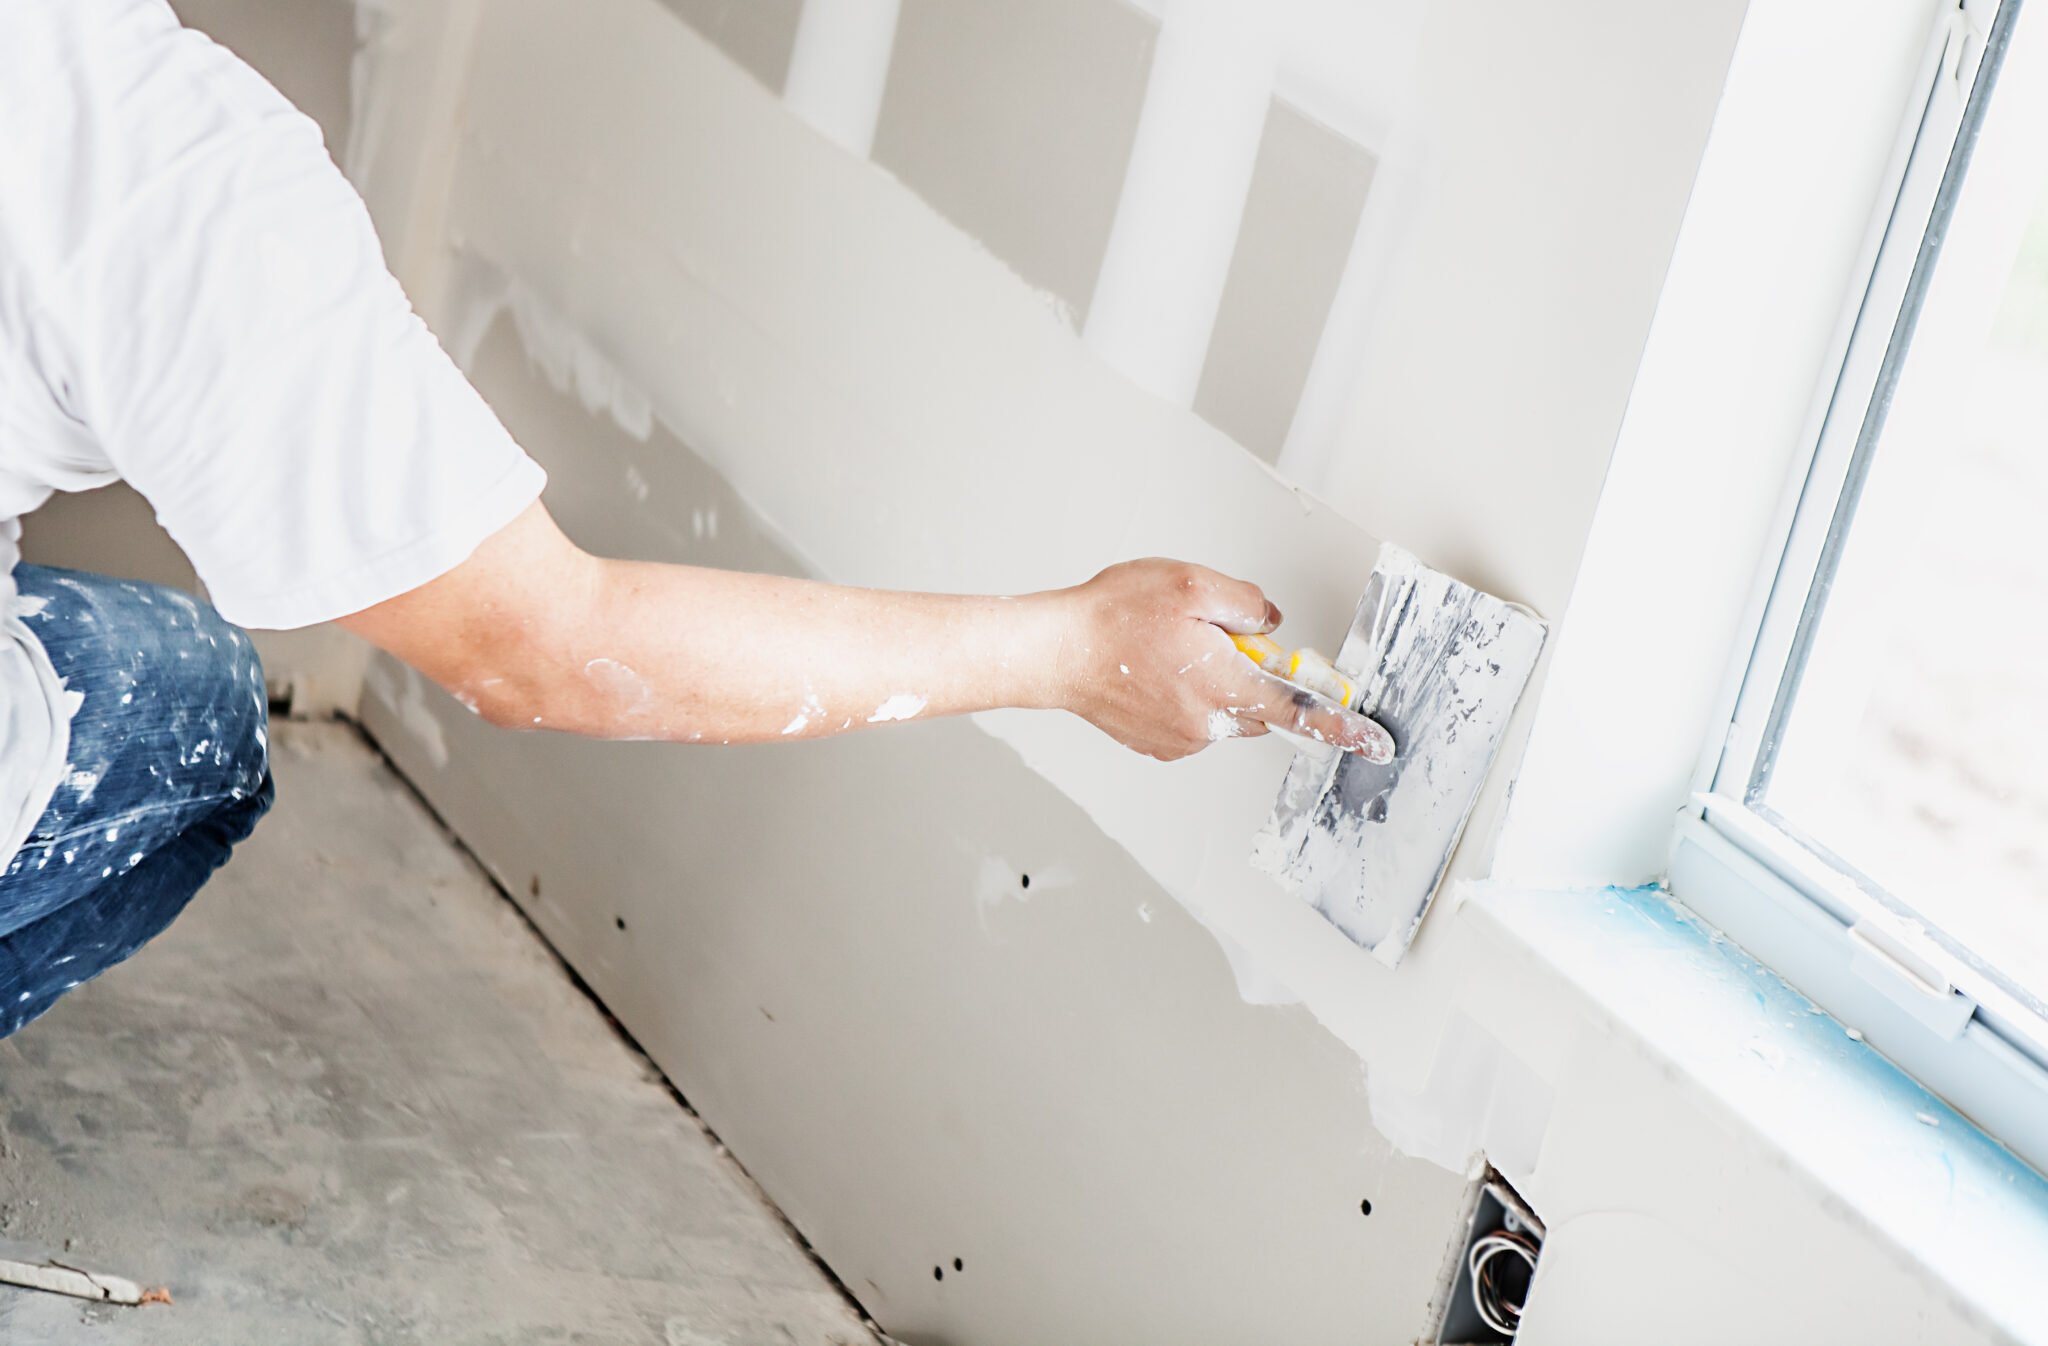
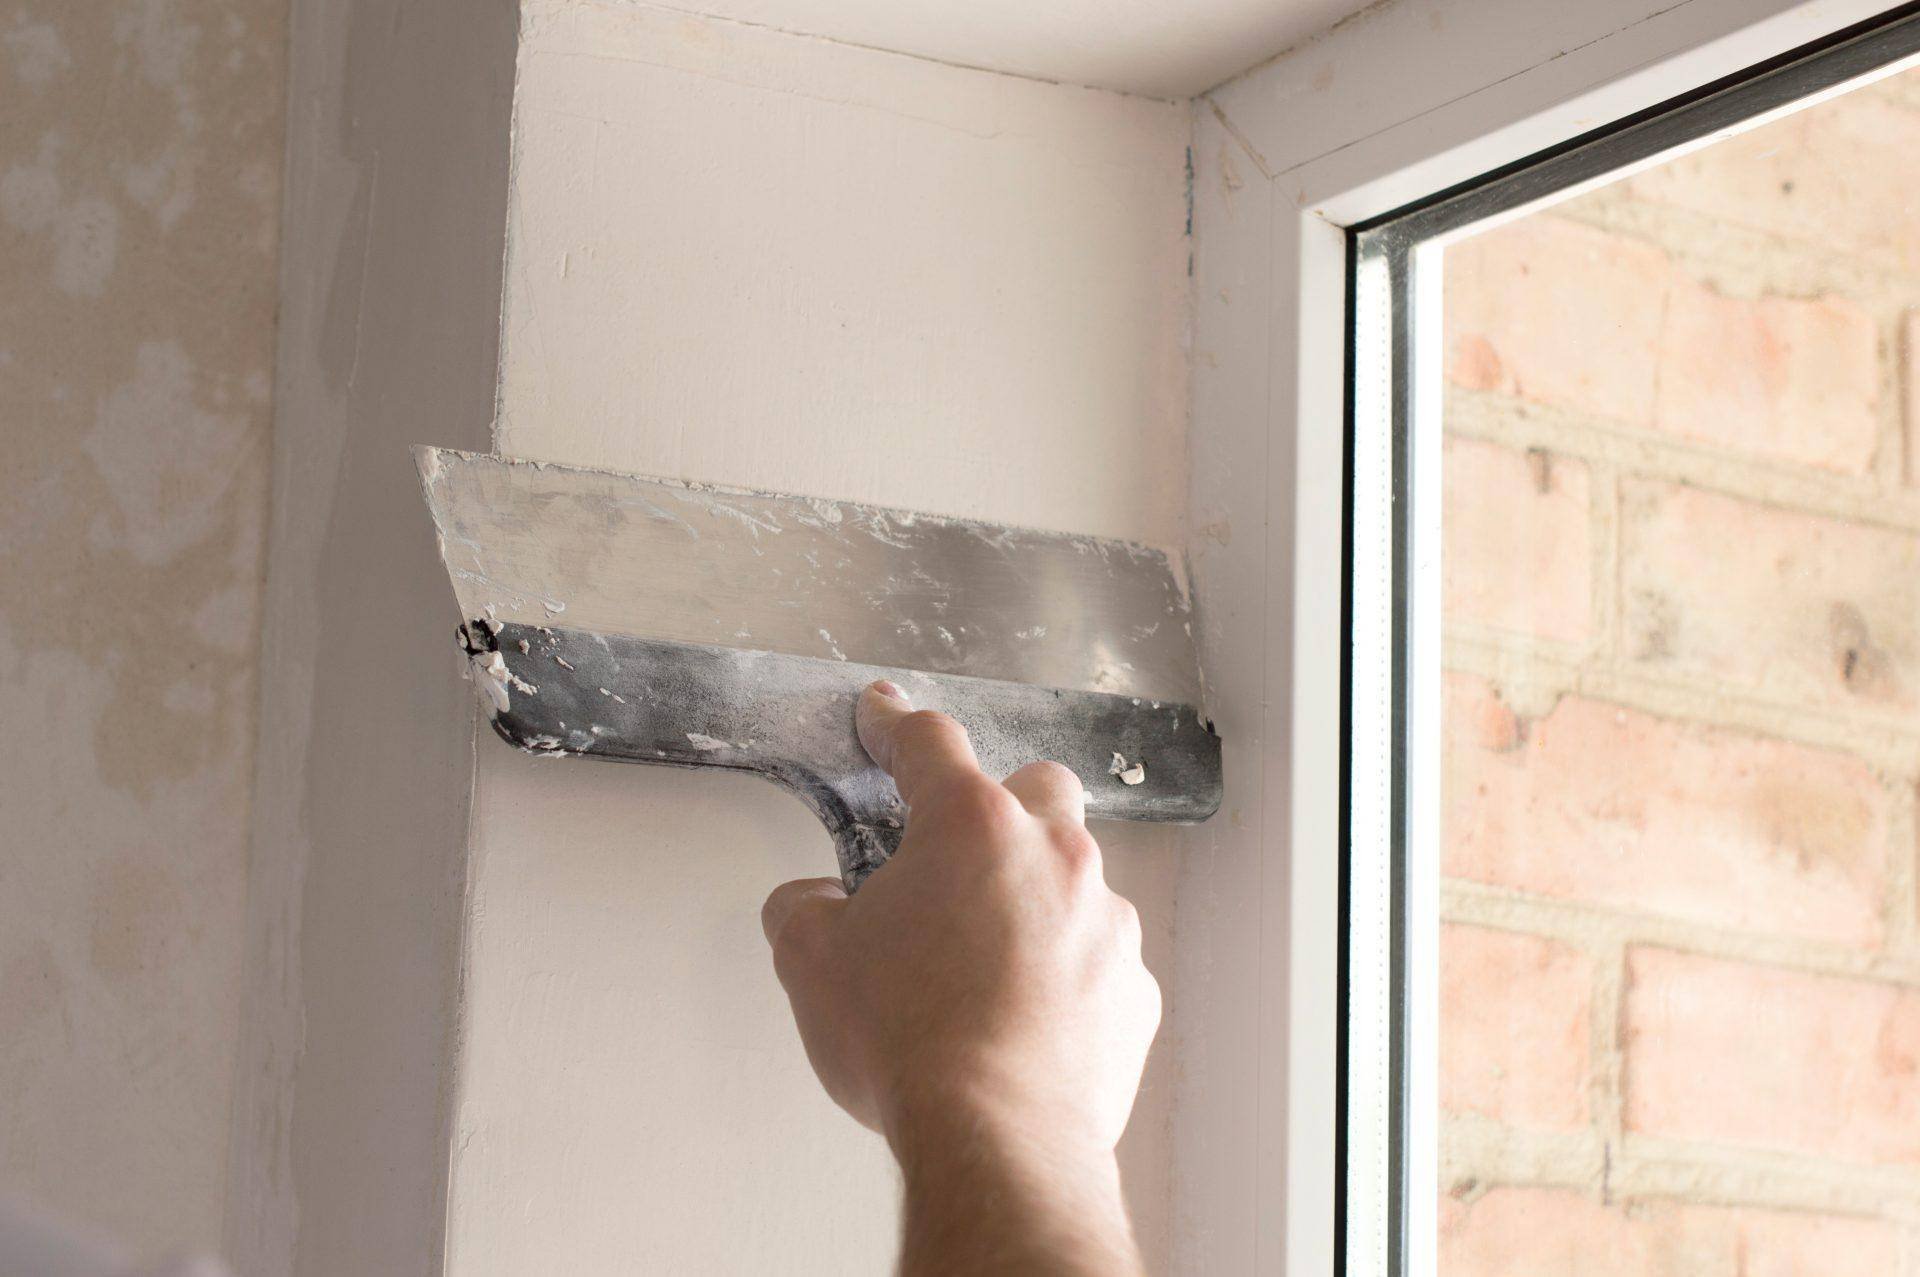
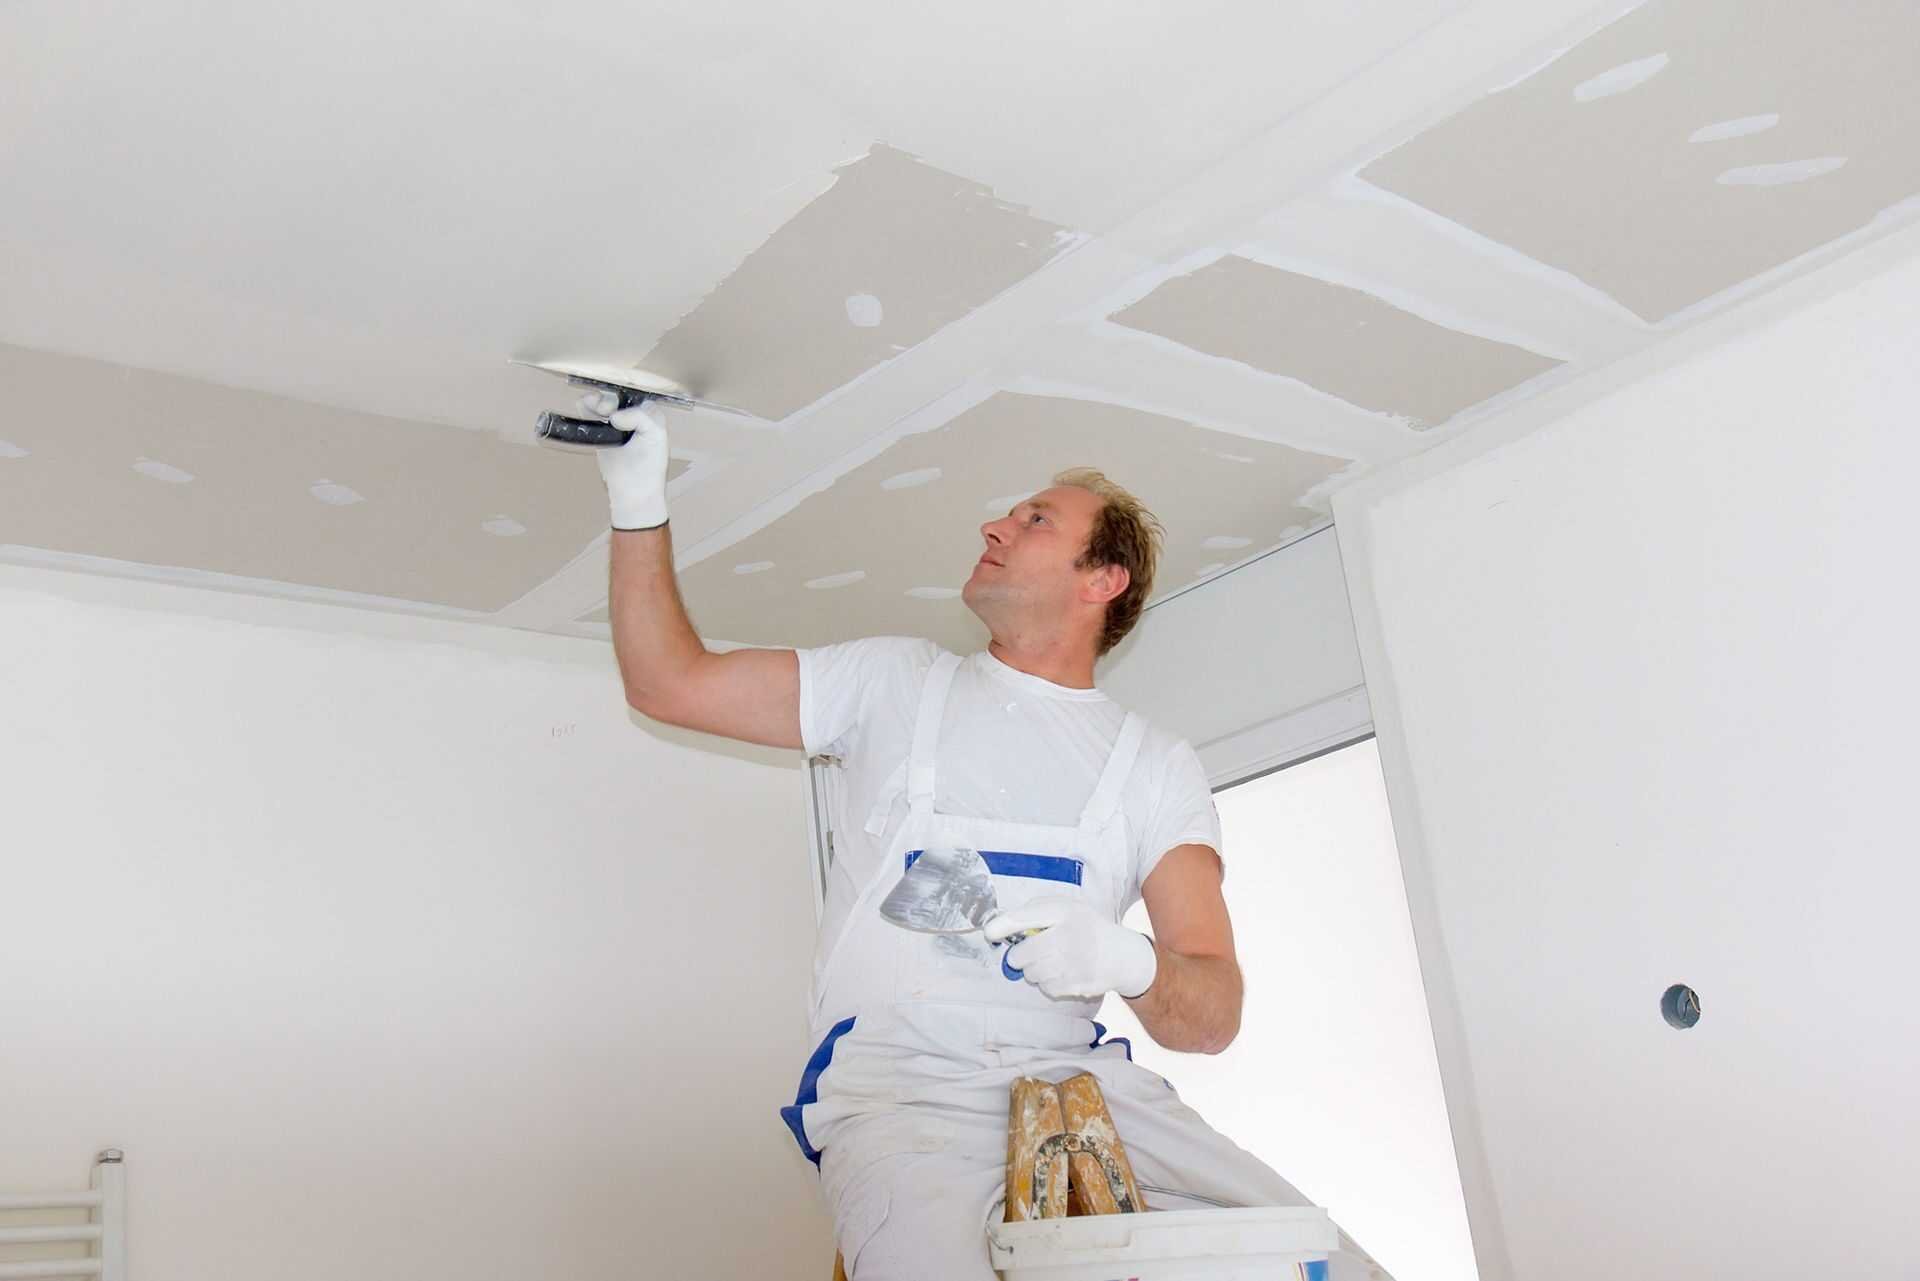
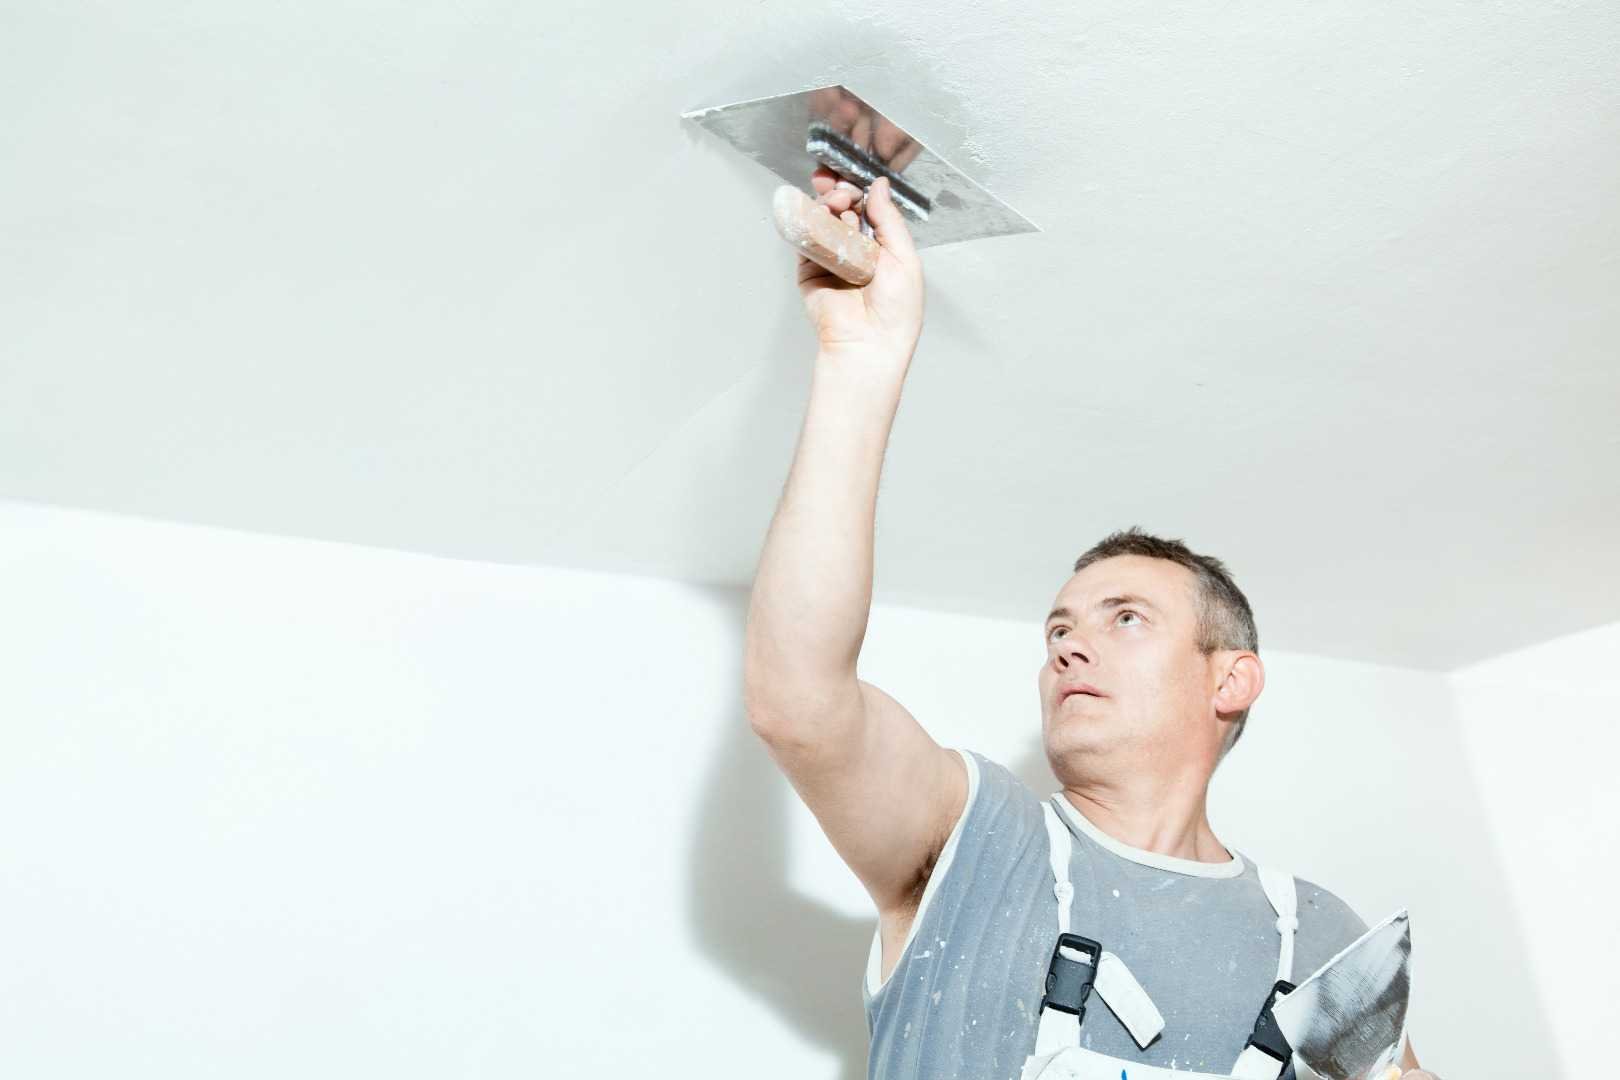
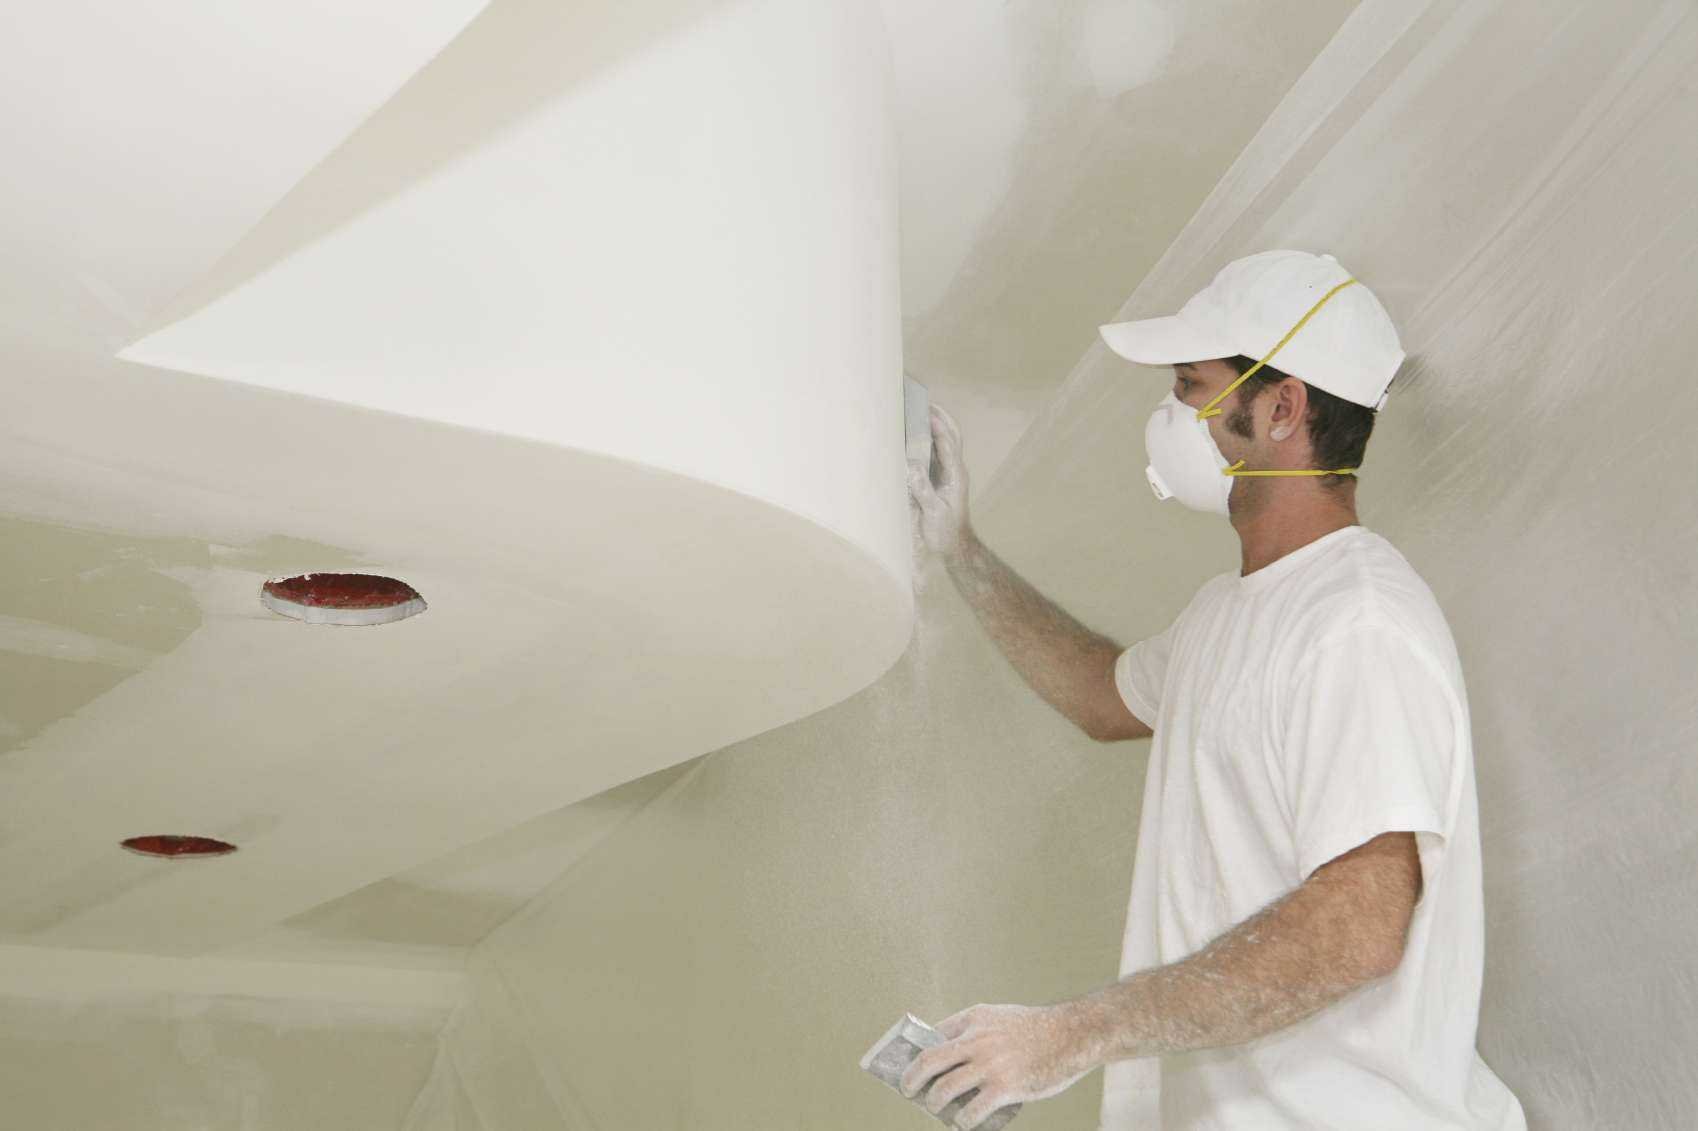
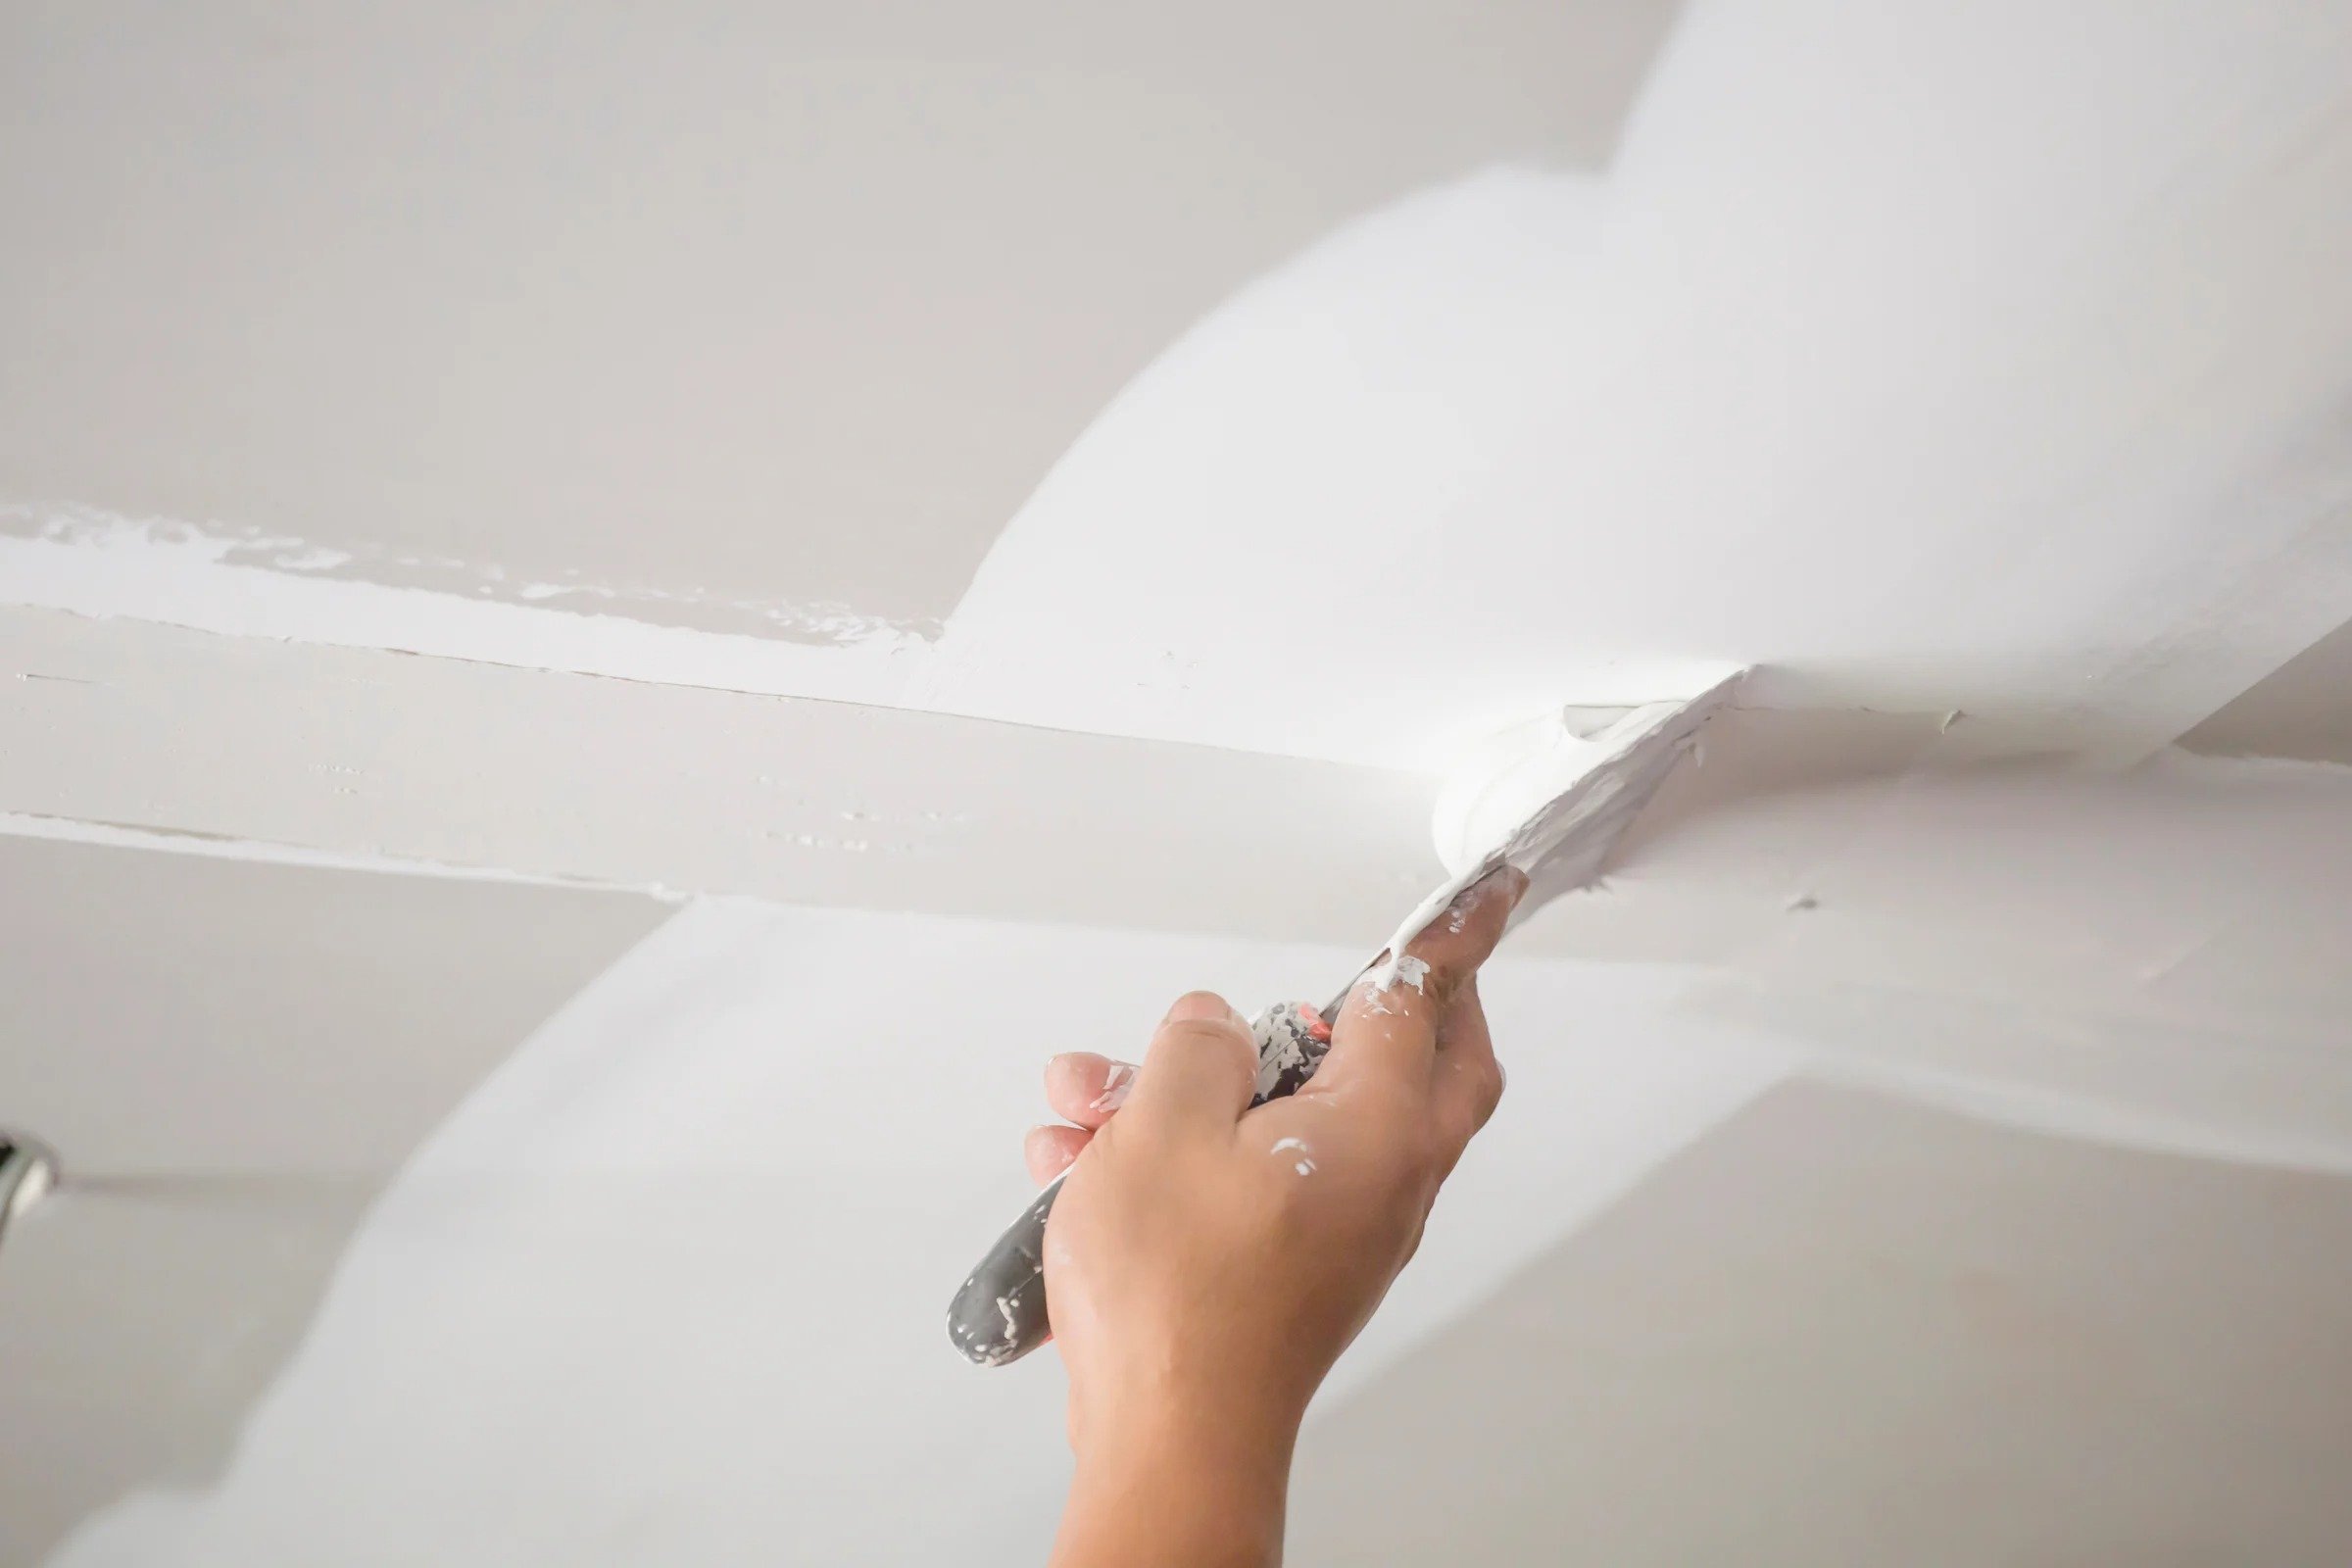
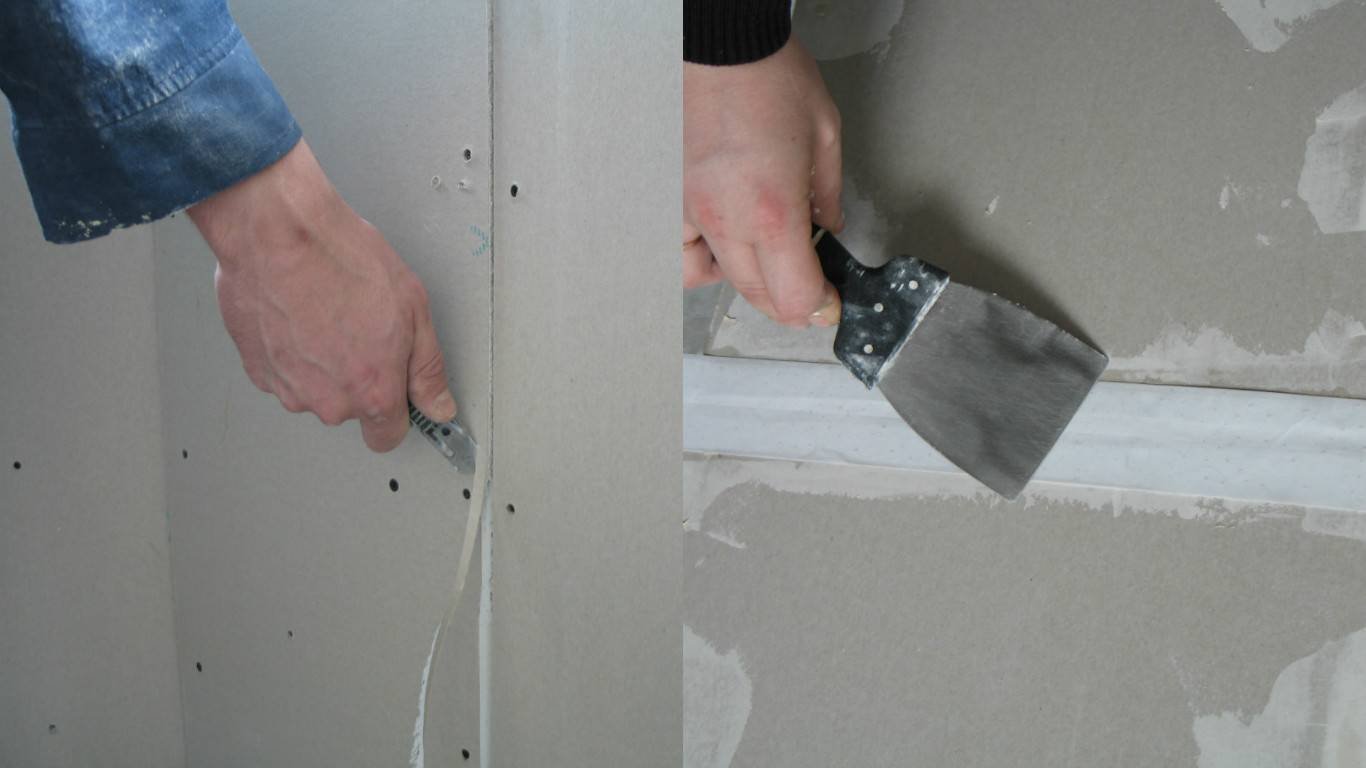
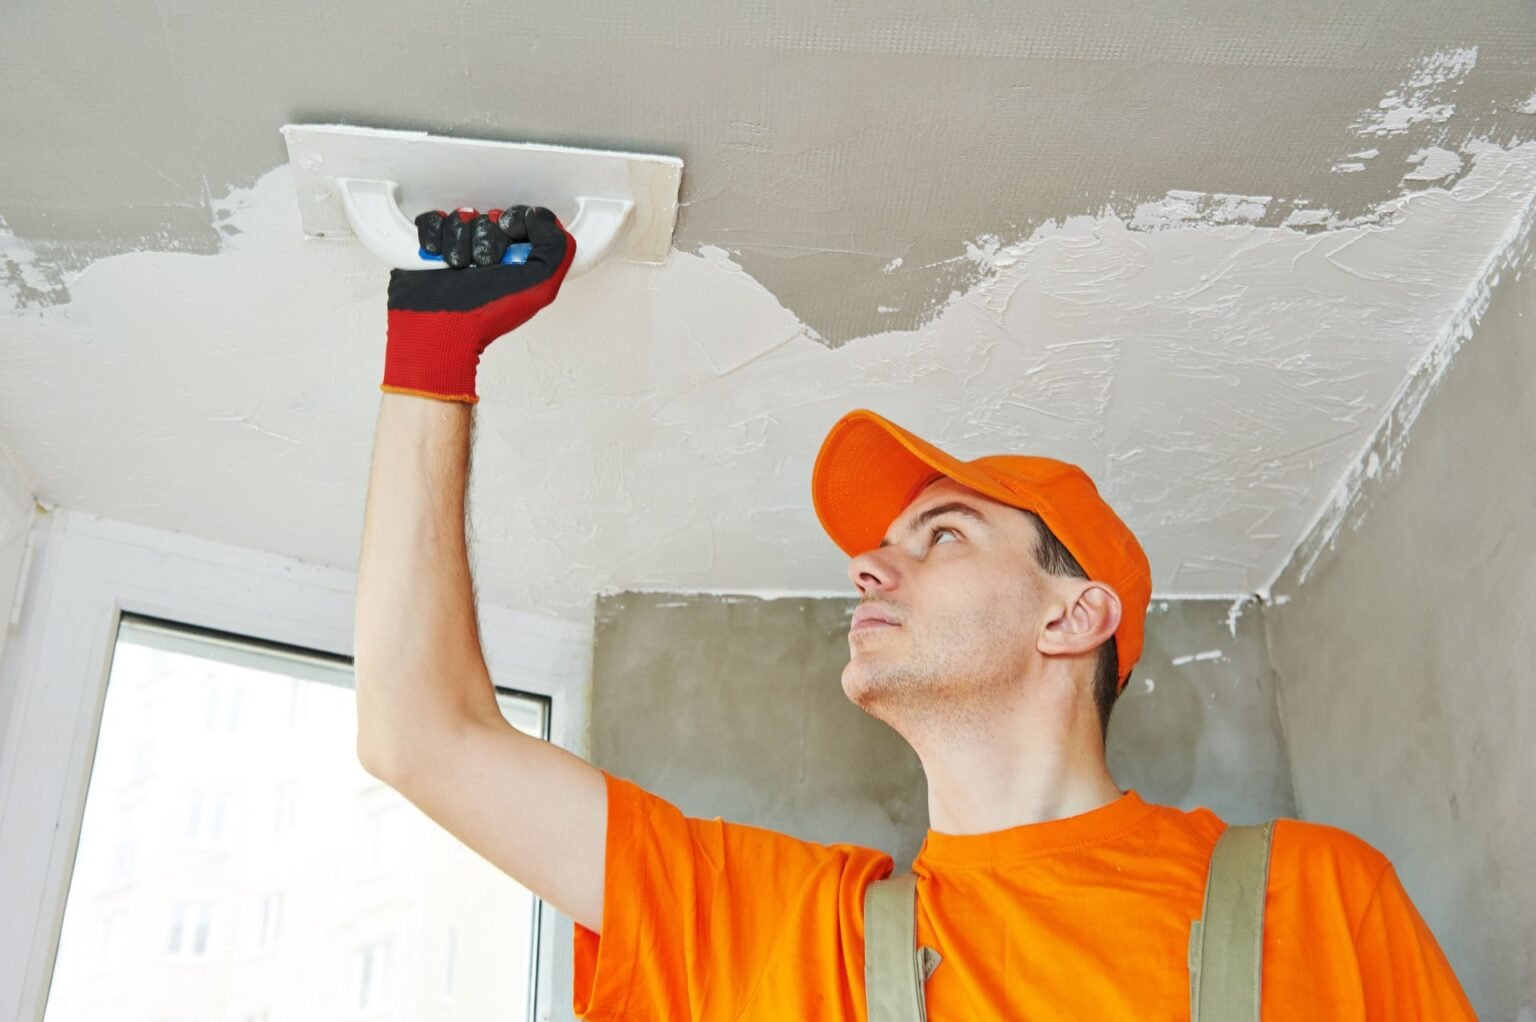
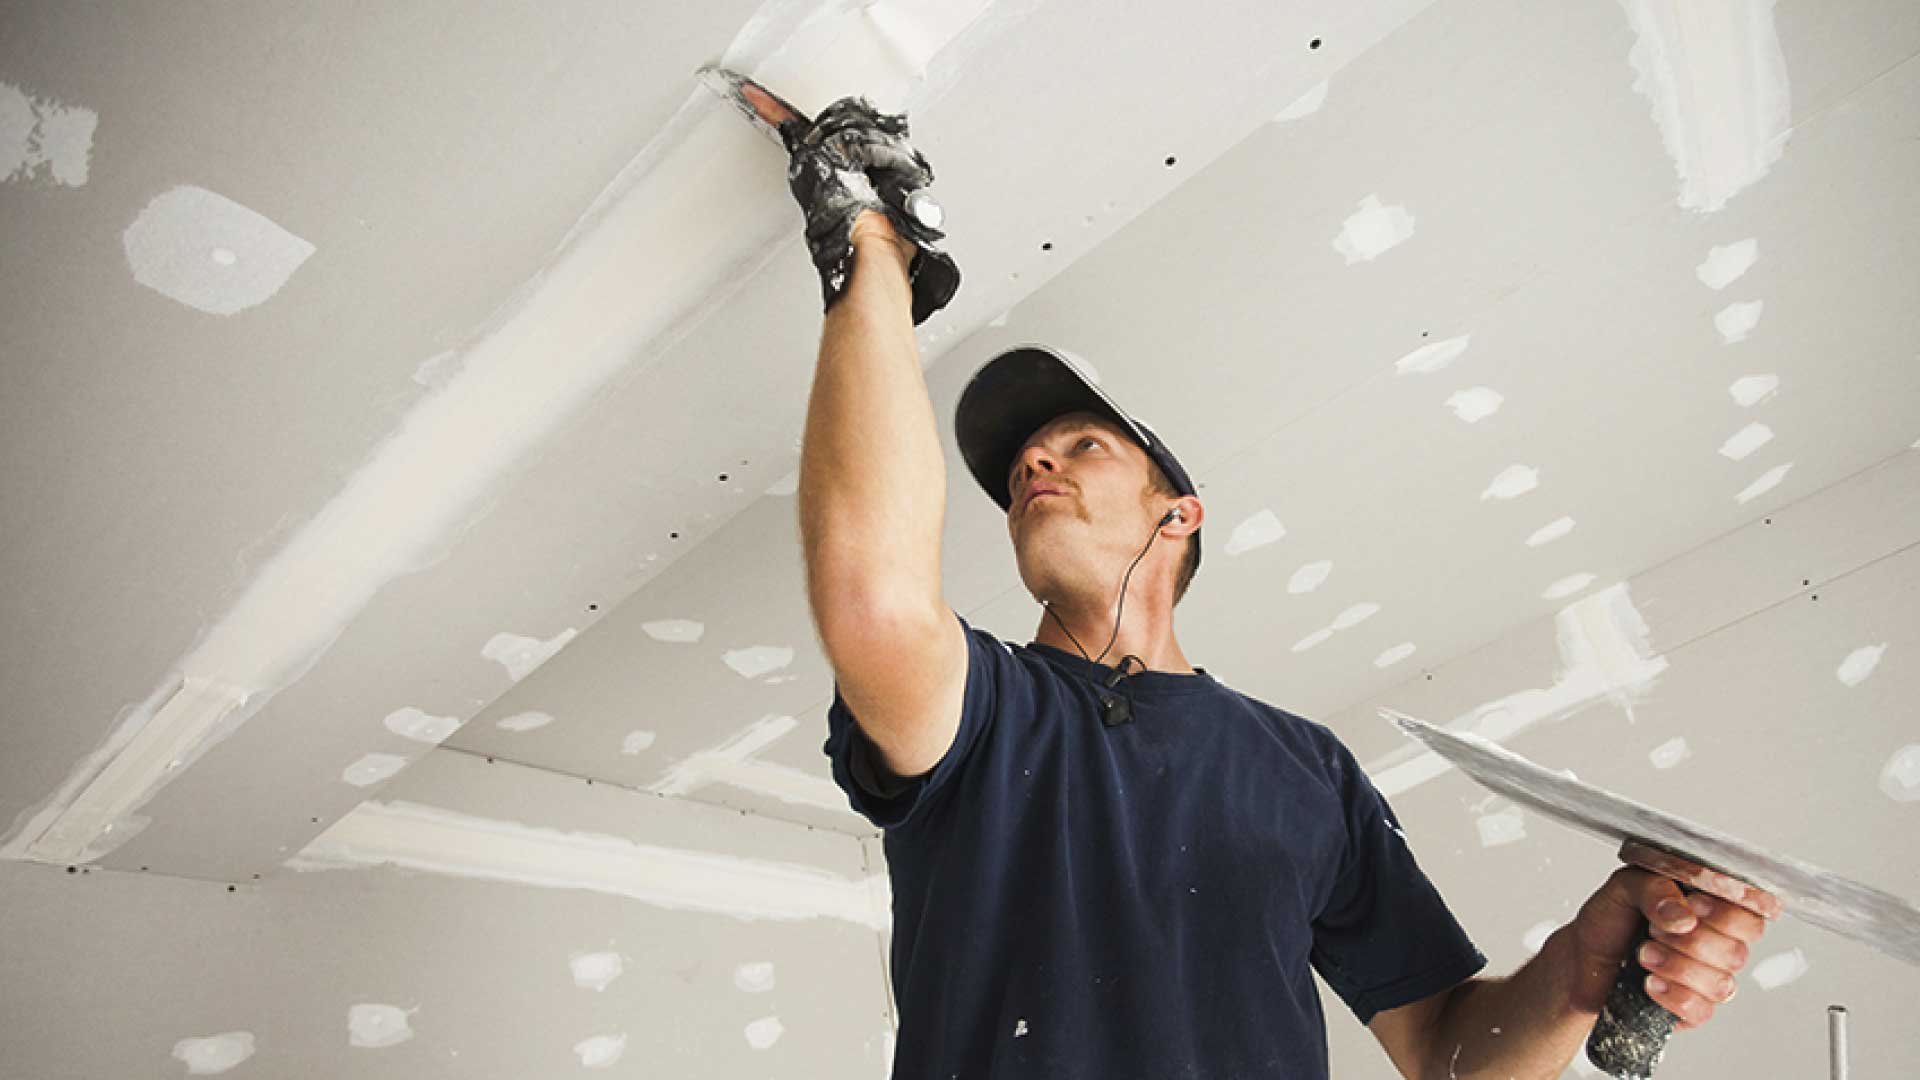
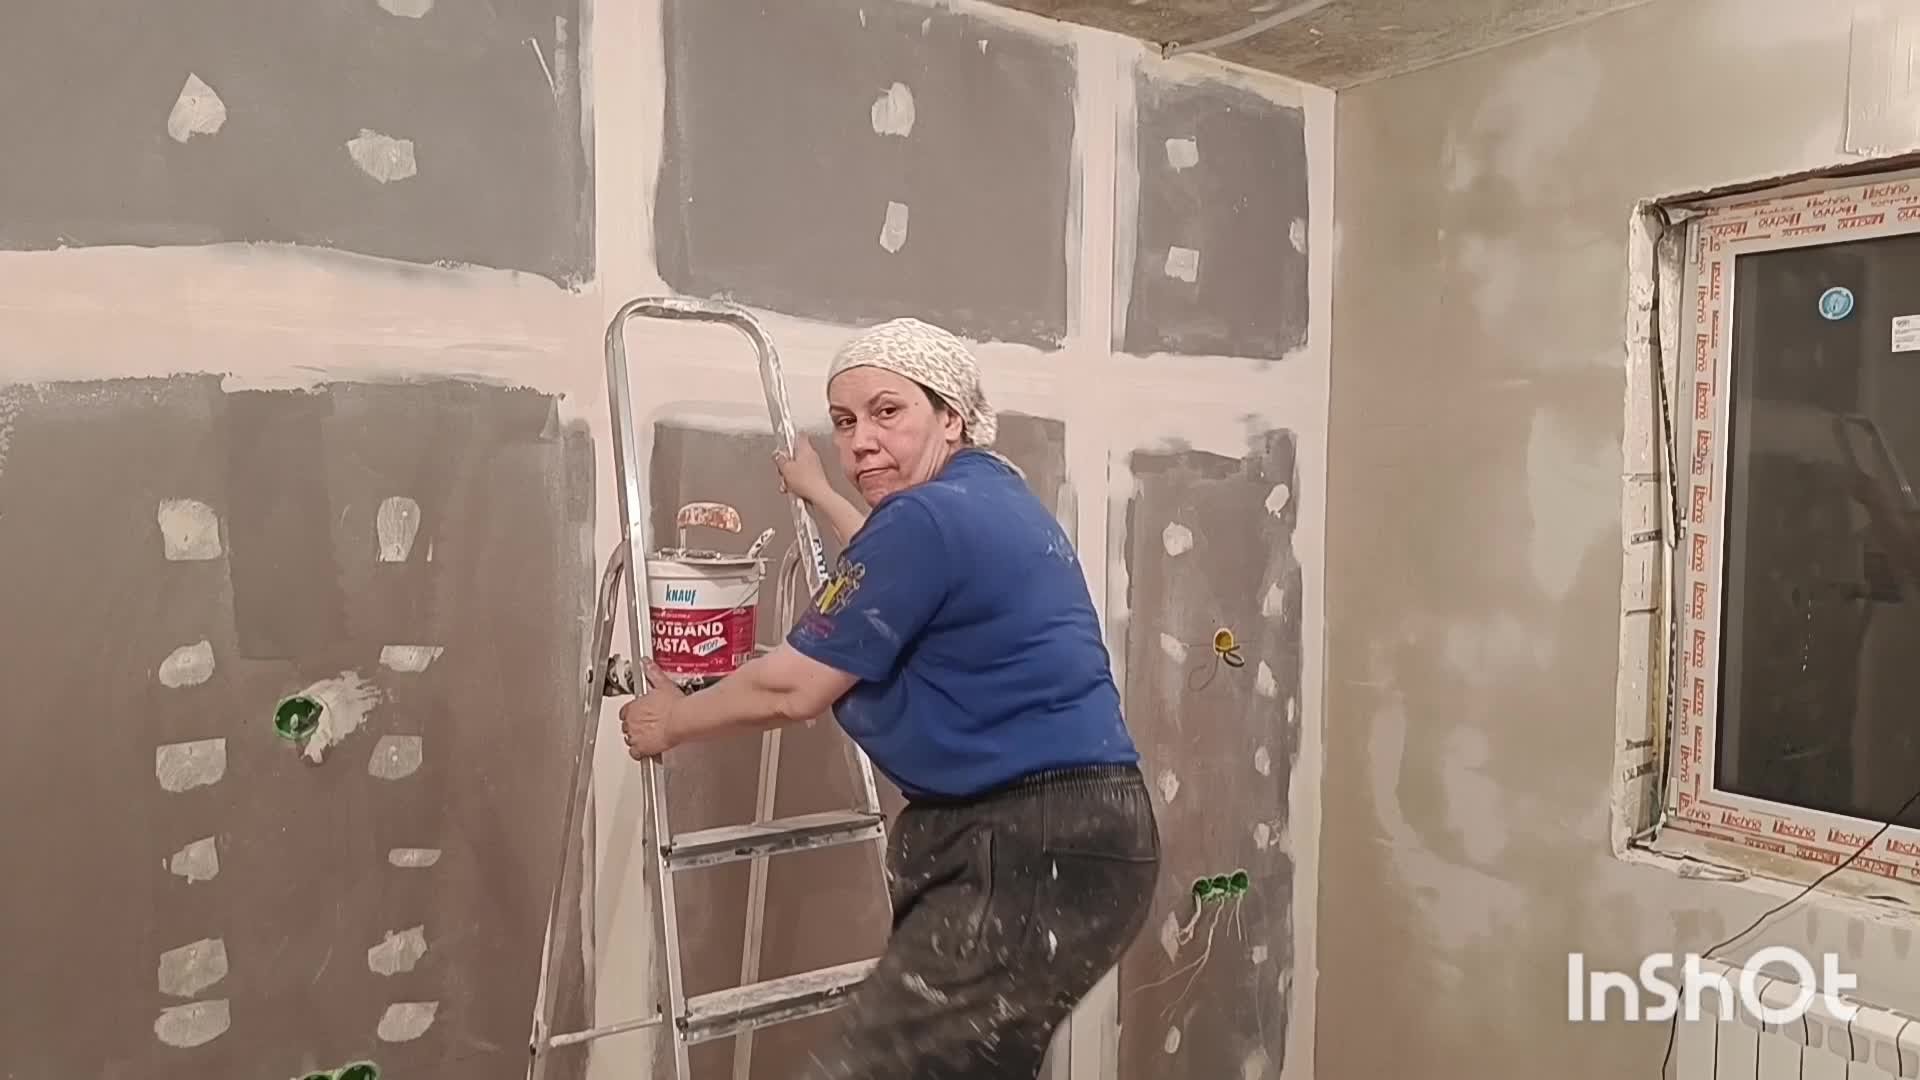
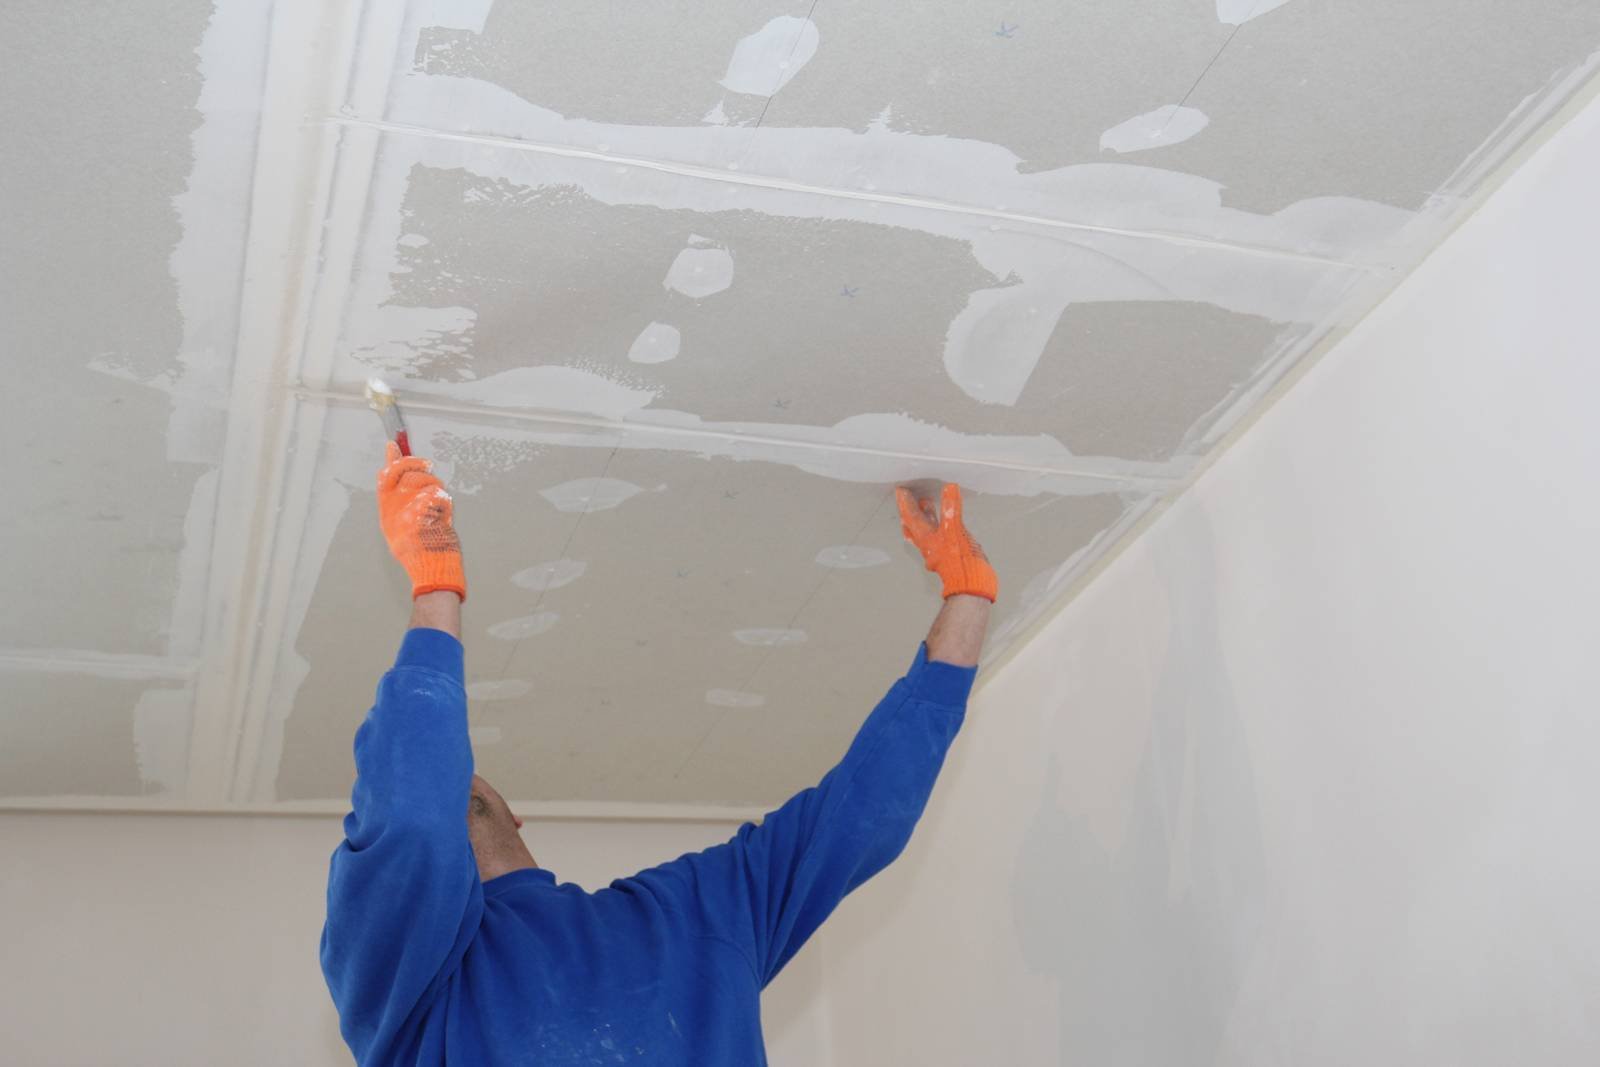
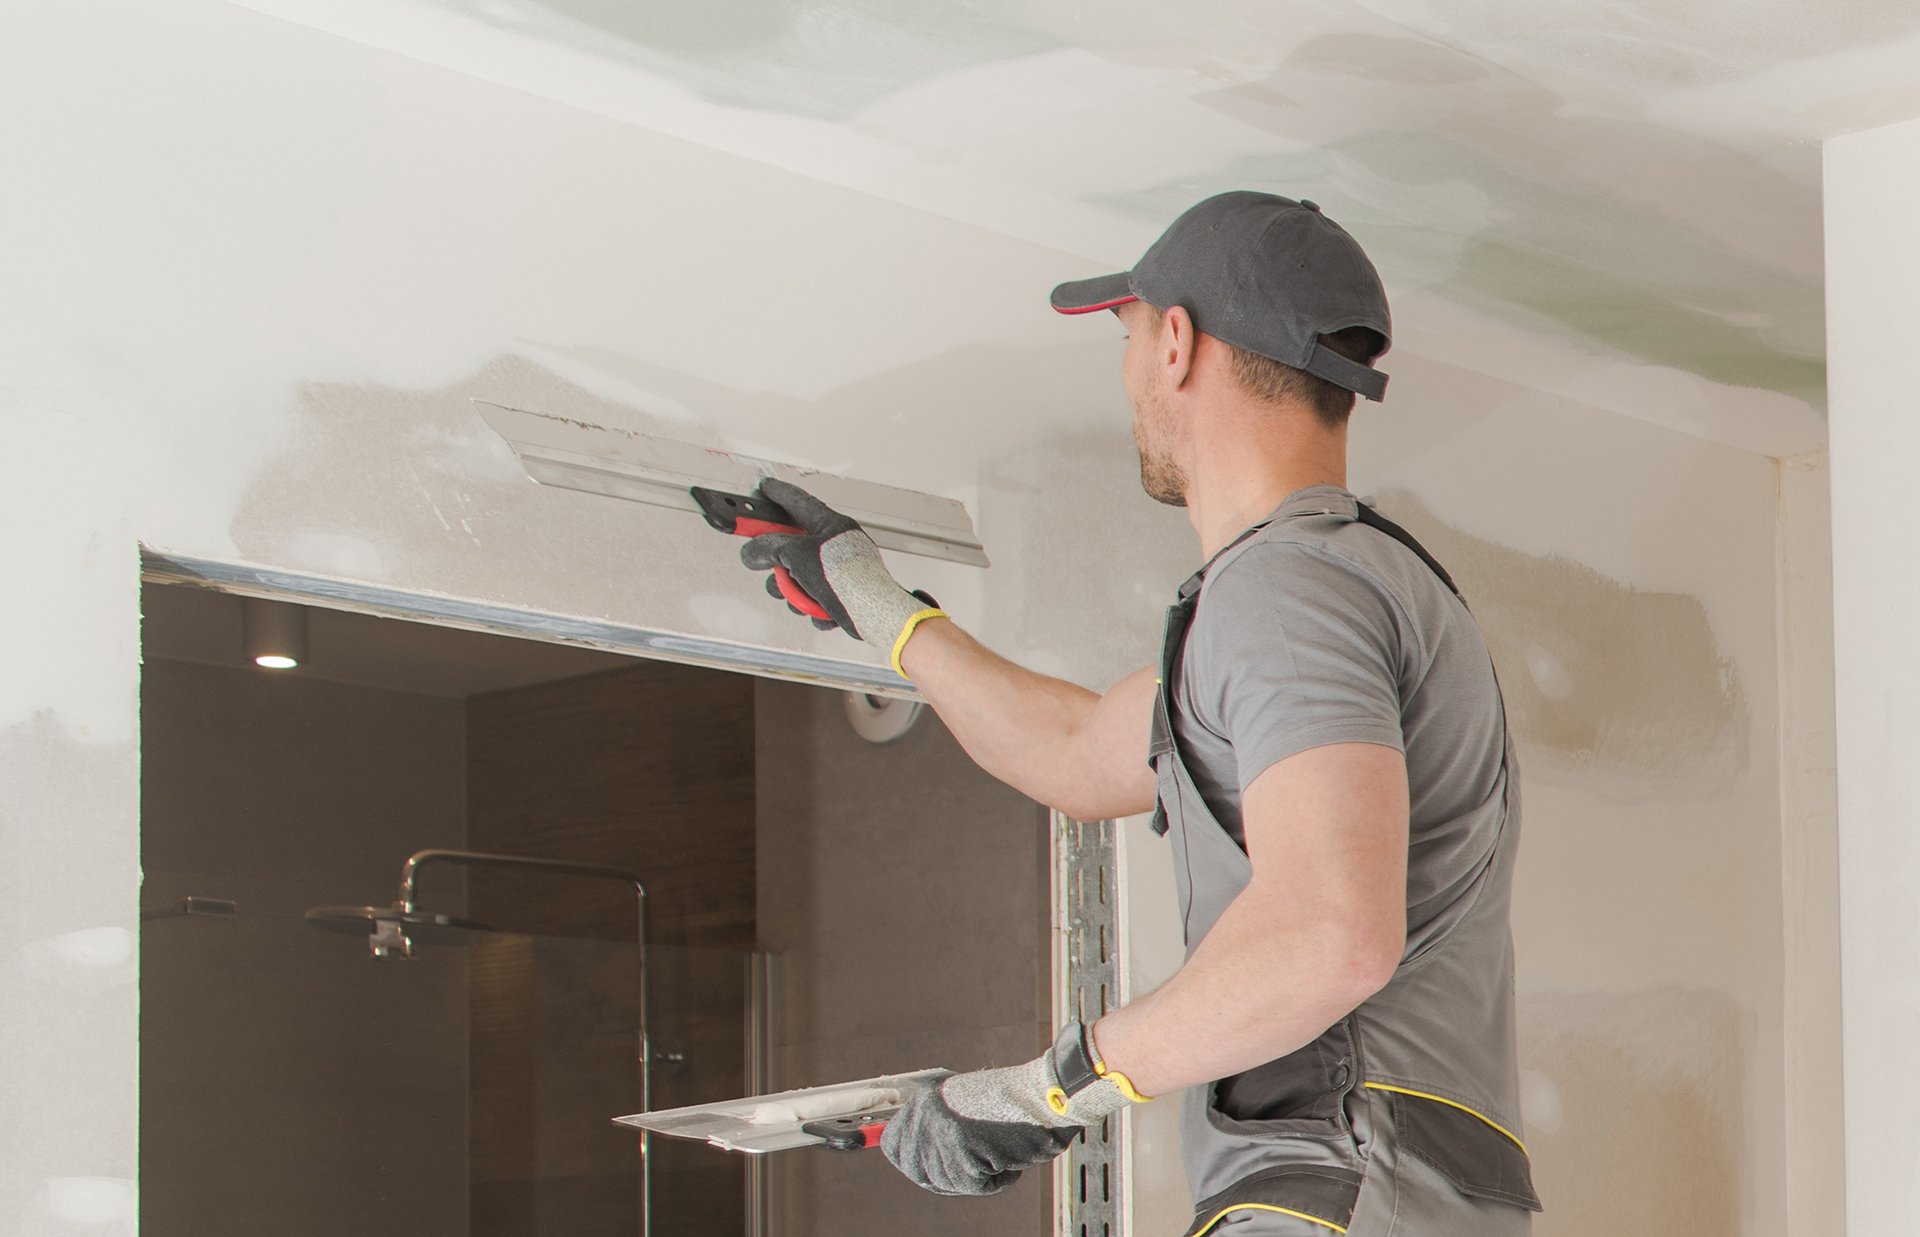
Drywall joint compound, commonly referred to as mud, is an essential component in achieving smooth, seamless walls and ceilings in interior spaces. Its primary function is to fill gaps and cover joints between drywall panels, ensuring a uniform surface ready for painting or finishing. The application process begins by taping the joints to reinforce them and prevent cracks. A thin layer of joint compound is then applied over the tape, using a taping knife to spread it evenly. As this layer dries, subsequent layers are added, each slightly wider than the last, to feather the edges and blend them into the surrounding wall. Sanding between coats is crucial to achieve a flawless finish, removing any imperfections or ridges. Depending on the type of compound used, drying times can vary, so patience is key. Lightweight compounds dry faster but may require more layers, whereas all-purpose compounds offer versatility for various stages of the process. The final result of careful drywall joint compound application is a polished, continuous surface that serves as a perfect canvas for the next stages of interior design, whether it be painting, wallpapering, or texturing. Mastery of this technique is fundamental for both amateur DIY enthusiasts and professional interior designers seeking to create breathtaking, cohesive spaces.
